
The Core Problem: Why Pinouts Break Shield Compatibility
When scaling a project from a prototype on an Arduino Uno to a production build on a Mega 2560, or upgrading to the newer Uno R4, the physical footprint is only half the battle. The true challenge lies in the arduino pin diagram compatibility. While the Arduino ecosystem popularized the 'shield' standard, logical pin mapping, voltage tolerances, and peripheral routing vary drastically across boards. A shield designed for the Uno R3 will physically plug into a Mega 2560, but hardwired SPI or I2C connections will fail silently, leading to hours of frustrating troubleshooting.
This compatibility guide dissects the architectural differences between the most popular AVR and ARM-based Arduino boards, providing actionable frameworks for migrating sketches and hardware without frying your components or pulling your hair out over floating pins.
Master Arduino Pin Diagram Compatibility Matrix
Before diving into edge cases, review the foundational hardware specifications. This matrix highlights the critical divergences in logic levels, peripheral routing, and ADC resolution that dictate cross-board compatibility.
| Board Model | MCU Core | Logic Level | Digital I/O | Analog In | SPI Pins | I2C Pins |
|---|---|---|---|---|---|---|
| Uno R3 | ATmega328P | 5V | 14 | 6 (10-bit) | 11, 12, 13 | A4 (SDA), A5 (SCL) |
| Uno R4 Minima | Renesas RA4M1 | 5V (Tolerant) | 14 | 6 (12/14-bit) | 11, 12, 13 | A4 (SDA), A5 (SCL) |
| Mega 2560 | ATmega2560 | 5V | 54 | 16 (10-bit) | 50, 51, 52, 53 | 20 (SDA), 21 (SCL) |
| Nano Every | ATmega4809 | 5V | 14 | 8 (10-bit) | 11, 12, 13 | A4 (SDA), A5 (SCL) |
Deep Dive: Board-by-Board Pinout Quirks
Arduino Uno R3 vs. Uno R4: The ARM Shift
The transition from the classic 8-bit AVR ATmega328P (Uno R3, ~$27) to the 32-bit ARM Cortex-M4 Renesas RA4M1 (Uno R4 Minima, ~$20) introduced massive performance gains, but also subtle pinout traps. According to the official Arduino Uno R4 documentation, the RA4M1 is natively a 3.3V microcontroller. The Uno R4 board utilizes hardware level shifters to provide 5V tolerance on most digital I/O pins, maintaining backward compatibility with 5V shields.
The Edge Case: The DAC (Digital-to-Analog Converter) on pin A0 is a true analog output unique to the R4. However, it outputs a maximum of 3.3V, not 5V. If your legacy sketch relies on analogWrite() on A0 expecting a 5V PWM signal to drive a MOSFET gate, the R4 will output a 3.3V true analog wave, potentially failing to trigger the gate threshold of a standard 5V logic-level MOSFET like the IRLZ44N.
Arduino Mega 2560: The SPI and I2C Trap
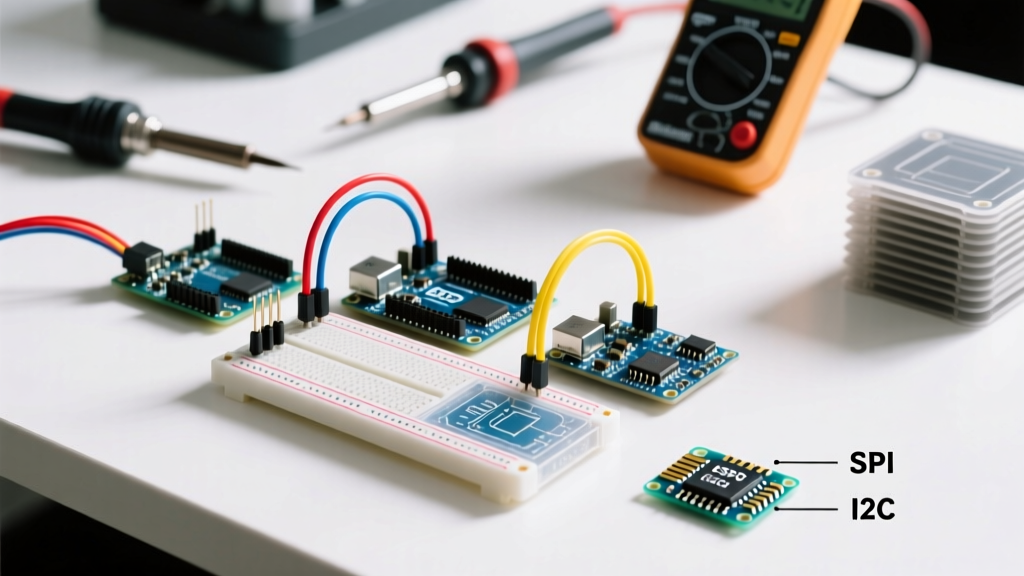
The Mega 2560 (~$45) is the workhorse for complex robotics and 3D printers, but its arduino pin diagram is notorious for breaking Uno-centric shields. The primary failure points are SPI and I2C buses.
- I2C Routing: On the Uno, I2C is multiplexed to A4 (SDA) and A5 (SCL). On the Mega, I2C is routed to Digital Pins 20 and 21. If a shield hardwires I2C to the A4/A5 physical traces, it will not communicate with the Mega's MCU.
- SPI Routing: Uno SPI lives on pins 11 (MOSI), 12 (MISO), and 13 (SCK). The Mega moves these to 51, 50, and 52 respectively.
Pro-Tip for Shield Migration: Always route SPI through the 2x3 ICSP (In-Circuit Serial Programming) header. The ICSP header maintains identical physical pinouts across the Uno, Mega, and Nano. If your shield uses the ICSP header for SPI rather than digital pins 11-13, it will be universally compatible across all major AVR Arduino boards.
Nano vs. Nano Every: Footprint Matches, Silicon Differs
The classic Nano (ATmega328P) and the Nano Every (ATmega4809) share the exact same 15x45mm physical footprint and breadboard spacing. However, the Every utilizes a modern UPDI programming interface instead of ISP, and its internal timer architecture differs. Sketches relying on direct port manipulation (e.g., PORTB |= (1 << PB5);) will fail to compile or behave erratically on the Every, as the ATmega4809 uses a different memory map and register naming convention.
Migration Checklist: Moving Sketches Across Pin Diagrams
To ensure your code compiles and functions correctly when migrating between boards with different pin diagrams, implement conditional compilation blocks in your C++ sketches. This prevents hardcoding pin numbers that break upon board selection in the Arduino IDE.
// Cross-Board SPI Chip Select Compatibility
#if defined(__AVR_ATmega2560__)
  // Mega 2560 hardware SS pin
  const int SPI_CS = 53;
#elif defined(ARDUINO_UNOWIFIR4) || defined(ARDUINO_UNOR4_MINIMA)
  // Uno R4 standard SS pin
  const int SPI_CS = 10;
#else
  // Uno R3 / Nano standard SS pin
  const int SPI_CS = 10;
#endif

void setup() {
  pinMode(SPI_CS, OUTPUT);
  digitalWrite(SPI_CS, HIGH);
}
By utilizing preprocessor directives, you maintain a single codebase that dynamically adapts to the target board's specific arduino pin diagram during compilation.
Troubleshooting Common Pin Mapping Failures
1. The 'Floating Pin' Noise on Mega 2560
When migrating from an Uno to a Mega, makers often leave the extra digital pins (22-53) unconnected. The Mega's extended trace lengths and higher pin density make these unconfigured pins highly susceptible to electromagnetic interference (EMI). A floating pin configured as an input can oscillate, causing phantom interrupts or spiking the MCU's power consumption. Fix: Explicitly enable internal pull-up resistors (pinMode(pin, INPUT_PULLUP);) on all unused digital pins in your setup() function.
2. Logic Level Mismatches with 3.3V Co-Processors
Integrating an ESP32 or ESP8266 (often programmed via the Arduino IDE) into a 5V Arduino shield ecosystem is a common requirement for IoT projects. As detailed in SparkFun's guide on logic levels, feeding a 5V signal directly into a 3.3V ESP32 GPIO pin will degrade the silicon over time or cause immediate catastrophic failure. You must use a bidirectional logic level converter (like the BSS138 MOSFET-based modules, costing ~$2) between the 5V shield TX/RX lines and the 3.3V MCU.
3. Analog Reference Voltage Drops
The Uno R3 uses a default 5V analog reference. If you are reading a 3.3V sensor (like an MPU6050 accelerometer) on an Uno, your 10-bit ADC resolution is wasted on the 3.3V-5V dead zone. By adding analogReference(EXTERNAL); and wiring the 3.3V pin to the AREF pin, you map the 0-1023 ADC range to 0-3.3V, effectively increasing your sensor resolution by 33%. Note: The Uno R4 handles this differently via its 12-bit ADC and software-configurable reference voltages.
Frequently Asked Questions
Can I use an Uno motor shield on an Arduino Mega?
Yes, but with caveats. Most official motor shields use the ICSP header for SPI and standard I2C pins. However, if the shield uses hardwired A4/A5 for I2C, you will need to run jumper wires from the Mega's pins 20 and 21 to the shield's A4 and A5 pads. Additionally, ensure the shield's PWM pins (usually 3, 5, 6, 9, 10, 11) align with your motor control logic, as Mega PWM frequencies on certain pins differ slightly from the Uno.
Why does my clone Arduino Nano have a different pinout?
Cheap clone Nanos ($10-$15) often substitute the FT232RL or ATmega16U2 USB-to-Serial chip with a CH340G to cut costs. While the main ATmega328P arduino pin diagram remains identical, the CH340G routes the DTR (Data Transmit Ready) reset line differently. This can cause auto-reset failures during sketch uploads, requiring you to manually press the physical reset button exactly when the IDE reports 'Done compiling'.
Are the 5V and 3.3V pins on the Arduino Uno R4 safe for high current?
The Uno R4 Minima features a dedicated 5V buck converter capable of delivering up to 1.5A, a massive upgrade from the Uno R3's linear regulator which throttles and overheats around 200mA. However, the 3.3V pin on the R4 is limited to roughly 50mA. Do not attempt to power high-draw 3.3V peripherals (like cellular modules or high-brightness LED matrices) directly from the R4's 3.3V header pin.