
The 12V Barrel Jack Trap: A Community Wake-Up Call
Every maker eventually hits the same wall: you plug a 12V 1A wall adapter into the DC barrel jack of your Uno, add a servo and an LCD shield, and suddenly the board starts resetting or the voltage regulator becomes too hot to touch. Understanding the true input voltage Arduino limitations is one of the most critical rite-of-passage lessons in the embedded electronics community. While the silkscreen and legacy tutorials often suggest '7-12V is fine,' the 2026 community consensus tells a much more nuanced story about thermal dissipation, silicon limits, and modern power topologies.
In this roundup, we have synthesized data from official datasheets, advanced forum troubleshooting threads, and modern power engineering practices to give you a definitive guide on safely powering your microcontroller projects.
The Silicon Truth: Microcontroller vs. Voltage Regulator
To master power delivery, you must separate the microcontroller's limits from the onboard voltage regulator's limits. The brain of the classic Arduino Uno R3, the ATmega328P, operates at 5V. According to the Microchip ATmega328P Datasheet, the absolute maximum voltage on the VCC pin is 6.0V. Exceeding this even briefly can cause permanent dielectric breakdown in the silicon.
However, the input voltage you supply to the barrel jack doesn't go straight to the MCU. It first passes through a reverse-polarity protection diode (typically a 1N4007, dropping ~0.7V) and then into a linear voltage regulator (usually an NCP1117ST50T3G or an LM1117 in SOT-223 packaging). It is this linear regulator that dictates your actual thermal limits, not the MCU itself.
2026 Community Board Comparison Matrix
The community has mapped out the exact power architectures of the most popular boards. Here is how the input voltage limits stack up across the current ecosystem:
| Board Model | Recommended Vin | Regulator Architecture | Max Safe Current at 12V Vin | Thermal Failure Mode |
|---|---|---|---|---|
| Arduino Uno R3 | 7V - 9V | NCP1117 (Linear, SOT-223) | ~120mA | Thermal Shutdown (150°C) |
| Arduino Uno R4 Minima | 6V - 12V | Integrated PMIC (Switching/LDO hybrid) | ~800mA | Current Limiting / Hiccup |
| Nano 33 IoT | 4.5V - 5.5V (USB) | MP2322 (Switching Buck) | N/A (Direct 5V via USB) | Overvoltage Lockout |
| Mega 2560 R3 | 7V - 9V | NCP1117 (Linear, SOT-223) | ~100mA | Thermal Shutdown / Smoke |
The Thermal Math: Why the '12V Myth' Persists
Why do so many legacy tutorials recommend 12V? Because early Arduino clones used TO-220 packaged regulators with massive heatsinks. Modern boards use surface-mount SOT-223 packages to save space and cost. The SOT-223 has a junction-to-ambient thermal resistance ($R_{\theta JA}$) of roughly 50°C/W.
Let's run the community-standard thermal equation:
Power Dissipated ($P_d$) = ($V_{in}$ - $V_{out}$) × Current ($I$)
If you supply 12V to the barrel jack, the regulator drops it to 5V. The voltage drop is 7V.
If your board and a single servo draw just 200mA (0.2A):
$P_d$ = 7V × 0.2A = 1.4 Watts.
Temperature Rise = 1.4W × 50°C/W = 70°C above ambient.
In a 25°C room, your regulator is sitting at 95°C. Add a motor shield drawing 300mA, and you instantly hit the 150°C internal thermal shutdown limit, causing the board to endlessly reboot.
This is why the modern community consensus strictly advises against using 12V via the barrel jack unless your total 5V rail current draw is under 50mA.
Top Community Resources & Power Frameworks
To help you design robust power systems, we've curated the most reliable frameworks and guides discussed across maker forums and engineering hubs in 2026.
1. The Official Arduino Power Topology Guide
The Arduino Power Supplies Documentation remains the gold standard for understanding the three distinct power paths: USB, Barrel Jack, and the 5V/Vin pins. The community highly recommends reading the section on 'Backfeeding' to understand how accidentally supplying voltage to the 5V pin while connected to USB can fry your motherboard's USB interface chip.
2. The Buck Converter Migration Strategy
For projects requiring 12V sources (like automotive applications or solar setups), the community universally recommends abandoning the onboard linear regulator. Instead, use an external switching buck converter. Popular, highly efficient models include:
- Pololu D24V50F5: A 5V, 5A step-down converter with 90% efficiency. Costs around $12 and completely eliminates thermal issues.
- LM2596 Modules: The classic $3 clone boards. While cheap, community testing shows they require manual tuning of the potentiometer and suffer from high ripple voltage. Always add a 100µF low-ESR capacitor on the output when using these with sensitive ADC pins.
- USB-C PD Decoy Boards: For 2026 projects, using a ZY12PDN USB-C PD decoy board to negotiate 5V/3A directly from a modern power bank is the safest, most efficient way to power an Uno R3 or Mega via the 5V pin.
3. Decoupling and the 'Brownout' Edge Case
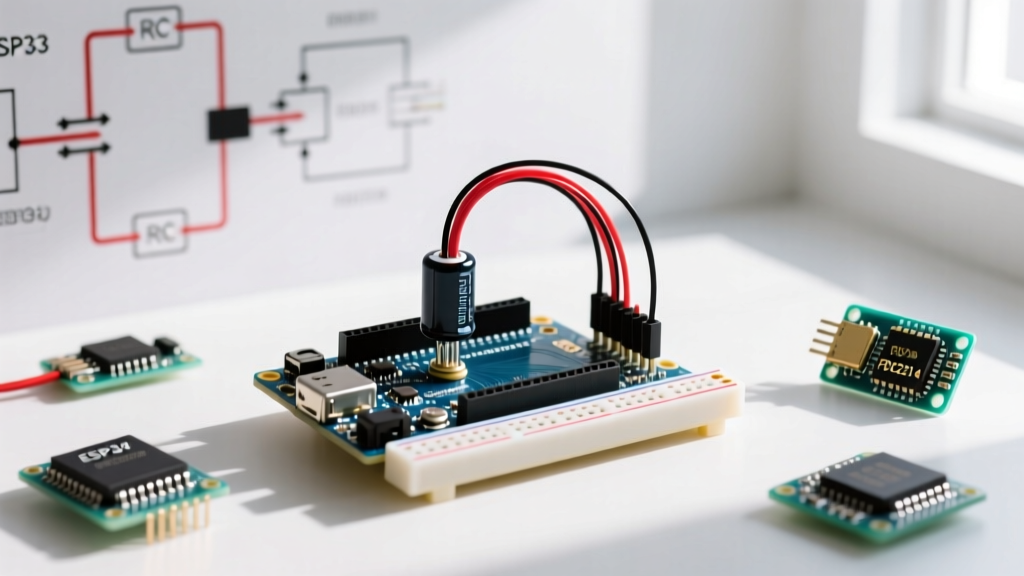
A frequent issue reported in advanced threads is the 'Brownout Reset' when powering Arduinos with 9V alkaline batteries. A fresh 9V battery reads 9.4V, but its internal resistance is so high that the moment a Wi-Fi module (like the ESP8266) transmits, the voltage sags below the ATmega328P's Brownout Detection (BOD) threshold of 4.3V, resetting the MCU. The community fix? Solder a 470µF electrolytic capacitor and a 0.1µF ceramic capacitor in parallel directly across the Vin and GND pins to handle transient current spikes.
Step-by-Step Power Audit for Your Next Build
- Audit the 5V Rail: Sum the quiescent current of your MCU (~45mA), sensors, and shields. If the total exceeds 150mA, do not use the barrel jack with >7V.
- Check the 3.3V Rail: Remember that the 3.3V pin on an Uno R3 is sourced from the USB-to-Serial chip (ATmega16U2), which has a strict 50mA limit. Use a dedicated LDO for 3.3V sensors like the BME280 if they draw more.
- Select the Topology: Choose USB-C PD for desk projects, external Buck Converters for 12V/24V robotics, and LiPo batteries with Adafruit PowerBoost modules for portable deployments.
Frequently Asked Questions (Community Consensus)
Can I feed 5V directly into the 5V pin?
Yes, but with extreme caution. Feeding 5V directly into the 5V pin bypasses the onboard regulator and the reverse-polarity protection diode. If your power supply has any voltage spikes exceeding 5.5V, or if you plug it in backward, you will instantly destroy the ATmega328P. Only do this with highly regulated, lab-grade power supplies or verified USB-C PD decoy circuits.
Why does my Arduino clone get hotter than my official Uno?
Many budget clones substitute the NCP1117 with a generic LM1117 or an unbranded SOT-223 regulator that has a much higher dropout voltage and poorer thermal junction characteristics. Furthermore, clones often use thinner copper pours on the PCB ground plane, which acts as a secondary heatsink. Thinner copper means worse heat dissipation, leading to higher operating temperatures.
Is the Vin pin an input or an output?
The 'Vin' pin is bi-directional but primarily intended as an input. If you power the board via the barrel jack, Vin outputs the raw input voltage (minus the diode drop). You can use this to power 12V relays or motors, provided your wall adapter has the current headroom. However, backfeeding power into the Vin pin requires a minimum of 7V to ensure the onboard regulator can maintain a stable 5V logic rail.