
Why Merge Arduino and DMX512?
DMX512 (Digital Multiplex) is the universal standard for controlling stage lighting, fog machines, and motorized fixtures. While commercial DMX controllers are excellent for manual operation, merging Arduino and DMX opens the door to interactive, sensor-driven, and algorithmic lighting installations. Whether you are building an interactive art exhibit that reacts to proximity sensors or an automated greenhouse lighting system, using a microcontroller to generate DMX data gives you unparalleled programmatic control.
In this comprehensive tutorial, we will bypass expensive DMX shields and build a robust, low-cost Arduino-to-DMX transmitter using a standard TTL-to-RS485 transceiver module. We will cover the exact hardware requirements, the electrical nuances of the RS-485 protocol, and the edge cases that cause 90% of maker DMX projects to fail in the field.
Hardware Bill of Materials (2026 Specs & Pricing)
To interface the 5V logic of an Arduino with the differential signaling required by DMX, we need a transceiver. Below is the exact hardware list, including a critical upgrade for permanent installations.
| Component | Specification / Model | Estimated Cost | Notes |
|---|---|---|---|
| Microcontroller | Arduino Uno R4 Minima or Nano (ATmega328P) | $18 - $27 | Must have dedicated Hardware Serial (TX) pin. |
| Transceiver (Basic) | Standard MAX485 TTL to RS-485 Module | $2 - $4 | Fine for bench testing. Shares ground with DMX line. |
| Transceiver (Pro) | Opto-Isolated RS-485 Module (e.g., HW-0318) | $10 - $14 | Highly Recommended. Prevents ground loops and protects the Arduino from voltage spikes. |
| Connector | 3-Pin or 5-Pin Female XLR Chassis Mount | $3 - $5 | Match your specific lighting fixtures. |
| Termination | 120-Ohm 1/4W Metal Film Resistor | $0.10 | Mandatory for the last fixture in the DMX chain. |
| Cabling | 120-Ohm DMX Cable (e.g., Belden 9841) | $1.50 / ft | Do NOT use standard microphone cables for long runs. |
The Anatomy of a DMX512 Packet
To successfully integrate Arduino and DMX, you must understand that DMX is essentially RS-485 running at a very specific, high-speed baud rate. According to the Entertainment Services and Technology Association (ESTA) ANSI E1.11 standard, DMX512 operates at 250,000 baud with a data format of 8-N-2 (8 data bits, No parity, 2 stop bits).
A single DMX universe consists of 512 channels. The data packet is structured as follows:
- Break: A low signal (0V) lasting a minimum of 88 microseconds. This resets the receivers and signals the start of a new packet.
- Mark After Break (MAB): A high signal lasting between 8 and 128 microseconds, separating the Break from the data.
- Start Code: The first byte (Slot 0). For standard dimmer/LED data, this is always
0x00. - Channel Data: 512 bytes representing channels 1 through 512, where 0 is off and 255 is full intensity.
Because generating the precise microsecond timing for the Break and MAB using software bit-banging is notoriously unreliable, we use the Arduino's Hardware Serial port combined with the Conceptinetics library, which manipulates the UART registers directly to guarantee protocol compliance.
Wiring the MAX485 Transceiver to Arduino
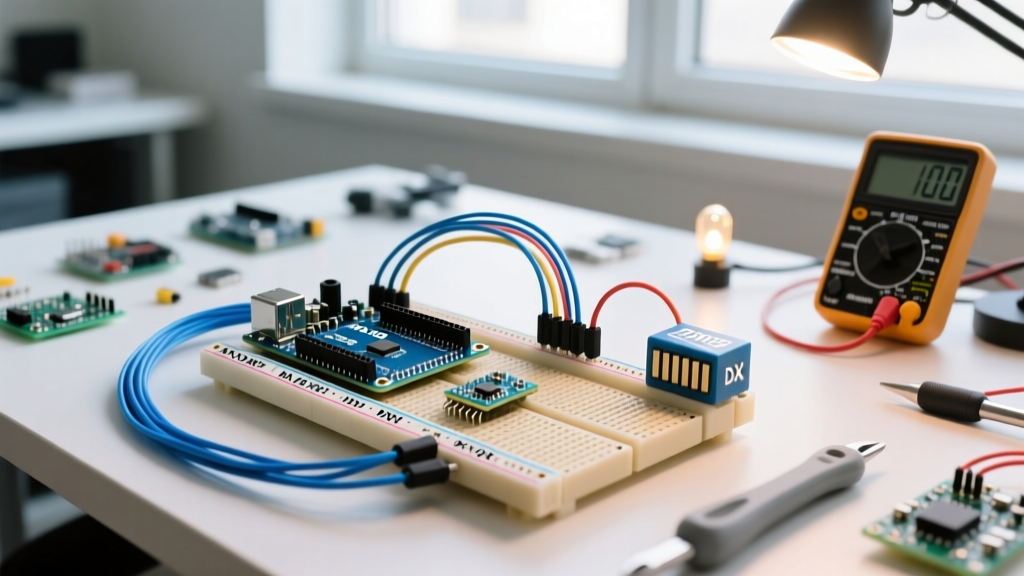
The Texas Instruments MAX485 datasheet outlines the differential pinout. The MAX485 module converts the Arduino's single-ended UART TX signal into the differential A and B signals required by DMX.
Pinout Mapping
- Arduino Pin 1 (Hardware TX) → MAX485 DI (Data In)
- Arduino Pin 2 → MAX485 DE and RE (Jumpered together)
- Arduino 5V → MAX485 VCC
- Arduino GND → MAX485 GND
XLR Connector Mapping (3-Pin)
- MAX485 A → XLR Pin 3 (Data +)
- MAX485 B → XLR Pin 2 (Data -)
- MAX485 GND → XLR Pin 1 (Shield/Ground) *See troubleshooting note below regarding Pin 1.
Note: Pin 2 on the Arduino is used by the Conceptinetics library to toggle the Driver Enable (DE) pin on the MAX485, switching it between transmit and high-impedance modes.
Step-by-Step Software Implementation
Before writing code, install the Conceptinetics library via the Arduino Library Manager. This library is vastly superior to older alternatives like DmxSimple because it utilizes hardware serial interrupts, freeing up your main loop for complex sensor logic.
Below is the production-ready sketch to fade an LED fixture connected to DMX Channel 1:
#include <Conceptinetics.h>

// Define the number of DMX channels to transmit (max 512)
// Keep this as low as possible to increase refresh rate
#define DMX_MASTER_CHANNELS 100

// The pin used to control the DMX shield's RS485 DE/RE jumper
#define RXEN_PIN 2

// Configure DMX Master object
DMX_Master dmx_master(DMX_MASTER_CHANNELS, RXEN_PIN);

int fadeValue = 0;
int fadeDirection = 5;

void setup() {
  // Enable DMX Master interface
  dmx_master.enable();

  // Set all channels to 0 (Off) initially
  dmx_master.setChannelRange(1, DMX_MASTER_CHANNELS, 0);
}

void loop() {
  // Update DMX Channel 1 with the current fade value
  dmx_master.setChannelValue(1, fadeValue);

  // Simple fade logic
  fadeValue += fadeDirection;
  if (fadeValue >= 255 || fadeValue <= 0) {
    fadeDirection = -fadeDirection;
  }

  // DMX runs in the background via interrupts.
  // You can add sensor reading or motor control here without blocking DMX output.
  delay(20);
}
Real-World Troubleshooting & Edge Cases
When merging Arduino and DMX in real-world environments, theoretical wiring diagrams often fail. Here are the most common failure modes and their exact solutions.
1. The Microphone Cable Mistake (Signal Degradation)
A frequent error is using standard XLR microphone cables for DMX runs. While mic cables are 3-pin XLR, their internal capacitance is typically around 30pF/ft, and their characteristic impedance is roughly 60 ohms. DMX512 requires a 120-ohm characteristic impedance. Over runs longer than 20 feet, the high capacitance of a mic cable acts as a low-pass filter, rounding off the sharp square-wave edges of the 250k baud RS-485 signal. This causes intermittent flickering or complete data dropouts. Always use true DMX cable (like Belden 9841) with low capacitance (~15pF/ft) for runs exceeding 15 feet.
2. Missing Termination Resistor (Reflections)
RS-485 is a high-frequency bus. When the electrical signal reaches the end of the cable, it reflects back down the line if it hits an open circuit, causing destructive interference with subsequent data packets. You must solder a 120-ohm resistor between Pin 2 and Pin 3 on the XLR output of the very last fixture in your DMX daisy chain. If your fixtures have a built-in 'Termination' switch, enable it on the final unit.
3. Ground Loops and Fried Microcontrollers
If you use a cheap $2 MAX485 module, the Arduino's ground is directly tied to the DMX line's ground (XLR Pin 1). If a stage light develops a fault or if there is a voltage potential difference between the lighting power grid and your laptop's USB ground, current will flow through the DMX shield, instantly destroying the MAX485 chip and potentially the Arduino's ATmega processor. The Fix: For any installation that will be plugged into mains-powered stage lighting, spend the extra $10 on an Opto-Isolated RS-485 Module. These modules use optocouplers to transmit the data via light, ensuring there is no direct electrical connection between your Arduino and the DMX lighting rig.
4. Arduino Hardware Serial Conflicts
Because DMX requires the precise timing of the Arduino Hardware Serial port (Pins 0 and 1), you cannot use Serial.println() for debugging via the USB Serial Monitor while the DMX library is active. Doing so will corrupt the DMX Break/MAB timing and cause your lights to behave erratically. If you need to debug, use SoftwareSerial on pins 10 and 11 to output debug logs to a secondary FTDI adapter, or rely on visual feedback via an onboard LED.
Conclusion
Integrating Arduino and DMX512 via a MAX485 transceiver is a highly cost-effective way to bridge the gap between physical computing and professional stage lighting. By respecting the electrical realities of RS-485—specifically cable capacitance, bus termination, and ground isolation—you can build interactive lighting rigs that are as reliable as they are creative.