
The Ultimate Photoresistor Arduino Quick Reference
When building a photoresistor Arduino circuit, makers frequently run into the same hurdles: fluctuating analog readings, incorrect voltage divider math, and microcontroller-specific ADC quirks. A photoresistor, also known as a Light Dependent Resistor (LDR) or photocell, is a passive component whose resistance decreases as incident light intensity increases. The most common hobbyist models belong to the GL55xx series (like the GL5528), typically costing between $0.05 and $0.15 per unit in bulk.
This FAQ and quick reference guide cuts through the fluff to provide exact wiring schematics, voltage divider calculations, robust smoothing code, and advanced troubleshooting techniques for both 8-bit AVR (Uno/Nano) and 32-bit (ESP32/SAMD) microcontrollers in 2026.
How Do I Wire a Photoresistor to an Arduino?
You cannot connect a photoresistor directly to an analog input pin and expect meaningful data. Because the Arduino's analog-to-digital converter (ADC) measures voltage, not resistance, you must convert the LDR's changing resistance into a changing voltage. This is achieved using a voltage divider circuit.
The Wiring Topology
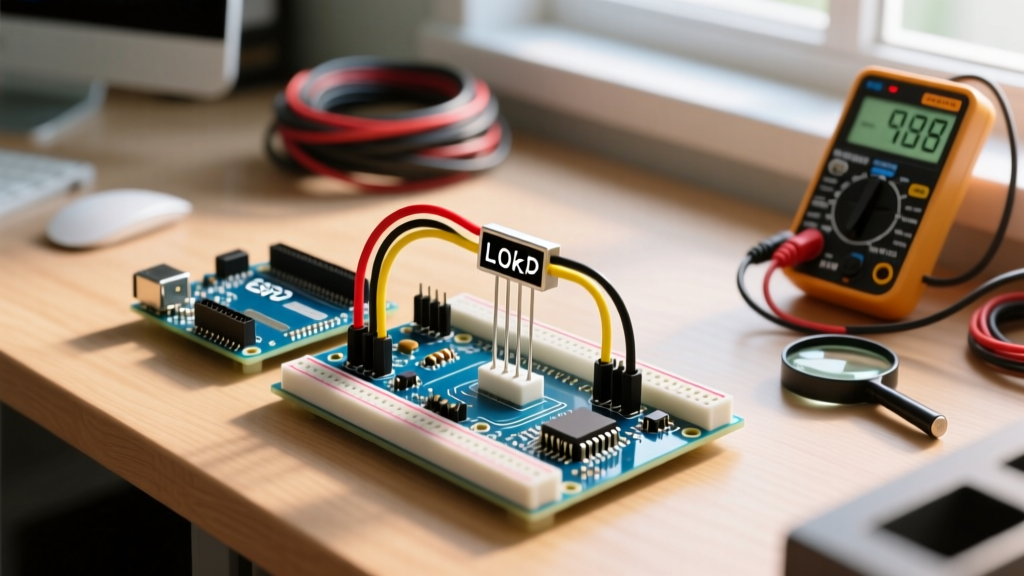
For an intuitive setup where more light equals a higher analog reading, wire the circuit as follows:
- Connect 5V (or 3.3V on ESP32) to one leg of the photoresistor.
- Connect the other leg of the photoresistor to the Analog Pin (e.g., A0).
- Connect a fixed pull-down resistor between the Analog Pin (A0) and GND.
Expert Insight: If you reverse the LDR and the fixed resistor (LDR to GND, fixed resistor to 5V), the voltage will drop as light increases. Both are electrically valid, but the topology above aligns better with human logic when mapping values in code.
The Voltage Divider Math
The output voltage ($V_{out}$) read by the Arduino is calculated using the standard voltage divider formula:
V_out = V_in * (R_fixed / (R_LDR + R_fixed))
Where $V_{in}$ is your board's logic voltage (5V or 3.3V), $R_{fixed}$ is your pull-down resistor, and $R_{LDR}$ is the current resistance of the photocell. As light hits the LDR, $R_{LDR}$ drops toward zero, causing $V_{out}$ to approach $V_{in}$ (yielding a reading near 1023 on a 10-bit ADC).
Which Fixed Resistor Should I Use?
Choosing the wrong fixed resistor is the #1 cause of poor sensor resolution. The ideal fixed resistor value should be roughly equal to the LDR's resistance at the midpoint of your target lighting environment. Alternatively, you can use the geometric mean of the LDR's minimum and maximum resistance.
| LDR Model | Dark Resistance (MΩ) | Resistance @ 10 Lux (kΩ) | Ideal Fixed Resistor | Best Use Case |
|---|---|---|---|---|
| GL5516 | 0.5 | 5 - 10 | 10 kΩ | Bright indoor / outdoor daylight tracking |
| GL5528 | 1.0 | 10 - 20 | 10 kΩ or 22 kΩ | General purpose room lighting / nightlights |
| GL5537-1 | 2.0 | 20 - 30 | 33 kΩ | Dim indoor environments / twilight detection |
| GL5549 | 5.0 | 45 - 100 | 100 kΩ | Low-light / shadow detection applications |
Photoresistor Arduino Code: Reading and Smoothing
Raw LDR readings are notoriously noisy due to electromagnetic interference (EMI) and the 50/60Hz flicker of AC-powered indoor lighting. Below is a robust, non-blocking Arduino sketch that implements an Exponential Moving Average (EMA) filter to smooth out data without introducing the lag associated with basic delay() averaging.
// Photoresistor Arduino EMA Smoothing Code
const int ldrPin = A0;
const float smoothingFactor = 0.1; // Lower = smoother but slower response
float smoothedValue = 0;
bool isInitialized = false;

void setup() {
  Serial.begin(115200);
  // Initialize smoothedValue with first reading to prevent startup lag
  smoothedValue = analogRead(ldrPin);
  isInitialized = true;
}

void loop() {
  int rawValue = analogRead(ldrPin);

  // Exponential Moving Average (EMA) Filter
  smoothedValue = (smoothingFactor * rawValue) + ((1.0 - smoothingFactor) * smoothedValue);

  // Map to a 0-100% light scale (calibrate these min/max values for your room)
  int lightPercent = map((int)smoothedValue, 50, 950, 0, 100);
  lightPercent = constrain(lightPercent, 0, 100);

  Serial.print("Raw: ");
  Serial.print(rawValue);
  Serial.print(" | Smoothed: ");
  Serial.print(smoothedValue, 2);
  Serial.print(" | Light %: ");
  Serial.println(lightPercent);

  delay(20); // 50Hz sampling rate
}
Microcontroller Note: The code above assumes a 10-bit ADC (0-1023 range) found on the Arduino Uno, Nano, and Mega. If you are using an ESP32 or Arduino Zero, the ADC is 12-bit (0-4095). You must adjust your map() function parameters accordingly.
Troubleshooting Common LDR Issues
1. Readings Stuck at 1023 or 0
If your analog input is maxed out or completely dead, you likely have a floating pin or a short. Fix: Verify that your fixed pull-down resistor is actually connected to GND. Without the path to ground, the analog pin floats, picking up ambient EMI and usually defaulting to the maximum voltage rail.
2. Severe Noise and 50/60Hz Flicker
Indoor LED and fluorescent bulbs pulse at 100Hz or 120Hz. While the human eye integrates this, the Arduino's fast sampling catches it, causing wild swings in your data. Hardware Fix: Solder a 0.1µF ceramic capacitor directly between the Analog Pin and GND. This creates a hardware low-pass RC filter. With a 10kΩ pull-down resistor, the cutoff frequency ($f_c = 1 / (2\pi RC)$) is approximately 159Hz, effectively bridging the gap between AC pulses and providing a rock-solid DC voltage to the ADC.
3. ESP32 ADC Non-Linearity
If you are building a photoresistor Arduino project using an ESP32, you may notice that readings above ~3200 (on the 12-bit scale) become compressed and inaccurate. The ESP32's internal ADC is notoriously non-linear near the 3.3V rail.
Fix: Design your voltage divider so the maximum voltage never exceeds 3.1V. Alternatively, use the analogReadMilliVolts() function introduced in the ESP32 Arduino Core v2.x, which utilizes the chip's internal eFuse calibration data to correct non-linearity in software.
2026 Component Sourcing: The Cadmium Sulfide (CdS) Shift
Historically, almost all hobbyist photoresistors were made of Cadmium Sulfide (CdS). However, due to strict global RoHS (Restriction of Hazardous Substances) environmental directives, commercial manufacturers have largely abandoned CdS in favor of lead-free and cadmium-free alternatives.
While you can still easily purchase GL55xx CdS cells on Amazon or AliExpress for hobbyist projects (usually around $6.99 for a 20-pack), commercial product designers in 2026 are pivoting to:
- PT15-20CDS (and similar non-CdS variants): Offer similar spectral response curves without the hazardous heavy metals.
- Silicon Photodiodes (e.g., BPW34): Much faster response times (nanoseconds vs. the 20-50ms latency of CdS cells), but require a transimpedance amplifier circuit rather than a simple voltage divider.
- Integrated Ambient Light Sensors (e.g., BH1750, VEML7700): I2C digital sensors that output calibrated Lux values directly, bypassing the need for analog calibration entirely. These cost roughly $1.50 to $3.00 per module and are highly recommended for production IoT devices.
Summary Checklist for Success
- Always use a voltage divider; never wire an LDR directly from VCC to an Analog Pin.
- Match your fixed resistor to the LDR's resistance at your target lighting level (10kΩ is the safest default for GL5528).
- Implement software smoothing (EMA) or hardware filtering (0.1µF capacitor) to eliminate AC lighting flicker.
- Account for ADC bit-depth differences (10-bit vs 12-bit) when migrating code from an Uno to an ESP32 or SAMD board.
For further reading on analog sensor fundamentals, consult the Adafruit Photocell Tutorial, which provides excellent visual benchmarks for light intensity mapping.