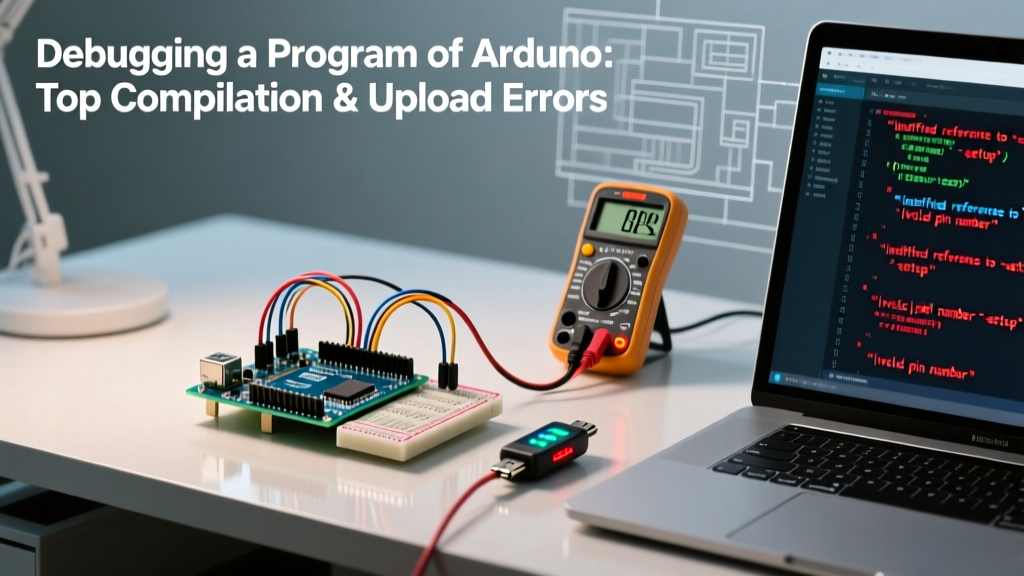

The Anatomy of an Arduino Compile Error
When a program of Arduino fails to compile or upload, the IDE's red console text can look like an impenetrable wall of C++ jargon. In 2026, with the maker ecosystem heavily reliant on multi-core ESP32-S3s, ARM-based Uno R4 boards, and the Arduino IDE 2.3.x environment, diagnosing these errors requires moving beyond simple 'check your USB cable' advice. Modern microcontrollers utilize complex toolchains like arm-none-eabi-gcc and xtensa-esp32-elf-gcc, meaning a syntax error or memory overflow will trigger highly specific linker and compiler faults.
Before diving into specific errors, always enable verbose output. In Arduino IDE 2.x, navigate to File > Preferences and check Show verbose output during: compilation. This exposes the exact toolchain commands and file paths, which is critical for isolating library conflicts and architecture mismatches.
Fatal Compilation Errors: Diagnosis and Solutions
The majority of compilation failures stem from library mismanagement, syntax collisions, or memory boundary violations. Below is a diagnostic matrix of the most common fatal errors encountered when writing a program of Arduino across AVR, ARM, and Xtensa architectures.
| Error Message Snippet | Root Cause | Exact Diagnostic Fix |
|---|---|---|
fatal error: Wire.h: No such file or directory |
Missing core library or incorrect include syntax for the target architecture. | Use angle brackets <Wire.h> instead of quotes. If using a third-party board (e.g., RP2040), ensure the correct board package is installed via Boards Manager. |
expected unqualified-id before '{' token |
Macro collision or a missing semicolon on the preceding line. | Check #define statements. A common trap is naming a variable the same as a built-in macro (e.g., int yield = 5;), which breaks the preprocessor. |
section '.text' will not fit in region 'iram1_0_seg' |
ESP32 Instruction RAM (IRAM) overflow. The linker cannot fit the code into the fast-execution memory bank. | Remove unnecessary IRAM_ATTR tags. Move non-Interrupt Service Routine (ISR) functions back to standard Flash memory. |
undefined reference to `vtable for...' |
Missing implementation of a virtual function in a custom C++ class. | Ensure all virtual methods declared in your .h file are explicitly defined in your .cpp file, or declare them as pure virtual (= 0;). |
Deep Dive: ESP32 Memory Overflows and Linker Faults
As projects grow in complexity, memory management becomes the primary bottleneck. A frequent showstopper for ESP32 developers is the iram1_0_seg overflow. The ESP32 architecture strictly allocates 128KB of Internal RAM (IRAM) for fast execution and hardware interrupts. If your Wi-Fi stack, Bluetooth Low Energy (BLE) callbacks, and custom ISRs exceed this limit, the linker will halt the build process.
Pro-Tip for ESP32-S3 Developers: The ESP32-S3 features a larger SRAM footprint, but the IRAM boundary rules remain strict. According to the official Espressif memory types documentation, only code that executes during cache-disabled states (like SPI flash write operations) or high-frequency ISRs should be tagged with
IRAM_ATTR. Standardloop()logic should never carry this attribute.
If you encounter heap fragmentation at runtime rather than compile time, utilize the heap_caps_get_free_size(MALLOC_CAP_8BIT) function to monitor available DRAM. If your program of Arduino relies heavily on dynamic String allocations, switch to fixed-character arrays (char buffer[64];) to prevent silent reboots caused by heap exhaustion.
Upload Failures: When the Program Refuses to Flash
Compilation is only half the battle. Upload errors occur when the host PC fails to handshake with the microcontroller's bootloader. The most infamous of these is the AVR sync timeout:
avrdude: stk500_getsync() attempt 10 of 10: not in sync: resp=0x00
The DTR/RTS Handshake and Auto-Reset Failures
Modern Arduino boards use the DTR (Data Terminal Ready) and RTS (Request to Send) serial control lines to automatically trigger a hardware reset via a 0.1µF capacitor, pushing the MCU into bootloader mode. If you are using a budget clone board, this capacitor is often missing, misaligned, or leaky, resulting in a failed auto-reset.
To bypass a broken auto-reset circuit, use the Manual Bootloader Reset technique:
- Press and hold the physical RESET button on the board.
- Click the Upload button in the IDE.
- Watch the black console output closely. Wait for the exact moment it prints: 'Sketch uses X bytes (Y%) of program storage space...'
- Immediately release the RESET button. The bootloader is now active and will catch the incoming binary.
Native USB vs. UART Bridge Drivers
Boards like the Uno R4 Minima or the Leonardo use native USB (the MCU handles USB directly), whereas the Uno R3 or Nano relies on a secondary UART-to-USB bridge chip (ATmega16U2, CH340, or CP2102N). If your native USB board disappears from the Device Manager entirely after a bad flash, the firmware has likely crashed the USB stack before initialization.
According to the Arduino IDE troubleshooting guide, you can force native USB boards back into bootloader mode by rapidly double-tapping the physical RESET button. The onboard LED will typically fade in and out slowly, indicating the bootloader is waiting for a new program of Arduino to be uploaded.
Runtime Errors: Logic Faults and Watchdog Resets
Sometimes the program of Arduino compiles and uploads perfectly, but the board enters a bootloop or freezes. The most common culprit on ESP8266 and ESP32 architectures is the Watchdog Timer (WDT).
The Watchdog Timer (WDT) Trap
The WDT is a hardware timer that automatically resets the microcontroller if it isn't 'fed' within a specific timeframe (usually 2 to 6 seconds). It exists to recover from infinite loops or deadlocks. If your loop() function contains a blocking operation that takes longer than the WDT threshold, the system will reboot and print a Soft WDT reset or TG0WDT_SYS_RST panic trace to the serial monitor.
Common WDT Triggers:
- Using
while()loops to wait for a sensor response without yielding. - Attempting to connect to a Wi-Fi network with a missing or incorrect SSID without a timeout limit.
- Executing heavy cryptographic hashing (e.g., SHA-256) on large payloads without yielding to the FreeRTOS idle task.
The Fix: Insert yield(); or delay(1); inside long-running loops. This temporarily pauses your code, feeds the watchdog, and allows the underlying RF and TCP/IP stacks to process background tasks.
Advanced Diagnostic Tools for Complex MCU Projects
When serial prints and verbose compiler logs are insufficient, professional makers turn to hardware-assisted debugging. The Arduino IDE 2.x natively supports GDB (GNU Debugger) for compatible boards like the Nano 33 BLE Sense and the Portenta H7.
By utilizing an SWD/JTAG probe (such as the Segger J-Link or the ESP-Prog for Xtensa chips), you can set hardware breakpoints, inspect register states in real-time, and step through C++ code line-by-line without relying on Serial.println() latency. For timing-critical protocols like I2C or SPI that cause the MCU to hang, a $15 USB logic analyzer (using the Sigrok/PulseView software suite) is mandatory. Capturing the exact clock edge where the SDA/SCL lines lock low will immediately reveal whether the fault lies in your pull-up resistor sizing or a slave device NACKing the bus.
Summary Checklist for Error Resolution
Before tearing apart your wiring or rewriting your entire sketch, run through this diagnostic checklist:
- Verify Toolchain: Ensure your Board Manager packages are updated to the latest 2026 releases.
- Check Port Conflicts: Close 3D printers slicers (like Cura or PrusaSlicer) that may be hogging the COM port in the background.
- Isolate Libraries: Comment out custom libraries one by one to identify version mismatches causing
multiple definitionlinker errors. - Monitor Power: Use a multimeter to check the 5V and 3.3V rails under load. A brownout caused by a weak USB hub will mimic random logic errors and bootloader sync failures.
For deeper command-line diagnostics, especially when integrating Arduino sketches into CI/CD pipelines, refer to the Arduino CLI troubleshooting documentation. Mastering these error diagnosis techniques will drastically reduce your downtime and result in highly resilient, production-ready firmware.