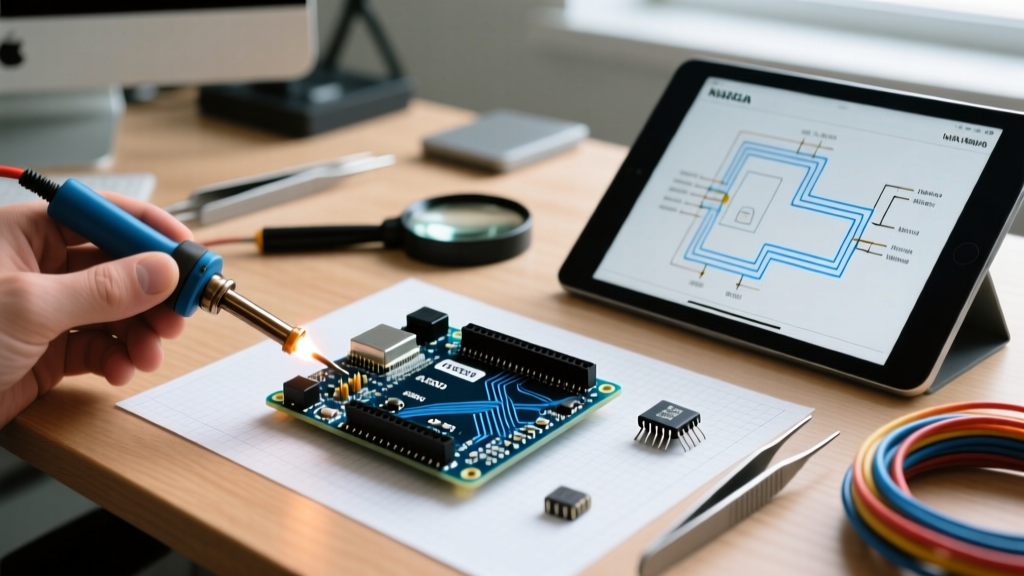

Transitioning from a breadboard prototype to a custom printed circuit board (PCB) requires a deep understanding of the underlying Arduino PCB schematic. Whether you are designing a standalone ATmega328P carrier board, integrating an ARM Cortex-M4 (like the Uno R4) into a commercial IoT product, or building a low-power sensor node, referencing official schematics prevents costly board respins. As of 2026, component availability has stabilized, but architectural shifts in the official Arduino lineup mean engineers must carefully choose between legacy AVR and modern ARM reference designs. This FAQ and quick reference guide covers pinouts, essential passive components, clock networks, and USB-serial interfaces.
Quick Reference: Core Arduino Schematics & Architectures
Before drafting your custom schematic, you must decide which official architecture serves as your baseline. The table below compares the core specifications of the most frequently cloned and referenced Arduino boards.
| Board Model | MCU Core | Clock Speed | USB-Serial IC | Operating Voltage |
|---|---|---|---|---|
| Uno R3 (Legacy) | ATmega328P (AVR) | 16 MHz | ATmega16U2 | 5V |
| Nano V3 | ATmega328P (AVR) | 16 MHz | CH340 / FT232RL | 5V |
| Pro Mini | ATmega328P (AVR) | 8 MHz / 16 MHz | None (Requires FTDI) | 3.3V / 5V |
| Uno R4 Minima | Renesas RA4M1 (ARM) | 48 MHz | Native USB (RA4M1) | 5V (Tolerant) |
Frequently Asked Questions (FAQ)
Where can I find official Arduino PCB schematics and reference designs?
Arduino maintains an open-source hardware repository, but the most reliable and up-to-date schematics are hosted directly on their hardware documentation pages. For the classic AVR architecture, the Arduino Uno Rev3 documentation provides the full schematic PDF and Gerber files. For modern ARM-based designs, the Uno R4 Minima hardware page details the Renesas RA4M1 integration, native USB routing, and switched-mode power supply (SMPS) design. Always download the KiCad or Altium component footprints directly from the official Arduino GitHub repositories to ensure pad dimensions match the latest manufacturing tolerances.
What are the mandatory components for a standalone ATmega328P schematic?
To run an ATmega328P outside of the Arduino IDE environment (or to flash it via ISP), your schematic must include several non-negotiable passive components. According to the Microchip ATmega328P datasheet, you must include:
- Decoupling Capacitors: A 100nF (0.1uF) ceramic capacitor on every VCC/GND and AVCC/AGND pair. Place these as close to the IC pins as possible.
- RESET Pull-up: A 10kΩ resistor tying the RESET pin (Pin 29 on TQFP-32, Pin 1 on DIP-28) to VCC. This prevents spurious resets from electromagnetic interference (EMI).
- AVCC Connection: The AVCC pin must be tied to VCC. For high-precision ADC applications, insert a 10uH inductor between the digital 5V rail and AVCC to create an LC low-pass filter, reducing digital switching noise on the analog rail.
- Bulk Capacitance: A 10uF to 47uF electrolytic or tantalum capacitor at the main power entry point to handle transient current spikes during peripheral switching.
How do I implement the auto-reset circuit for bootloader flashing?
The Arduino bootloader (Optiboot) relies on a specific hardware trick to enter programming mode without manual button presses. In your schematic, place a 100nF capacitor in series between the DTR (Data Terminal Ready) line of your USB-to-Serial IC and the MCU's RESET pin. When the serial port opens, the DTR line drops low, pulling the RESET pin low through the capacitor.
Pro-Tip: Do not increase this capacitor value. A 1uF capacitor will hold the RESET line low for too long, causing the bootloader to time out before the serial handshake begins. Conversely, a 10nF capacitor may not pull the line low long enough to reliably trigger the watchdog reset. Stick strictly to 100nF (X7R dielectric).
Should I use the ATmega16U2 or a CH340/CP2102 for USB-to-Serial?
The official Uno R3 schematic uses the ATmega16U2 as a USB-to-Serial bridge. While this allows for custom USB HID firmware (like turning the board into a keyboard), it requires its own 16MHz crystal, 16-pin ICSP header, and DFU firmware flashing. For 95% of custom commercial and maker designs in 2026, engineers opt for the WCH CH340C (~$0.35) or Silicon Labs CP2102N (~$1.20). These chips require minimal external passives, integrate internal oscillators, and drastically reduce BOM cost and PCB footprint. If you are cloning the Nano V3 schematic, the CH340 is the de-facto standard.
Advanced Schematic Design: Power & Clock Networks
Crystal Oscillator Load Capacitance
A common failure mode in custom Arduino schematics is incorrect crystal load capacitance, leading to clock drift or failure to boot at extreme temperatures. The ATmega328P requires a parallel resonant crystal (e.g., Abracon ABM8-16.000MHZ-B2-T). You must calculate the load capacitors ($C_1$ and $C_2$) using the formula:
$C = 2(C_L - C_{stray})$
If your crystal specifies a load capacitance ($C_L$) of 18pF and your PCB stray capacitance ($C_{stray}$) is estimated at 5pF, the calculation is $2(18 - 5) = 26pF$. Use standard 27pF C0G/NP0 ceramic capacitors. Never use X7R or Y5V dielectrics for crystal load caps, as their capacitance varies wildly with voltage and temperature.
Power Regulation: LDO Selection for Battery Nodes
The classic Arduino schematic uses the AMS1117-5.0 linear regulator. While cheap, it has a high quiescent current (~5mA) and a high dropout voltage (1.1V), making it unsuitable for battery-powered IoT nodes. If your custom PCB is powered by a 3.7V LiPo or coin cell, design your schematic around ultra-low Iq LDOs like the TI TPS7A05 (1µA Iq) or Microchip MCP1700. For 5V rail generation from a 7-12V wall adapter, consider switching to a synchronous buck converter like the TI TPS54308 to maintain high efficiency and reduce thermal dissipation on enclosed PCBs.
Common Edge Cases & Schematic Mistakes
When reviewing custom Arduino-based schematics, these specific edge cases frequently cause board failures:
- Missing Series Resistors on Native USB: If you are designing around the ATmega32U4 (Leonardo) or the Renesas RA4M1 (Uno R4), you must place 22Ω to 47Ω series resistors on the USB D+ and D- data lines. Omitting these causes signal reflection and USB enumeration failures.
- ADC Reference Floating: If you are not using the default VCC as the analog reference, you must provide a stable voltage to the AREF pin. Always place a 100nF decoupling capacitor on AREF to ground, even if using the internal 1.1V reference, to stabilize the sample-and-hold circuit.
- ISP Header Pinout Reversal: The standard 2x3 AVR ICSP header has a specific pinout (MISO, VCC, SCK, MOSI, RESET, GND). Silkscreen errors or mirrored footprints in CAD software frequently result in reversed VCC/GND, instantly destroying the target MCU and the programmer. Always verify Pin 1 alignment against the official Arduino schematic.
- I2C Pull-up Sizing: The official Arduino schematics often omit I2C pull-up resistors, relying on external modules to provide them. On a custom PCB with multiple I2C sensors, explicitly add 4.7kΩ pull-ups to SDA and SCL. If running at 400kHz (Fast Mode) with high bus capacitance (>200pF), drop to 2.2kΩ to ensure fast rise times.
Authoritative Resources
To finalize your schematic and verify footprint dimensions, consult the primary silicon manufacturers and official hardware repositories: