
The Hidden Cost of Context Switching in Maker Spaces
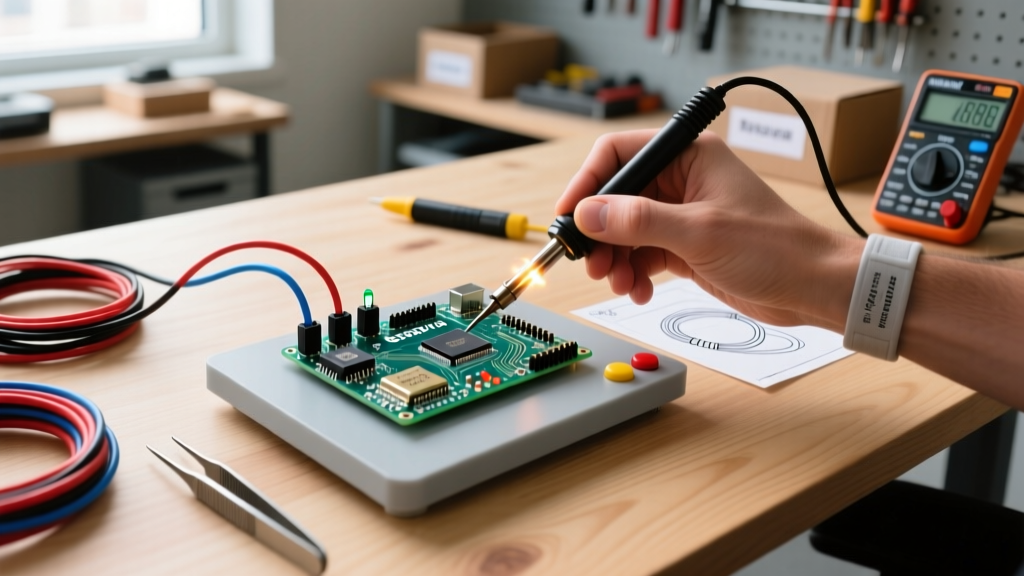
In a busy electronics lab, woodworking shop, or rapid-prototyping facility, attention is your most valuable resource. When you are deep in the flow state—tracing a complex PCB fault or hand-soldering a dense QFP package—an interruption is more than just a minor annoyance. According to extensive cognitive research on workplace interruptions, it takes an average of 23 minutes to fully regain deep focus after a context switch. Traditional workshop alerts, such as a loud buzzer signaling a reflow oven cycle or a 3D printer finishing a job, force you to abandon your current task, walk across the room, and reset the machine.
This is where a custom arduino pager system fundamentally optimizes your workflow. By decentralizing the alert mechanism and delivering a localized, silent haptic vibration directly to your wrist or belt, you maintain spatial awareness without breaking your visual focus on the workbench. In 2026, while IoT mesh networks and Wi-Fi-connected dashboards are ubiquitous, they often introduce unnecessary latency and network overhead for simple binary alerts. A dedicated, offline 433MHz RF pager network remains the undisputed champion for ultra-low-latency, zero-infrastructure workshop alerts.
Hardware Architecture: Selecting the RF Backbone
The success of any RF pager system hinges on the receiver's sensitivity and the transmitter's penetration through physical obstacles like metal tool cabinets and drywall. Many legacy tutorials default to the cheap, green 'XY-MK-5V' 433MHz receivers. Do not use these for a pager. They lack adequate selectivity and will trigger phantom vibrations from ambient RF noise, destroying trust in the system.
| RF Technology | Typical Cost (2026) | Wall Penetration | Power Draw (Rx) | Verdict for Pagers |
|---|---|---|---|---|
| 433MHz ASK (RXB6) | $2.80 / pair | Moderate | ~5mA | Best. Superheterodyne architecture offers excellent noise rejection. |
| 2.4GHz (nRF24L01+) | $3.50 / node | Poor | ~12mA | Avoid. High frequency struggles with concrete and metal shop walls. |
| Sub-GHz LoRa (SX1278) | $8.50 / node | Excellent | ~10mA | Overkill for simple alerts, but ideal for multi-acre outdoor ranges. |
For a standard indoor workshop environment spanning up to 50 meters, the RXB6 superheterodyne receiver paired with a standard 433MHz ASK transmitter module provides the perfect balance of cost, range, and noise immunity. The RXB6 features a narrow bandwidth filter that effectively ignores the broadband noise generated by shop vacuums, variable frequency drives (VFDs), and switching power supplies.
Bill of Materials (BOM): Building a 5-Node Pager Network
To build one master transmitter node and five wearable pager nodes, you need to optimize for both cost and physical footprint. We will use the Microchip ATtiny85 for the wearable nodes due to its low sleep current and 8-pin DIP footprint, which allows for breadboard prototyping before moving to a custom perfboard layout.
- Master Node: 1x Arduino Nano V3.0 ($6.50), 1x 433MHz TX Module ($1.20), 1x 17.3cm wire antenna.
- Pager Nodes (Per Unit): 1x ATtiny85-20PU ($1.40), 1x RXB6 433MHz Receiver ($2.80), 1x 3.3V Coin Pager Motor ($0.85), 1x 2N7000 N-Channel MOSFET ($0.15), 1x 1N4148 Flyback Diode ($0.05), 1x LIR2032 Rechargeable Coin Cell + Holder ($1.90).
- Programming Hardware: 1x USBasp AVR Programmer ($4.50) for flashing the ATtiny85 via ISP headers.
Total cost for a 5-node network sits right around $35.00, a fraction of the price of commercial restaurant paging systems, while offering complete programmability over the alert patterns.
Circuit Design & Power Optimization
The most critical failure mode in DIY wearable electronics is power sag and back-EMF destruction. A standard 3V vibration motor draws roughly 80mA on startup. If you attempt to drive this directly from an ATtiny85 GPIO pin (which maxes out at 40mA per pin, but has lower total package limits), you will permanently damage the microcontroller's silicon.
The MOSFET Driver & Flyback Edge Case
You must use a logic-level N-channel MOSFET like the 2N7000 to switch the motor. The ATtiny85 pin drives the MOSFET gate through a 100-ohm resistor, while the motor connects between the 3.3V LIR2032 battery and the MOSFET drain. Crucially, you must place a 1N4148 signal diode in parallel with the motor (cathode to positive, anode to the MOSFET drain). When the motor spins down, its collapsing magnetic field generates a reverse voltage spike (back-EMF) that can exceed 20V, instantly punching through the MOSFET or resetting the microcontroller. The flyback diode safely recirculates this spike.
Battery Selection: CR2032 vs. LIR2032
Do not use standard CR2032 lithium primary cells for a motor-driven pager. CR2032 cells are designed for low continuous draw (like RTC memory backups) and have a high internal resistance. When the 80mA motor engages, the voltage will sag below the ATtiny85's brown-out detection (BOD) threshold of 2.7V, causing the pager to endlessly reboot. The LIR2032 is a rechargeable lithium-ion coin cell with a much lower internal resistance and a nominal voltage of 3.6V, providing the necessary current burst to spin the motor reliably without triggering a brown-out.
Firmware Workflow: Non-Blocking, Interrupt-Driven Logic
Optimizing the physical pager is only half the battle; the firmware must respect the battery life and respond instantly. Polling the RF data pin in the loop() function wastes milliamps of current. Instead, we leverage hardware interrupts and deep sleep modes.
'The hallmark of an optimized embedded workflow is code that does nothing until the exact microsecond it is needed. Sleep until interrupted, act decisively, and return to sleep.'
Using the Arduino attachInterrupt() function, we configure the ATtiny85 to wake from 'Power-down' sleep mode only when a rising edge is detected on the RXB6 data pin. The RF library (such as VirtualWire or RadioHead) handles the decoding in the background. Once a valid packet address matches the pager's specific ID byte, the firmware triggers a non-blocking haptic pattern using millis() timing, ensuring the CPU remains free to handle any subsequent RF packets without dropping them.
Example Haptic State Machine
Rather than using delay(), which blocks the processor, implement a state machine for the vibration motor. A 'double pulse' alert (indicating a high-priority fault, like a thermal runaway warning) can be mapped to a specific byte sequence, while a 'single long pulse' (indicating a standard timer completion) maps to another. This allows the user to identify the nature of the workflow interruption purely by feel, without looking away from their soldering microscope.
Antenna Tuning: The Physics of 433MHz Deployment
A common reason DIY RF projects fail in large workshops is improper antenna tuning. The transmitter and receiver antennas must be resonant at the operating frequency to maximize power transfer. For 433.92MHz, the wavelength is approximately 69 centimeters. A full-wave antenna is impractical for a wearable pager, so we use a quarter-wave monopole design.
Calculating the Quarter-Wave Whip
To find the optimal wire length, divide the speed of light by the frequency, then divide by four. Accounting for the velocity factor of standard copper wire (typically around 0.95), the exact cut length for your antenna should be 17.3 centimeters. Solder a 17.3cm piece of 22AWG silicone-stranded wire directly to the ANT pad on the RXB6 and TX modules. Route the transmitter antenna vertically away from any metal enclosures. If your master node is housed in a metal project box, use an SMA pigtail to route the antenna outside the Faraday cage.
For deeper insights into RF module integration and antenna theory, the Adafruit RF and LoRa module guides provide excellent visual references for ground plane requirements and whip antenna orientation, which apply equally to sub-GHz ASK modules.
Deployment Strategy: Integrating the Pager into Daily Operations
Once the hardware is assembled and the firmware is flashed, the final step is workflow integration. Mount the master transmitter node near your central shop controller or integrate it directly into your existing smart-relay boards. For example, wire a digital output from your reflow oven's PID controller to the master Arduino. When the PID reaches the 'cool down' phase, it sends the specific hex byte to the master, which broadcasts the 'single pulse' alert to your pager.
By externalizing the monitoring tasks to a dedicated, silent haptic network, you reclaim your cognitive bandwidth. You no longer need to babysit the 3D printer's first layer or hover over the ultrasonic cleaner. The arduino pager system acts as a reliable, low-friction extension of your own senses, allowing you to sustain the deep work states that complex electrical engineering and fabrication demand.