
The State of Arduino and Modbus in 2026
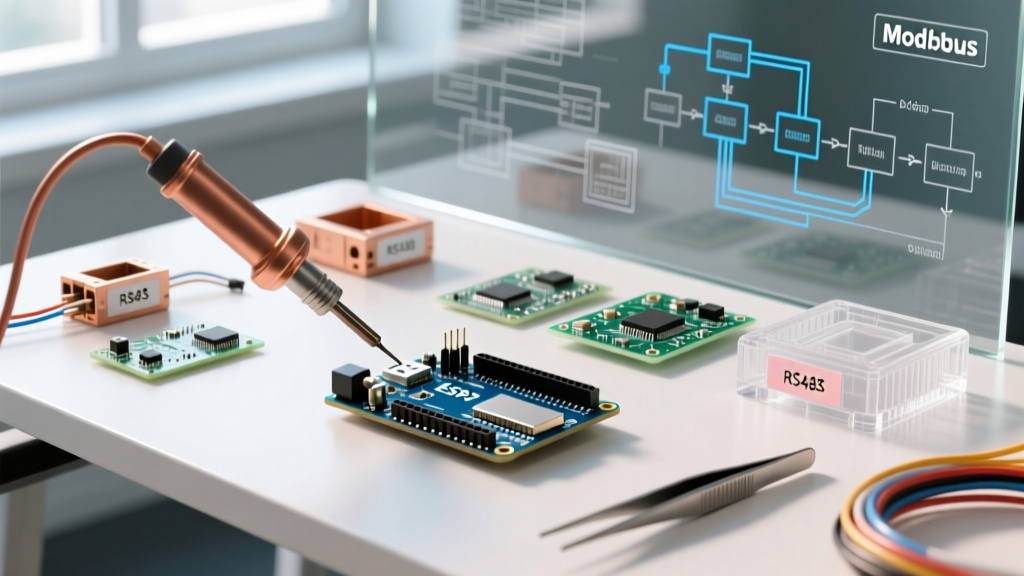
As the Industrial Internet of Things (IIoT) continues to mature in 2026, the intersection of hobbyist microcontrollers and legacy industrial protocols remains a vital prototyping ground. When engineers and makers need to bridge the gap between a $5 microcontroller and a $2,000 Variable Frequency Drive (VFD) or industrial sensor, Arduino and Modbus integration is the undisputed standard. Modbus RTU over RS485 offers a robust, noise-immune, multi-drop communication bus that survives harsh electrical environments where standard UART or I2C would fail instantly.
However, moving from a breadboard prototype to a reliable industrial node requires navigating a minefield of electrical edge cases, library deprecations, and wiring misconceptions. In this community resource roundup, we synthesize the most reliable hardware modules, software libraries, and debugging frameworks endorsed by the electrical engineering community this year.
The Hardware Stack: Choosing the Right RS485 Transceiver
The physical layer for Modbus RTU is almost exclusively RS485. The transceiver you choose dictates your noise immunity, voltage tolerance, and survival rate against ground loops. While the classic MAX485 chip is ubiquitous in beginner kits, it is rarely the correct choice for real-world industrial panels in 2026.
| Transceiver Module | Isolation | Logic Voltage | Est. Price (2026) | Best Application |
|---|---|---|---|---|
| Generic MAX485 Breakout | None | 5V Only | $0.80 - $1.20 | Bench testing, short-distance educational projects. |
| XY-017 Isolated RS485 | Optocoupler + B0505S | 3.3V to 5V | $4.50 - $6.00 | Industrial control panels, VFD communication. |
| Adafruit MAX31855 / Isolator | Chip-level (Si8662) | 3V to 5V | $9.95 | High-speed data logging, space-constrained PCBs. |
| SparkFun RS485 Breakout (MAX3485) | None | 3.3V | $8.50 | ESP32 and low-voltage ARM Cortex integrations. |
Expert Insight: If you are connecting an Arduino to industrial equipment powered by 24V DC or AC mains, always use an isolated transceiver like the XY-017. Industrial ground potentials can fluctuate by tens of volts. Without galvanic isolation, a ground loop will push current through your Arduino's ground plane, instantly destroying the ATmega328P or ESP32 silicon. According to the Texas Instruments MAX485 datasheet, the common-mode voltage range is limited to -7V to +12V; exceeding this destroys the receiver.
Top Arduino and Modbus Software Libraries
The software ecosystem for Modbus has stabilized significantly. Here are the definitive libraries for 2026, categorized by use case.
1. ArduinoModbus (Official)
Maintained by Arduino LLC, this library is the modern standard for boards with ample flash and RAM (like the Arduino Portenta, Nano 33 IoT, or ESP32). It supports both Modbus RTU and Modbus TCP. However, it relies heavily on the ArduinoRS485 library, which mandates specific hardware timer configurations for baud rate generation. It is not recommended for legacy 8-bit AVR boards due to its memory footprint.
2. ModbusMaster by Doc Walker
For ATmega328P (Arduino Uno/Nano) and ATmega2560 (Mega) acting strictly as a Modbus Master, this remains the undisputed champion. It is lightweight, non-blocking (if implemented with care), and handles the CRC16 calculations efficiently. It does not support Modbus TCP or Slave modes, keeping the compiled binary size under 8KB.
3. SMARMengModbus (Slave/Master)
If your project requires the Arduino to act as a Modbus Slave (e.g., exposing sensor data to a commercial PLC or SCADA system like Ignition), SMARMengModbus offers excellent register mapping capabilities. It allows you to map Arduino variables directly to Modbus holding registers via pointer arrays, drastically reducing the boilerplate code required to service read/write requests.
The Physics of RS485 Wiring: Edge Cases and "Gotchas"
The most common point of failure in Arduino and Modbus projects is not the code; it is the physical wiring. RS485 uses differential signaling, but many makers misunderstand the requirements for a stable bus.
The Common Ground Misconception: Many tutorials claim RS485 only requires two wires (A and B). This is false for long runs. While the signal is differential, the transceivers still require a common ground reference to keep the common-mode voltage within the -7V to +12V operational window. Always run a third wire (GND) alongside your A and B twisted pair.
Termination and Biasing Resistors
To prevent signal reflections and floating bus states, your physical layer must include specific resistors:
- Termination (120Ω): Place a 120-ohm resistor across the A and B lines at the first and last physical nodes on the bus. Do not place them on intermediate nodes.
- Fail-Safe Biasing (560Ω): When no device is transmitting, the bus floats, causing the Arduino's UART to read phantom noise as data, triggering continuous CRC errors. To fix this, pull the A line HIGH (to VCC via 560Ω) and the B line LOW (to GND via 560Ω) at the Master node. This ensures the idle state is interpreted as a logical '1' (Mark).
Community Debugging Tools & Simulators
Before deploying your Arduino to the field, you must validate its Modbus frames. Relying solely on Serial.print() is insufficient for timing-critical RTU protocols.
- QModMaster (Open Source): A free, cross-platform GUI based on libmodbus. It allows you to simulate a Master, poll your Arduino Slave, and view the raw hex payload. Essential for verifying endianness (byte-swapping) issues when reading 32-bit floats from Arduino registers.
- Modbus Poll (Commercial): The industry standard for Windows. While it costs around $120 for a license, it is invaluable for professionals reverse-engineering undocumented industrial sensors.
- Wireshark with Serial Capture: For advanced users, capturing the raw serial stream via Wireshark allows you to analyze the exact microsecond timing between frames. The official Modbus IDA specifications dictate that the inter-frame gap (t3.5) must be at least 3.5 character times. At 9600 baud, this is roughly 4 milliseconds. If your Arduino library switches from Receive to Transmit too quickly, the remote device will interpret your new frame as a continuation of the old one, resulting in a frame error.
Real-World Troubleshooting: VFD Noise and CRC Failures
A frequent scenario in 2026 maker spaces is using an Arduino to read data from a Variable Frequency Drive (VFD) controlling a 3-phase motor. VFDs generate massive Electromagnetic Interference (EMI) through high-frequency PWM switching.
Failure Mode: The Arduino receives corrupted bytes, the CRC16 check fails, and the ModbusMaster library returns error code 0xE2 (CRC Error).
The Fix:
- Cable Choice: Never use standard Dupont jumper wires or unshielded ribbon cable. Use CAT6 Ethernet cable (which features tightly twisted pairs) or shielded Belden 9841 RS485 cable.
- Shield Grounding: Connect the cable shield to earth ground at one end only to prevent ground loops while still draining high-frequency EMI.
- Baud Rate Adjustment: While 115200 baud is tempting for speed, dropping the bus speed to 9600 or 19200 baud significantly increases the signal-to-noise ratio and the physical distance the signal can travel reliably.
Final Thoughts for Makers and Engineers
Mastering Arduino and Modbus integration requires respecting both the software architecture and the harsh realities of industrial physics. By selecting isolated hardware, utilizing the correct library for your specific MCU architecture, and implementing proper bus termination and biasing, you can build IIoT nodes that rival commercial PLCs in reliability. For deeper protocol specifications, always refer to the Arduino official documentation and the Modbus IDA standards body.