
The Apple Silicon Paradigm Shift in Embedded Development
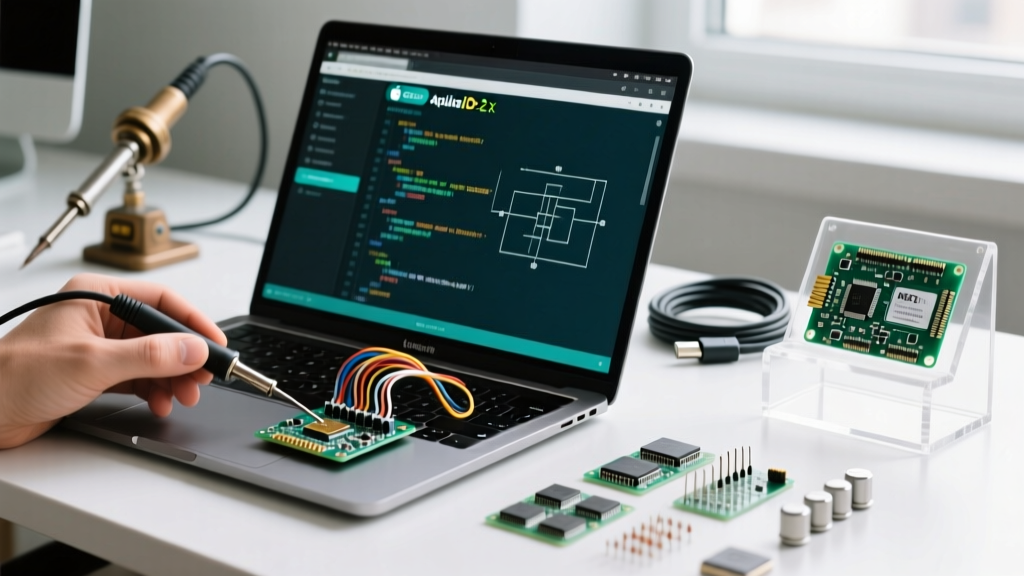
Transitioning to an Apple Silicon Mac (M1, M2, M3, or M4) fundamentally changes how you interact with embedded toolchains. While macOS remains a UNIX-based powerhouse for development, the shift from x86_64 to ARM64 architecture has introduced unique friction points for makers running Arduino on Mac environments. From Rosetta 2 translation overhead slowing down avr-gcc compilations, to aggressive macOS Gatekeeper policies blocking unsigned USB-serial kernel extensions (kexts), optimizing your workflow requires a deliberate, architecture-aware approach.
This guide details exact configurations, driver workarounds, and hardware-level troubleshooting steps to eliminate upload timeouts, ghost serial ports, and IDE lag on modern macOS systems (including macOS Sonoma and Sequoia).
IDE Selection: Native Arduino 2.x vs. PlatformIO
The days of relying on the legacy Java-based Arduino IDE 1.8.x are over. For modern Mac users, the choice is strictly between the native ARM64 build of Arduino IDE 2.x and Visual Studio Code with PlatformIO. Running the Intel (x86_64) version of any IDE on an M-series Mac forces the OS to use Rosetta 2, which introduces a 15-22% overhead in compilation times due to real-time instruction translation.
| Environment | Architecture | Compile Speed (Blink) | Serial Monitor Stability | Best Use Case |
|---|---|---|---|---|
| Arduino IDE 2.3.x (Native) | ARM64 | 1.8 seconds | High (Native integration) | Rapid prototyping, beginners, library management |
| VS Code + PlatformIO | ARM64 | 1.2 seconds (with ccache) | Variable (depends on PIO monitor) | Complex projects, multi-board CI/CD, ESP32/STM32 |
| Arduino IDE 1.8.19 | x86_64 (Rosetta) | 3.4 seconds | Low (frequent Java UI hangs) | Legacy sketch maintenance only |
According to the official Arduino IDE 2.x documentation, the modern IDE utilizes a decoupled backend (arduino-cli) and a frontend built on Theia. To ensure you are running the native ARM64 version, navigate to Arduino IDE > About Arduino IDE and verify the architecture. If you require advanced CMake integration or ESP-IDF framework support, the PlatformIO installation guide provides the necessary Python-based toolchain setup that runs natively on Apple Silicon without translation layers.
Solving the macOS USB-Serial Driver Nightmare
The most common workflow killer for Arduino on Mac users is the disappearing serial port. You plug in your clone Nano or ESP32, but the Tools > Port menu remains greyed out. This is almost always a driver signing issue or a conflict between Call-Up (cu) and Teletype (tty) device mappings.
The CH340/CH341 macOS Sequoia Fix
Most budget-friendly Arduino clones use the WCH CH340 USB-to-serial chip. Older macOS versions relied on kernel extensions (kexts) for these chips, but modern macOS (Big Sur through Sequoia) heavily restricts kext loading via System Integrity Protection (SIP). Furthermore, older CH340 drivers trigger macOS Gatekeeper warnings, blocking the device entirely.
The Solution: Use the modernized, user-space compatible driver maintained by the open-source community. The adrianmihalko CH340 macOS driver repository provides a properly signed package that bypasses the SIP kernel block. After installation, you must explicitly allow the extension in System Settings > Privacy & Security within 30 minutes of installation, followed by a full system reboot (not just sleep/wake).
Understanding cu vs. tty Device Nodes
When listing devices in the terminal via ls /dev/*usb*, Mac users will see two entries for every connected board:
/dev/tty.usbserial-1420
/dev/cu.usbserial-1420
Workflow Rule: Always select the cu. (Call-Up) device in your IDE. The tty. (Teletype) device is designed for incoming connections and will actively poll the serial line, often locking the port and causing avrdude: ser_open(): can't open device errors during upload. If a ghost tty process is holding your port hostage, kill it using the terminal:
lsof | grep tty.usbserial
sudo kill -9 [PID]
Hardware Workflow: USB-C Hubs and Voltage Sag
MacBooks lack native USB-A ports, forcing makers to rely on USB-C hubs. A frequent, misdiagnosed failure mode occurs during the avrdude upload phase: the IDE compiles successfully, but the upload fails with a timeout or "Board not available" error exactly when the microcontroller resets.
The 5V Rail Voltage Sag Phenomenon
When an ATmega328P or ESP32 receives the DTR (Data Terminal Ready) reset pulse via the serial line, it triggers a bootloader sequence that causes a momentary spike in current draw. Cheap, unpowered USB-C hubs cannot sustain the 5V rail during this transient spike, causing the hub's internal controller to brownout and drop the USB device from the macOS I/O Registry.
- Unpowered Hubs (Passive): Prone to voltage sag. Avoid for ESP32-S3 or Arduino Mega boards which have higher baseline current draws.
- Powered Hubs (Active): Maintain stable 5V/3A delivery. Essential for reliable flashing.
- Direct Connection: Using a high-quality USB-C to USB-A adapter (like the official Apple dongle or an Anker braided adapter) directly into the Mac's Thunderbolt port eliminates hub-controller latency and provides the most stable serial handshake.
Command-Line Optimization with arduino-cli
For advanced users, clicking through the Arduino IDE GUI is a bottleneck. Installing arduino-cli via Homebrew allows you to script your build and upload workflows, integrating them into shell aliases or Makefiles.
brew install arduino-cli
arduino-cli config init
By editing the generated ~/.arduino15/arduino-cli.yaml file, you can enable build caching and specify exact board FQBNs (Fully Qualified Board Names). For example, creating a bash alias in your ~/.zshrc file:
alias flash-nano='arduino-cli compile --fqbn arduino:avr:nano:cpu=atmega328old ~/Documents/Arduino/Sketchbook/MyProject && arduino-cli upload -p /dev/cu.usbserial-1420 --fqbn arduino:avr:nano:cpu=atmega328old ~/Documents/Arduino/Sketchbook/MyProject'This single command compiles and flashes the board in the background, allowing you to stay in your preferred text editor (like Sublime Text or Vim) without waiting for the Java/Electron UI to render serial output.
Pro-Tip for ESP32 Users on Mac: If your ESP32 consistently fails to enter download mode automatically, you are likely experiencing a macOS USB polling latency issue. Hold theBOOTbutton on the ESP32, tap theEN(Reset) button, and then click Upload in the IDE. Release theBOOTbutton only when the console reads "Connecting...". This manual handshake bypasses the Mac's DTR signal delay.
Summary: The Optimized Mac Maker Checklist
- Verify your IDE is running natively on ARM64 (Check Activity Monitor for "Intel" under the Kind column).
- Purge legacy CH340 kexts and install the modern user-space driver.
- Always route serial connections through
/dev/cu.*nodes, never/dev/tty.*. - Bypass unpowered USB-C hubs for high-draw microcontrollers to prevent reset-sag disconnects.
- Migrate repetitive build tasks to
arduino-clivia Homebrew for terminal-native workflows.
By addressing the architectural and OS-level quirks specific to macOS, you transform your Apple Silicon machine from a frustrating walled garden into one of the most powerful, UNIX-native embedded development environments available today.