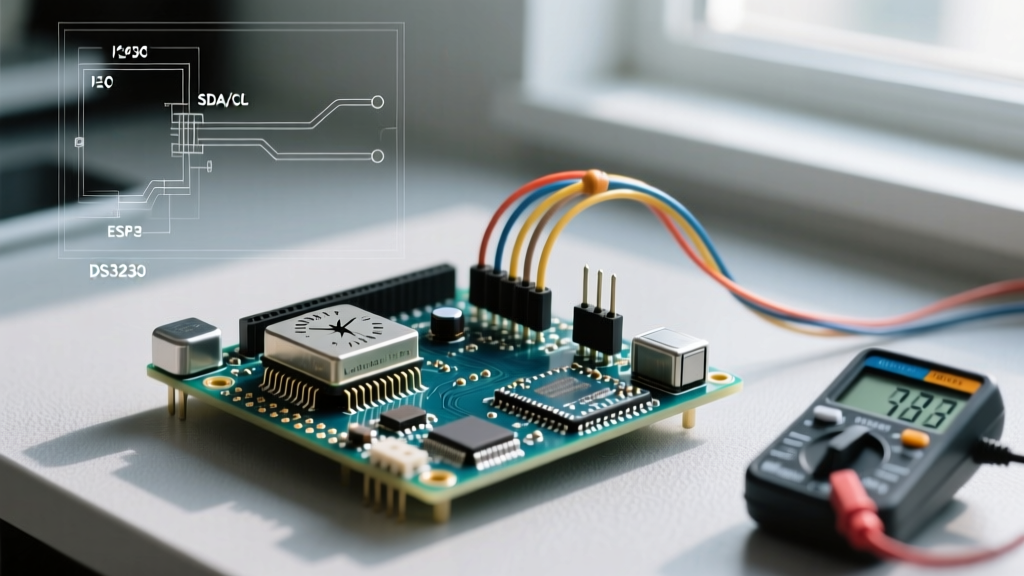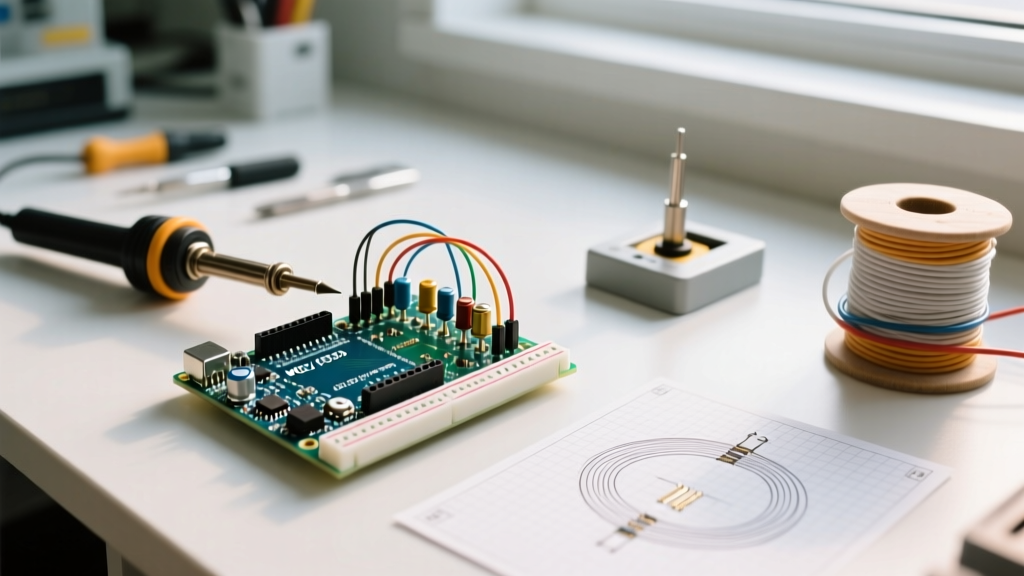

The "Lab 7" Hurdle: Why Arduino RC Labs Trip Students Up
If you are an electrical engineering or physics student, you likely know the dread of the "Lab 7" handout. Across many university curricula, Lab 7 focuses on transient response analysis—specifically, mapping the charge and discharge curves of Resistor-Capacitor (RC) circuits. In 2026, while oscilloscopes are still used, many departments have transitioned to using microcontrollers as low-cost data acquisition (DAQ) systems. The result? The classic Lab7 handout RC circuits with Arduino lab report.
However, treating an Arduino Uno like a plug-and-play oscilloscope is the fastest way to ruin your data. The primary culprit is the Analog-to-Digital Converter (ADC) sampling rate bottleneck. This community roundup synthesizes hardware workarounds, firmware tweaks, and report-writing strategies to ensure your lab report stands out and accurately reflects the underlying physics.
Hardware Selection: Beating the ADC Bottleneck
The fundamental equation for an RC circuit's time constant is τ = R × C. To accurately plot the exponential curve V(t) = V0(1 - e^(-t/τ)), you need a high density of data points within the first 3τ to 5τ window.
The classic Arduino Uno (ATmega328P) has a default ADC clock prescaler of 128, resulting in an ADC clock of 125 kHz. Because a single 10-bit conversion takes 13 ADC cycles, the maximum sampling rate is roughly 9,600 Hz (one sample every ~104 µs). If your chosen RC values yield a time constant of 1 ms, you will only capture about 9 data points per time constant—barely enough to define a curve, and a guaranteed deduction on your lab report.
Component Selection Matrix for Arduino DAQ
To fix this without touching the firmware, you must scale your passive components to slow down the circuit's transient response, giving the Arduino's ADC time to catch up. Below is a community-tested matrix for selecting components that yield clean, high-resolution curves on a standard 10-bit Arduino ADC.
| Resistor (R) | Capacitor (C) | Theoretical τ | Samples per τ (at 9.6kHz) | Report Viability |
|---|---|---|---|---|
| 1 kΩ | 100 nF | 0.1 ms | ~0.9 | Fail (Aliasing) |
| 10 kΩ | 100 nF | 1.0 ms | ~9.6 | Poor (High Error) |
| 100 kΩ | 1.0 µF | 100 ms | ~960 | Excellent (A+ Grade) |
| 1 MΩ | 1.0 µF | 1000 ms | ~9600 | Good (Watch Leakage) |
Pro-Tip: Avoid standard aluminum electrolytic capacitors for precision lab reports. They often carry a ±20% tolerance and exhibit high leakage current, which skews the discharge curve. Use polypropylene film or C0G/NP0 ceramic capacitors for tight 1-5% tolerances.
Firmware Tweaks: Accelerating analogRead()
If your lab handout strictly mandates specific, low-value components (e.g., R=1kΩ, C=100nF), you cannot rely on the default Arduino analogRead() function. You must manipulate the ADCSRA (ADC Control and Status Register A) to lower the prescaler, increasing the sampling rate at the cost of slight resolution noise.
By changing the prescaler from 128 to 16, the ADC clock jumps to 1 MHz, yielding a sampling rate of roughly 76.8 kHz (one sample every ~13 µs). This provides nearly 75 samples for a 1ms time constant.
Professor's Pet Peeve: Never submit a lab report using manipulated ADC registers without explicitly stating it in your methodology section. Unexplained high-speed sampling that bypasses the standard RC time constant limitations looks like fabricated data to graders who expect the 9.6kHz bottleneck.
The 2026 Hardware Reality: Classic Uno vs. Uno R4
As university labs update their inventory, many students are now handed the Arduino Uno R4 Minima or WiFi. The R4 is powered by a Renesas RA4M1 ARM Cortex-M4 processor. This fundamentally changes your lab report parameters:
- Resolution: The R4 features a 14-bit ADC (up to 16,383 discrete steps) compared to the classic 10-bit (1,023 steps).
- Sampling Speed: The R4 can sample at vastly higher rates natively without register hacks, easily capturing sub-millisecond RC transients.
- Voltage Reference: The R4 operates on a 3.3V logic and ADC reference, whereas the classic uses 5V. Ensure your Lab7 handout calculations for V(t) are scaled to 3.3V, or your entire voltage axis will be wrong.
Structuring Your Lab7 Handout RC Circuits with Arduino Lab Report
A common mistake is treating the lab report as a mere data dump. To score in the top percentile, structure your analysis around the discrepancy between theoretical and empirical data. Use the following framework:
- Theoretical Baseline: Calculate expected τ using nominal component values.
- Empirical Extraction: Do not just eyeball the 63.2% voltage mark. Export your Serial Monitor CSV data and use Python's
scipy.optimize.curve_fitor Excel's Solver to fit the exponential decay equation. Extract the empirical τ from the regression coefficient. - Error Analysis (The "A+" Section): Compare theoretical and empirical τ. If empirical τ is higher, investigate parasitic breadboard capacitance (typically 2-5 pF per row) and oscilloscope probe loading. If empirical τ is lower, discuss capacitor dielectric absorption or capacitor tolerance limits.
- ADC Quantization Error: Include a paragraph on how the discrete steps of the 10-bit ADC introduce quantization noise, particularly near the asymptote of the charge curve where voltage changes are minimal.
Edge Cases & Troubleshooting
When your data looks like a staircase or a flatline, check these common failure modes before rewriting your code:
1. Ground Loop and Reference Drift
If you are powering the RC circuit from the Arduino's 5V pin and using that same 5V pin as the ADC reference (DEFAULT), any current spike drawn by the circuit will cause the 5V rail to sag. This sags your reference voltage simultaneously, resulting in a flattened, inaccurate charge curve. Fix: Power the RC circuit from an external bench supply, but ensure the grounds are tied together.
2. Breadboard Parasitics
At high frequencies or very low capacitance values (e.g., < 50 pF), the breadboard's inherent parasitic capacitance will dominate your measurements. Your measured τ will be significantly higher than calculated. For sub-nanofarad experiments, bypass the breadboard and solder the components directly to a perfboard or use a dedicated PCB shield.
3. Serial Print Bottlenecks
Calling Serial.println() inside your sampling loop drastically slows down data acquisition. The serial buffer will overflow, and your timing will be ruined. Fix: Sample the data into a pre-allocated array in the microcontroller's SRAM first, then dump the array to the Serial Monitor after the transient event has concluded.
Final Takeaways for Your Lab Report
The Lab7 handout RC circuits with Arduino lab report is less about proving that capacitors charge exponentially, and more about demonstrating your understanding of measurement system limitations. By acknowledging the Arduino's ADC constraints, selecting mathematically appropriate passive components, and applying rigorous curve-fitting techniques to your exported data, you transition from a student merely following instructions to an engineer analyzing real-world system boundaries.