
The Multiplexer Bottleneck: Why Arduino Mux Circuits Fail
When your Arduino Uno or Nano runs out of pins, a multiplexer (mux) is the standard solution. However, integrating an Arduino mux into a circuit often introduces a new layer of hardware and software complexity. Whether you are routing 16 analog sensors through a CD74HC4067 or managing multiple identical I2C sensors via a TCA9548A I2C switch, multiplexers are notorious for introducing ghost readings, bus lockups, and silent failures.
As of 2026, bare CD74HC4067 chips cost around $1.20, while breakout boards like the SparkFun BOB-09056 retail for roughly $5.95. The TCA9548A (such as the Adafruit 2717 breakout) sits around $4.95. Despite their low cost, a single wiring oversight or misunderstood logic threshold can halt an entire data-logging project. This guide provides a deep-dive diagnostic framework for isolating and resolving the most stubborn Arduino mux errors.
Rapid Diagnostic Matrix: Symptom to Solution
Before grabbing a multimeter, cross-reference your system's behavior with this diagnostic matrix. Most Arduino mux errors fall into one of these five categories.
| Symptom | Probable Hardware Cause | Quick Fix / Action |
|---|---|---|
| I2C bus freezes; Wire.h returns 0 bytes | Missing pull-up resistors on SDA/SCL lines or bus capacitance > 400pF | Add 4.7kΩ pull-ups to VCC; reduce wire length or lower clock speed to 100kHz |
| TCA9548A not found in I2C Scanner | Floating address pins (A0, A1, A2) causing unpredictable base addresses | Hard-tie A0, A1, A2 to either GND or VCC (never leave floating) |
| CD74HC4067 analog readings drift wildly | Floating unconnected channels accumulating static charge | Solder 10kΩ pull-down resistors to GND on all unused analog inputs |
| Mux ignores select pins (S0-S3) | Logic level mismatch (e.g., 3.3V MCU driving a 5V HC-series mux) | Use a logic level shifter or power the CD74HC4067 with 3.3V if MCU is 3.3V |
| All channels read the exact same value | Enable (EN) pin held HIGH, or SIG/COM pin wired to the wrong ADC | Tie EN to GND (active low); verify SIG pin connects to Arduino A0-A5 |
Deep Dive: TCA9548A I2C Switch Failures
The TCA9548A allows you to connect up to eight identical I2C devices (like BME280 sensors or OLED displays) that share the same hardcoded address. However, I2C is a fragile protocol, and the mux acts as a gatekeeper. According to the Texas Instruments TCA9548A datasheet, the device relies on strict voltage thresholds and bus capacitance limits.
1. The Floating Address Pin Trap
The TCA9548A has three address pins: A0, A1, and A2. These dictate the device's I2C address (ranging from 0x70 to 0x77). A common beginner mistake is leaving these pins unconnected, assuming they default to LOW. In reality, high-impedance floating pins act as antennas, picking up electromagnetic interference (EMI) from nearby wiring. This causes the mux to randomly change addresses mid-operation, resulting in intermittent Wire.endTransmission() timeouts.
The Fix: Always use 10kΩ resistors to tie A0, A1, and A2 firmly to GND or VCC. If you are using a bare chip on a perfboard, solder the resistors directly at the IC pins, not at the end of a long wire.
2. Bus Capacitance and Lockups
Every trace, wire, and sensor module adds parasitic capacitance to the I2C bus. The I2C specification limits total bus capacitance to 400pF for standard 400kHz operation. When you route signals through a TCA9548A, you are effectively creating up to eight sub-buses. If you use long ribbon cables to connect your sensors, the capacitance can easily exceed 400pF, causing the SDA/SCL edges to round off. The mux fails to register the clock pulses, and the Arduino's Wire library hangs indefinitely.
The Fix: If long cables are unavoidable, drop the I2C clock speed to 100kHz (or even 50kHz) using Wire.setClock(100000); in your setup() function, and decrease your pull-up resistor values from 4.7kΩ to 2.2kΩ to create a sharper rising edge.
Deep Dive: CD74HC4067 16-Channel Analog Mux Faults
Analog multiplexing is fundamentally different from digital switching. The CD74HC4067 uses internal MOSFETs to route analog voltages to a single common (SIG) pin. This introduces specific analog phenomena that digital makers often misdiagnose as "bad code" or "broken sensors."
1. Charge Injection and Ghost Readings
When the HC4067 switches from Channel 1 to Channel 2, the internal MOSFET gate requires a small burst of charge to turn on/off. This charge is injected directly into the signal path, causing a momentary voltage spike. Furthermore, if Channel 2 is connected to a high-impedance sensor (like a piezoelectric film or a raw LDR without a buffer op-amp), the ADC on your Arduino will sample this residual charge, resulting in a "ghost" reading that looks like a mix of Channel 1 and Channel 2.
The Fix: Implement a "dummy read" protocol in your firmware. Switch the mux to the target channel, wait 2-5 milliseconds for the charge injection to settle and the internal ADC sample-and-hold capacitor to charge, discard the first analogRead(), and use the second one.
2. The Logic Level Mismatch (3.3V vs 5V)
The "HC" in CD74HC4067 stands for High-Speed CMOS. According to standard CMOS logic thresholds, a logic HIGH (V_IH) must be at least 0.7 × VCC. If you power the mux with 5V (VCC = 5V), the Arduino must output at least 3.5V on the S0-S3 select pins to register a HIGH. If you are using a 3.3V Arduino (like the Due, MKR series, or an ESP32), a 3.3V output will fall into the undefined region of a 5V-powered HC4067, leading to erratic channel switching.
The Fix: Power the CD74HC4067 with the same logic voltage as your microcontroller. If your MCU is 3.3V, power the mux VCC with 3.3V. Note that this limits your analog signal range to 0-3.3V. If you must switch 5V analog signals with a 3.3V MCU, you need a dedicated logic level translator (like the TXB0104) on the S0-S3 select lines.
Step-by-Step Multimeter Isolation Protocol
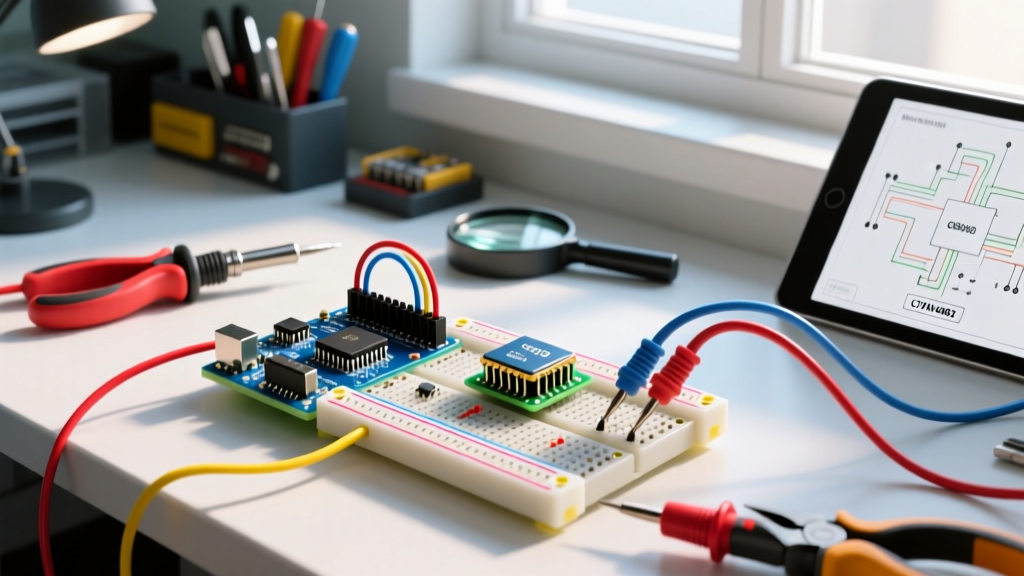
When firmware debugging fails, revert to first principles with a digital multimeter (DMM). Follow this exact sequence to isolate the fault domain.
- Verify VCC and GND: Set DMM to DC Voltage. Measure between the mux VCC and GND pins directly at the IC or breakout header. You should see exactly 5.00V ±0.05V (or 3.3V). If it reads 4.2V, your breadboard power rail has high resistance or a loose jumper.
- Check the Enable (EN) Pin: The EN pin on the CD74HC4067 is active LOW. Measure the voltage on the EN pin. It must read 0V (GND). If it reads 1.5V or higher, the mux is internally disabled, and the SIG pin will float.
- Continuity Test the Select Lines: Power down the circuit. Set the DMM to continuity mode. Probe from Arduino Digital Pin 8 to the S0 pin on the mux. Repeat for S1, S2, and S3. A beep confirms the physical path. If there is no beep, check for breadboard dead zones.
- Measure the SIG/COM Output: Power the circuit back up. Connect a known 2.5V reference to Channel 0. Set your Arduino code to select Channel 0 (S0-S3 all LOW). Probe the SIG pin with the DMM. If the DMM reads 2.5V but the Arduino
analogRead()returns 0 or random noise, the fault lies in the Arduino's ADC or the trace between the SIG pin and the Arduino's A0 pin, not the mux itself.
Firmware Debugging: The I2C Mux Scanner
For I2C multiplexers like the TCA9548A, the standard Arduino I2C Scanner is insufficient because it only scans the primary bus. You must write a nested scanner that iterates through the mux channels. Below is a robust diagnostic snippet that forces a bus reset and scans all eight sub-buses, printing the results to the Serial Monitor.
#include <Wire.h>

#define MUX_ADDR 0x70

void tcaSelect(uint8_t channel) {
  if (channel > 7) return;
  Wire.beginTransmission(MUX_ADDR);
  Wire.write(1 << channel); // Bitmask to open specific channel
  Wire.endTransmission();
}

void setup() {
  Serial.begin(115200);
  Wire.begin();
  Serial.println("\n--- Arduino Mux I2C Diagnostic Scanner ---");

  for (uint8_t ch = 0; ch < 8; ch++) {
    tcaSelect(ch);
    Serial.print("Scanning Mux Channel "); Serial.println(ch);

    for (uint8_t addr = 1; addr < 127; addr++) {
      Wire.beginTransmission(addr);
      byte error = Wire.endTransmission();
      if (error == 0) {
        Serial.print("  -> Device found at 0x");
        if (addr < 16) Serial.print("0");
        Serial.println(addr, HEX);
      }
    }
  }
  Serial.println("Scan Complete.");
}

void loop() {}
Expert Tip: If the scanner above freezes on a specific channel, you have a hard short between SDA and GND, or SCL and VCC, on the sensor module connected to that specific sub-bus. Disconnect the sensors one by one until the code resumes executing.
Summary of Best Practices
Troubleshooting an Arduino mux requires separating digital logic faults from analog signal degradation. Always terminate unused I2C address pins, respect the 400pF capacitance limit on long bus lines, and implement dummy-read delays for high-impedance analog sensors. By combining methodical multimeter isolation with targeted diagnostic firmware, you can eliminate ghost readings and bus lockups, ensuring your multiplexed sensor arrays deliver reliable, noise-free data.