
Introduction to the L293D in Modern Maker Projects
The Texas Instruments L293D remains one of the most ubiquitous quadruple half-H motor drivers in the Arduino ecosystem. Despite the rise of modern MOSFET-based alternatives in 2026, the L293D is still heavily specified in university robotics curricula, legacy industrial control panels, and educational maker kits due to its ruggedness, built-in flyback diodes, and straightforward through-hole DIP-16 packaging.
However, configuring the L293D for Arduino requires more than just copying a basic wiring diagram. Because it utilizes older Bipolar Junction Transistor (BJT) Darlington pair architecture, it introduces specific voltage drops and thermal management challenges that modern makers must account for to prevent motor stalling and IC thermal shutdown.
Expert Insight: While the L293D is excellent for prototyping and educational environments, if your 2026 project demands high efficiency or battery-powered operation, consider migrating to a MOSFET-based driver like the TB6612FNG or DRV8833, which eliminate the heavy voltage drops inherent to the L293D's BJT design.
IC Comparison Matrix: L293D vs. Alternatives
Before finalizing your bill of materials, it is critical to understand how the L293D compares to its siblings and modern alternatives. Selecting the wrong variant often leads to blown ICs or missing protection diodes.
| IC Model | Continuous Current | Peak Current | Internal Flyback Diodes | Architecture | Typical Voltage Drop |
|---|---|---|---|---|---|
| L293D | 600 mA | 1.2 A | Yes (Built-in) | BJT Darlington | 1.4V - 2.0V |
| L293 (No 'D') | 1.0 A | 2.0 A | No (External required) | BJT Darlington | 1.4V - 2.0V |
| SN754410 | 1.0 A | 2.0 A | No (External required) | BJT Darlington | 1.4V - 2.0V |
| TB6612FNG | 1.2 A | 3.2 A | Yes (Built-in) | MOSFET | 0.2V - 0.5V |
Source: Component datasheets from Texas Instruments and Toshiba.
Exact Pin Configuration and Wiring Matrix
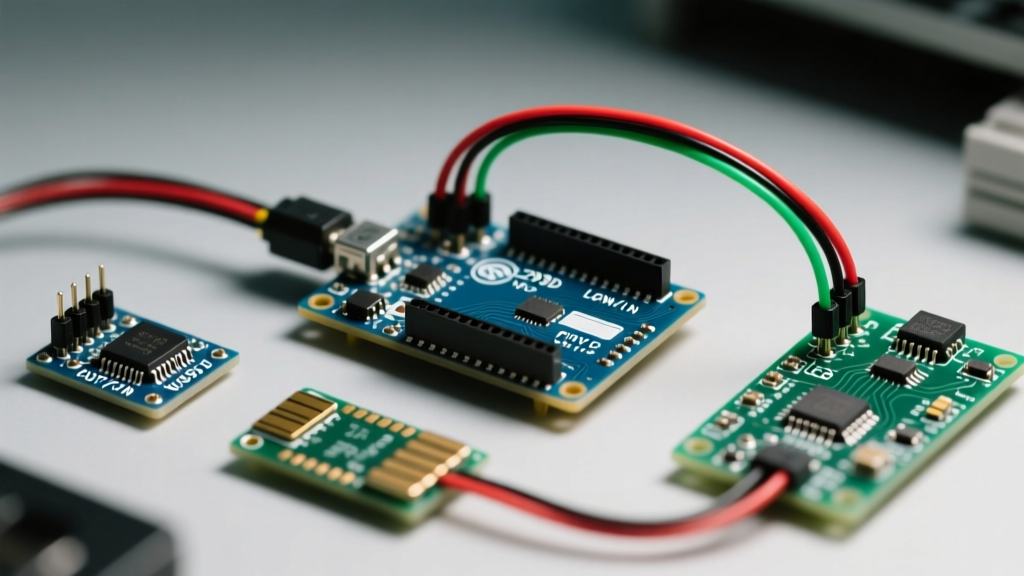
The L293D features 16 pins. Proper configuration hinges on understanding the separation between logic-level control and high-current motor switching.
The Dual-VCC Rule and Decoupling
A common failure mode in beginner configurations is tying VCC1 and VCC2 together without adequate decoupling. Motors generate massive back-EMF and electrical noise. VCC1 powers the internal logic (5V from Arduino), while VCC2 powers the motors (up to 36V).
- Pin 16 (VCC1): Connect to Arduino 5V. This powers the internal opto-isolators and logic gates.
- Pin 8 (VCC2): Connect to your external motor power supply (e.g., 9V battery pack or 12V LiPo).
- Decoupling Requirement: You MUST place a 100nF ceramic capacitor as close to Pin 8 and GND as physically possible, alongside a bulk 100µF to 470µF electrolytic capacitor on the VCC2 rail to absorb inductive kickback spikes.
Logic and Enable Pins
- Pins 1 & 9 (Enable 1,2 and Enable 3,4): Connect to Arduino PWM-capable pins (e.g., Pins 5 and 6) if you require speed control via
analogWrite(). If you only need full-speed on/off, tie these directly to 5V. - Pins 2, 7, 10, 15 (Inputs 1-4): Connect to standard Arduino digital I/O pins to control rotation direction.
Calculating Voltage Drop and Thermal Thresholds
The most misunderstood aspect of the L293D is its voltage drop. Because the internal H-bridge relies on Darlington pairs, current must pass through multiple base-emitter junctions. According to the STMicroelectronics L293D datasheet, the high-level output voltage drop ($V_{OH}$) and low-level drop ($V_{OL}$) combine to create a total saturation voltage drop across the motor.
The Math Behind the Heat
At a continuous 600mA load, expect a voltage drop of approximately 1.4V. However, at lower currents or during motor stall conditions, this drop can reach up to 2.0V.
Actionable Rule: If you are driving a standard 6V DC gear motor, your VCC2 power supply must be at least 7.5V to 8V to compensate for the L293D's internal voltage drop. Supplying exactly 6V to VCC2 will result in the motor receiving only ~4.2V, leading to severe torque loss.
Thermal Shutdown Mechanics
The L293D features internal thermal shutdown that triggers when the junction temperature ($T_J$) reaches 150°C. Let us calculate the thermal limits for a standard 16-pin DIP package without a heatsink:
- Thermal Resistance ($R_{\theta JA}$): ~80°C/W (Junction to Ambient).
- Power Dissipation at 600mA: $P = V_{drop} \times I = 1.4V \times 0.6A = 0.84W$.
- Temperature Rise: $0.84W \times 80°C/W = 67.2°C$.
- Total Junction Temp (at 25°C ambient): $25°C + 67.2°C = 92.2°C$ (Safe).
Warning: If your motor stalls and draws the 1.2A peak current, the voltage drop increases to ~2V. Power dissipation becomes 2.4W. The temperature rise will be $2.4W \times 80°C/W = 192°C$, instantly triggering thermal shutdown and potentially damaging the IC if sustained.
Arduino C++ Configuration and PWM Control
Below is a production-ready C++ configuration for controlling a single DC motor with bidirectional control and PWM speed regulation. This code avoids the delay() function in the core logic loop, utilizing millis() for non-blocking state changes.
// L293D Arduino Configuration - Single Motor Control
const int EN_A = 5;   // PWM Pin for Speed
const int IN_1 = 8;   // Direction Pin 1
const int IN_2 = 9;   // Direction Pin 2

unsigned long previousMillis = 0;
const long interval = 2000; // Change state every 2 seconds
int currentSpeed = 0;

void setup() {
  pinMode(EN_A, OUTPUT);
  pinMode(IN_1, OUTPUT);
  pinMode(IN_2, OUTPUT);

  // Initialize motor in stopped state
  digitalWrite(IN_1, LOW);
  digitalWrite(IN_2, LOW);
  analogWrite(EN_A, 0);
}

void loop() {
  unsigned long currentMillis = millis();

  if (currentMillis - previousMillis >= interval) {
    previousMillis = currentMillis;

    if (currentSpeed == 0) {
      // Ramp up Forward
      digitalWrite(IN_1, HIGH);
      digitalWrite(IN_2, LOW);
      analogWrite(EN_A, 200); // ~78% Duty Cycle
      currentSpeed = 1;
    } else {
      // Stop Motor
      digitalWrite(IN_1, LOW);
      digitalWrite(IN_2, LOW);
      analogWrite(EN_A, 0);
      currentSpeed = 0;
    }
  }
}
Troubleshooting Common L293D Failure Modes
When your L293D Arduino circuit fails to operate as expected, use this diagnostic checklist based on common field failures:
- Motor Whines but Does Not Spin: This is almost always caused by insufficient current delivery from the VCC2 power supply, or the aforementioned Darlington voltage drop leaving the motor below its starting torque threshold. Measure the voltage directly at the OUT1 and OUT2 pins while the motor is connected.
- IC is Too Hot to Touch: The L293D is designed to run hot. However, if it exceeds 80°C on the casing, you must solder the GND pins (4, 5, 12, 13) to a large copper pour on your PCB to act as a makeshift heatsink, or switch to a surface-mount variant with an exposed thermal pad.
- Arduino Resets Randomly: Motor inductive kickback is bleeding into the Arduino's 5V logic rail via VCC1. Ensure you have not tied the motor ground and logic ground together at the breadboard power rails. Route the high-current motor ground directly back to the power supply, and only tie it to the Arduino GND at a single star-ground point.
- Erratic Direction Switching: Floating enable pins. If you are not using the second half of the L293D IC, do not leave the Enable 3,4 pin floating. Tie unused enable pins to GND and unused inputs to GND to prevent internal oscillation and excess heat generation.
Further Reading and Authoritative References
For advanced topologies, including stepper motor winding configurations using the L293D, consult the following resources:
- Arduino Official Documentation: DC Motor Control and H-Bridges
- Texas Instruments L293x Quadruple Half-H Drivers Datasheet
By respecting the thermal limits and voltage drop characteristics of the L293D, you can reliably integrate this classic IC into your Arduino robotics and automation projects for years to come.