
The Core Architecture: Beyond the Standard Uno
Often searched as arduino leanardo by newcomers navigating the vast ecosystem of microcontrollers, the official Arduino Leonardo (Model A000057) represents a pivotal shift in 8-bit maker hardware. Unlike the ubiquitous Arduino Uno R3, which relies on an ATmega328P for logic and a secondary ATmega16U2 chip strictly for USB-to-Serial bridging, the Leonardo consolidates these roles. It utilizes the Microchip ATmega32U4, a single microcontroller with native, hardware-level USB communication capabilities.
This architectural difference is not merely a cost-saving measure; it fundamentally alters how the board interacts with host computers. By routing USB directly through the primary MCU, the Leonardo can emulate native USB Human Interface Devices (HID) like keyboards and mice, or act as a virtual serial port (CDC) without requiring intermediary bridge firmware. As of 2026, while 32-bit boards like the ESP32-S3 and Raspberry Pi Pico have captured the market for wireless BLE HID applications, the Leonardo remains the gold standard for simple, 5V-logic, wired USB emulation tasks where RTOS overhead is undesirable.
Native USB Emulation: HID vs. CDC Endpoints
The ATmega32U4 features a built-in USB 2.0 Full-Speed (12 Mbps) controller with a Phase-Locked Loop (PLL) and dedicated hardware endpoints. Understanding how the Leonardo allocates these endpoints is critical for advanced firmware development.
1. Human Interface Device (HID) Emulation
Because the USB connection is handled natively by the main chip, the Leonardo can inject keystrokes and mouse movements directly into the host operating system's input stream. This is achieved via the built-in Keyboard.h and Mouse.h libraries. When you execute Keyboard.press(), the MCU formats the HID report descriptor and pushes it directly to the USB endpoint. This requires zero custom driver installation on Windows, macOS, or Linux, making it ideal for:
- Custom macro pads and stream decks.
- Automated BIOS/UEFI navigation scripts for headless server provisioning.
- Accessibility input devices mapping analog sensors to keyboard shortcuts.
2. Communication Device Class (CDC) Virtual Serial
Simultaneously, the Leonardo uses a separate endpoint to emulate a standard RS-232 serial port (CDC ACM). When you call Serial.begin(9600) in your sketch, you are not configuring a hardware UART baud rate; you are initializing the USB CDC stack. The host OS assigns a virtual COM port (e.g., COM3 on Windows or /dev/ttyACM0 on Linux). The actual data transfer rate over the USB bus remains at 12 Mbps regardless of the baud rate specified in your code, though the baud rate parameter is still required by the IDE to open the port correctly.
Hardware Specifications and 2026 Market Pricing
When selecting a board for a project, comparing the Leonardo's silicon constraints against modern alternatives is essential. Below is a technical and economic comparison based on early 2026 market data.
| Specification | Arduino Leonardo (ATmega32U4) | Arduino Uno R3 (ATmega328P) | Arduino Uno R4 Minima (RA4M1) |
|---|---|---|---|
| Architecture | 8-bit AVR | 8-bit AVR | 32-bit ARM Cortex-M4 |
| Operating Voltage | 5V | 5V | 5V (with 3.3V tolerant I/O) |
| Flash Memory | 32 KB (4 KB bootloader) | 32 KB (0.5 KB bootloader) | 256 KB |
| SRAM | 2.5 KB | 2 KB | 32 KB |
| Clock Speed | 16 MHz | 16 MHz | 48 MHz |
| Native USB HID | Yes (Hardware) | No (Requires Bridge) | Yes (Hardware) |
| 2026 Avg. Official Price | $28.50 | $27.60 | $29.99 |
| 2026 Clone Price Range | $8.00 - $12.00 | $6.00 - $9.00 | $14.00 - $18.00 |
Source data cross-referenced with the Arduino Official Hardware Documentation and current authorized distributor pricing.
The Pinout Minefield: I2C and Analog Traps
The most common point of failure for engineers migrating from the Uno to the Leonardo is the physical pinout. While the Leonardo shares the exact same physical footprint and header spacing as the Uno (allowing most shields to physically stack), the internal routing of specific pins differs drastically.
The I2C Relocation
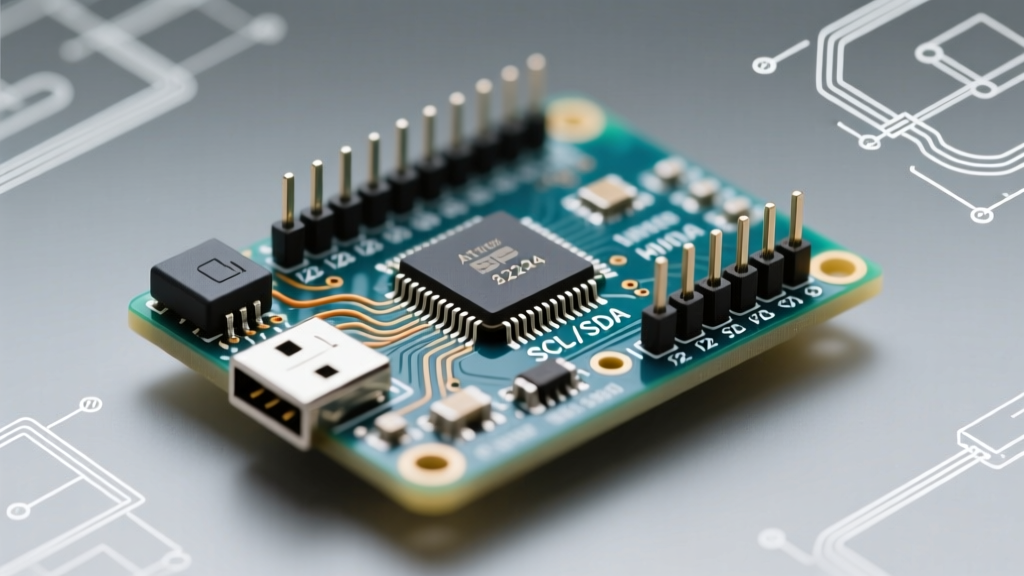
On the Uno R3, the I2C bus (SDA and SCL) is hardwired to analog pins A4 and A5. On the Leonardo, I2C is routed to Digital Pins 2 (SDA) and 3 (SCL).
Critical Warning: If you are using an older, legacy Arduino shield that hardwires I2C communication to the A4/A5 header pins (common on pre-2012 LCD and sensor shields), it will fail to communicate on the Leonardo. Modern shields utilize the dedicated, duplicated SDA/SCL pins located next to the AREF pin, which are internally bridged to D2/D3 on the Leonardo. Always verify your shield's schematic against the Microchip ATmega32U4 Datasheet pin multiplexing chart.
Extended Analog Inputs and PWM Shifts
The Leonardo offers 12 analog inputs (A0 through A11) compared to the Uno's 6. However, pins A6 through A11 do not have dedicated physical header pins labeled as such; they are multiplexed onto digital pins 4, 6, 8, 9, 10, and 12. Furthermore, PWM availability shifts. While the Uno offers PWM on pins 3, 5, 6, 9, 10, and 11, the Leonardo provides PWM on pins 3, 5, 6, 9, 10, 11, and 13. Pin 13 on the Leonardo is tied to the hardware timer for the onboard LED and supports analogWrite(), a feature absent on the Uno.
Troubleshooting: The 'Vanishing COM Port' Edge Case
Because the Leonardo's USB stack is executed as part of your user sketch (within the Arduino core background tasks), a poorly written sketch can crash the MCU or block the USB interrupt service routines (ISRs). When this happens, the host computer loses the CDC ACM device, and the COM port literally vanishes from your operating system's device manager. The Arduino IDE will throw an 'Upload Timeout' or 'Port Not Found' error.
The Double-Tap Reset Recovery Protocol
If you have bricked your COM port with a bad sketch, do not panic. The hardware is fine; the bootloader is simply being bypassed. Follow this exact sequence to recover the board:
- Prepare the IDE: Open your corrected, known-good sketch (e.g., the bare 'Blink' example). Select the correct board and the last known COM port in the IDE.
- Prime the Upload: Click the 'Upload' button in the IDE. The status bar will show 'Compiling...' followed by 'Uploading...'.
- Execute the Double-Tap: The exact moment the IDE status changes from 'Compiling' to 'Uploading', physically press and release the reset button on the Leonardo twice in rapid succession.
- Bootloader Window: The double-tap forces the ATmega32U4 into bootloader mode. The onboard 'L' LED (Pin 13) will begin to pulse/fade slowly, indicating the 8-second bootloader window is active.
- Handshake: The IDE will catch the newly enumerated bootloader COM port (which is often a different COM number than your user sketch port) and push the new firmware.
Pro-Tip: To prevent this in production code, never place blocking delays or infinite while-loops before your Serial.begin() or USB initialization routines, and ensure your main loop yields to the USB stack.
Memory Economics: Managing the 4KB Bootloader
One constraint of the Leonardo that catches developers off guard is the bootloader overhead. Because the USB CDC and HID stacks must be initialized before the user sketch runs, the Leonardo's Caterina bootloader consumes a massive 4 KB of the 32 KB Flash memory.
This leaves exactly 28,672 bytes for your application code. If your project involves heavy string manipulation, large lookup tables for LED matrices, or extensive HID report descriptors, you will hit the ceiling quickly. To reclaim this space in advanced 2026 projects, developers often bypass the Arduino IDE's default upload method and use an external ISP programmer (like the USBasp or Atmel-ICE) to flash the chip directly via the ICSP header. This wipes the Caterina bootloader, freeing up the full 32 KB of Flash and 2.5 KB of SRAM, though it sacrifices the ability to upload code via the micro-USB port until the bootloader is re-burned.
Summary: When to Choose the Leonardo
The Arduino Leonardo remains a highly specialized tool in the maker's arsenal. If your project requires 3.3V logic, wireless connectivity, or massive computational overhead, you should look toward the ESP32-S3 or Raspberry Pi Pico. However, if you are building a robust, 5V-tolerant, wired USB macro pad, an industrial legacy interface adapter, or a plug-and-play HID injection tool where simplicity and native USB endpoints are paramount, the ATmega32U4 architecture of the Leonardo is unmatched in its reliability and ease of deployment.