
Why Use a Chromebook for Arduino Development?
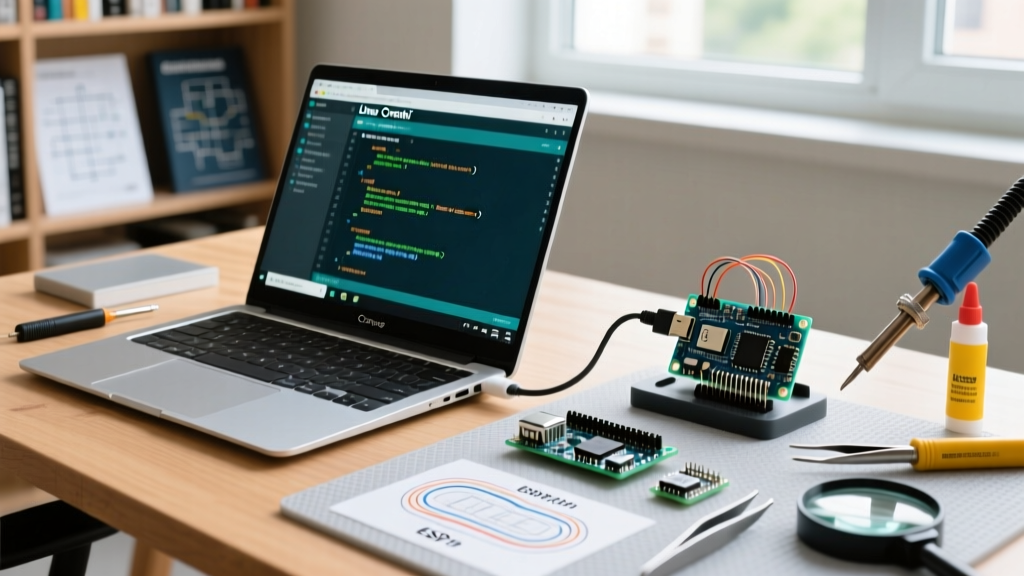
Chromebooks have evolved far beyond simple web-browsing terminals. With the integration of the Linux development environment (Crostini), a Chromebook is now a highly capable, secure, and portable machine for embedded systems programming. Whether you are working with a classic Arduino Uno R3, the modern Uno R4 Minima, or an ESP32-based IoT board, setting up Arduino for Chromebook via Linux provides a full-featured, offline-capable development experience that rivals traditional Windows or macOS setups.
While cloud-based editors and Android apps exist, they often fall short when dealing with custom board definitions, local library management, and complex debugging. This guide will walk you through the definitive method for installing the local Arduino IDE 2.x on ChromeOS, bypassing common container errors, and configuring USB passthrough for seamless code uploading.
Hardware and Software Prerequisites
Before diving into the terminal, ensure you have the following ready:
- Chromebook: Any model from 2019 or newer running ChromeOS 120 or later. (Intel/AMD x86_64 processors are recommended for the widest board compatibility, though ARM64 is supported).
- Microcontroller: Arduino Uno, Nano, Mega, or third-party ESP32/STM32 boards.
- USB Cable: A high-quality data-sync USB cable (avoid charge-only cables, which cause 90% of connection failures).
- Storage Space: At least 10GB of free internal storage to allocate to the Linux container.
Phase 1: Enabling the Linux Development Environment
ChromeOS isolates Linux inside a lightweight virtual machine using a feature called Crostini. You must enable this before installing any development tools.
- Open your Chromebook Settings (click the system tray in the bottom right, then the gear icon).
- On the left sidebar, scroll down and click Advanced, then select Developers.
- Next to Linux development environment, click Turn on.
- A setup wizard will appear. Name your container (the default 'penguin' is fine).
- Disk Size Allocation: Set the disk size to at least 10GB. The Arduino IDE, combined with ESP32 board cores and various libraries, can quickly consume 4GB to 6GB of space.
- Click Install. The Chromebook will download the Debian-based container and open a Linux terminal window.
For more details on how this virtualization works under the hood, refer to the official Google guide on Linux on Chromebook.
Phase 2: Installing Arduino IDE 2.x (Bypassing FUSE Errors)
Many generic tutorials suggest downloading the .AppImage file for Linux. However, ChromeOS's Crostini container often lacks FUSE (Filesystem in Userspace) support out of the box, which causes the AppImage to fail silently or throw a "FUSE error" when double-clicked. To ensure a bulletproof installation, we will use the .tar.gz archive method.
In your open Linux terminal, update your package list and download the IDE:
sudo apt update && sudo apt upgrade -y
wget https://downloads.arduino.cc/arduino-ide/arduino-ide_2.3.2_Linux_64bit.tar.gz
Note: If you are using an ARM-based Chromebook (e.g., MediaTek Kompanio), replace the URL with the ARM64 version from the Arduino Linux Installation page.
Next, extract the archive and launch the IDE:
tar -xvf arduino-ide_2.3.2_Linux_64bit.tar.gz
cd arduino-ide_2.3.2_Linux_64bit
./arduino-ide
The Arduino IDE 2.x splash screen should now appear. To make launching easier in the future, right-click the Arduino icon in your ChromeOS app drawer (under the "Linux apps" folder) and select Pin to shelf.
Phase 3: USB Passthrough and Port Permissions
This is the most critical step for Arduino for Chromebook setups. By default, ChromeOS blocks USB devices from passing through to the Linux container for security reasons. Furthermore, Debian-based Linux systems restrict serial port access to the dialout user group.
Step A: Enable USB Passthrough
- Plug your Arduino board into the Chromebook's USB port.
- Open a new Chrome browser tab and type:
chrome://os-settings/crostini/sharedUsbDevices - You will see a list of connected USB devices. Find your Arduino (it may show up as "Arduino SA", "FTDI", or "CP2102/CH340" for clone boards).
- Toggle the switch to On to connect the device to Linux.
Step B: Fix Serial Port Permissions
Without this step, the IDE will compile your code but fail during the upload phase with a "Permission Denied" error. In the Linux terminal, run:
sudo usermod -a -G dialout $USERImportant: You must completely shut down and restart your Linux container (or reboot the Chromebook) for this group permission change to take effect.
Phase 4: Compiling and Uploading Your First Sketch
With the environment configured, it is time to test the hardware pipeline.
- Open the Arduino IDE from your Linux apps folder.
- Navigate to File > Examples > 01.Basics > Blink.
- Go to Tools > Board and select your specific microcontroller (e.g., Arduino Uno).
- Go to Tools > Port and select the active serial port (usually
/dev/ttyACM0or/dev/ttyUSB0). - Click the Upload button (the right-pointing arrow).
The onboard LED should now begin blinking at 1-second intervals, confirming that your Chromebook is successfully compiling and flashing firmware.
Method Comparison: Local Linux vs. Cloud vs. Android
While the Linux (Crostini) method is the gold standard for makers, it is helpful to understand how it compares to alternative Chromebook workflows.
| Feature | Local Linux IDE (Crostini) | Arduino Cloud (Web Editor) | ArduinoDroid (Android App) |
|---|---|---|---|
| Offline Capability | Full offline support | Requires active internet | Offline (with pre-downloaded cores) |
| Custom Board Cores | Unrestricted (ESP32, STM32, ATtiny) | Limited to supported Cloud boards | Restricted by Android OS limits |
| Library Management | Full local ZIP and Git support | Cloud library manager only | Basic local import |
| Hardware Requirements | Requires 4GB+ RAM & 10GB storage | Runs on any low-spec Chromebook | Requires Android app support |
| Best Use Case | Professional/Advanced makers | Classrooms and quick IoT tests | Emergency field edits |
Troubleshooting Common Chromebook Arduino Errors
1. The Port Menu is Greyed Out
If Tools > Port is greyed out, the Linux container does not see the USB device. Verify that you completed the USB passthrough step via chrome://os-settings/crostini/sharedUsbDevices. If the device isn't listed there, try a different USB-C hub or cable, as ChromeOS is notoriously strict about USB-C pin configurations for data transfer.
2. "avrdude: ser_open(): can't open device" Error
This means the IDE found the port but lacks the OS-level permission to write to it. This almost always means the dialout group command was skipped, or the container wasn't rebooted after applying it. Run groups in the terminal; if dialout is missing from the output, re-run the usermod command and restart the Chromebook.
3. ESP32 Board Manager Fails to Install
When adding the Espressif ESP32 core via the Boards Manager, Chromebooks with low RAM (2GB or 4GB) may crash the Linux container during the compilation toolchain extraction. If this happens, open the terminal and allocate more swap space to the container, or close all Chrome browser tabs to free up system RAM before clicking "Install" in the Boards Manager.
Final Thoughts
Setting up Arduino for Chromebook using the Linux environment transforms a budget-friendly laptop into a powerhouse for embedded electronics. By bypassing AppImage FUSE errors and correctly configuring USB passthrough, you ensure a stable, frustration-free workflow. Whether you are prototyping a custom PCB with an ATmega328P or deploying an ESP32-based sensor network, your Chromebook is now fully equipped to handle the task.