
Why Migrate to Arduino ICSP Programming?
For most makers, the Arduino ecosystem begins with the convenience of a USB-to-Serial bootloader. You plug in a cable, hit upload, and the board handles the rest. However, as projects evolve from breadboard prototypes to custom PCBs, or when flash memory becomes a critical bottleneck, migrating to Arduino ICSP (In-Circuit Serial Programming) transitions from an optional skill to an absolute necessity.
ICSP bypasses the bootloader entirely, communicating directly with the microcontroller's SPI (Serial Peripheral Interface) hardware. This migration offers three massive advantages:
- Reclaiming Flash Memory: The standard Optiboot bootloader consumes 1.5KB of flash. On an ATtiny85 (8KB total) or ATmega328P (32KB total), this overhead can dictate whether your code compiles or fails.
- Unbricking Misconfigured Chips: If you accidentally set the wrong clock fuses via software, the USB serial connection will fail. ICSP is the only way to rewrite fuses and recover the chip.
- Production Scalability: Flashing via ICSP is significantly faster and does not require pre-bootloaded chips, reducing per-unit costs in batch manufacturing.
The 1.5KB Bootloader Tax: If you are deploying an ATtiny85 in a low-power sensor node, that 1.5KB bootloader represents nearly 20% of your available memory. Migrating to Arduino ICSP immediately frees up this space for larger lookup tables or advanced signal processing libraries.
Comparing Legacy vs. Modern ICSP Programmers
A common failure point in ICSP migration is relying on outdated, cheap programmer clones that introduce driver nightmares and voltage mismatches. Upgrading your hardware is the first step in a modern workflow.
| Programmer Model | Approx. Cost (2026) | Target Voltage | Ecosystem / Software | Verdict |
|---|---|---|---|---|
| USBasp (Clone) | $4 - $8 | 5V (Jumper for 3.3V) | AVRDUDE / Zadig Drivers | High failure rate; driver conflicts on modern Windows/macOS. |
| AVRISP mkII (Clone) | $12 - $18 | 5V Only | Legacy AVR Studio | Obsolete protocol; avoid for new custom PCB designs. |
| MPLAB SNAP | $35 - $45 | 3.3V / 5V Auto | Microchip MPLAB X / AVRDUDE | Excellent modern choice; fast SPI clocks, auto-voltage sensing. |
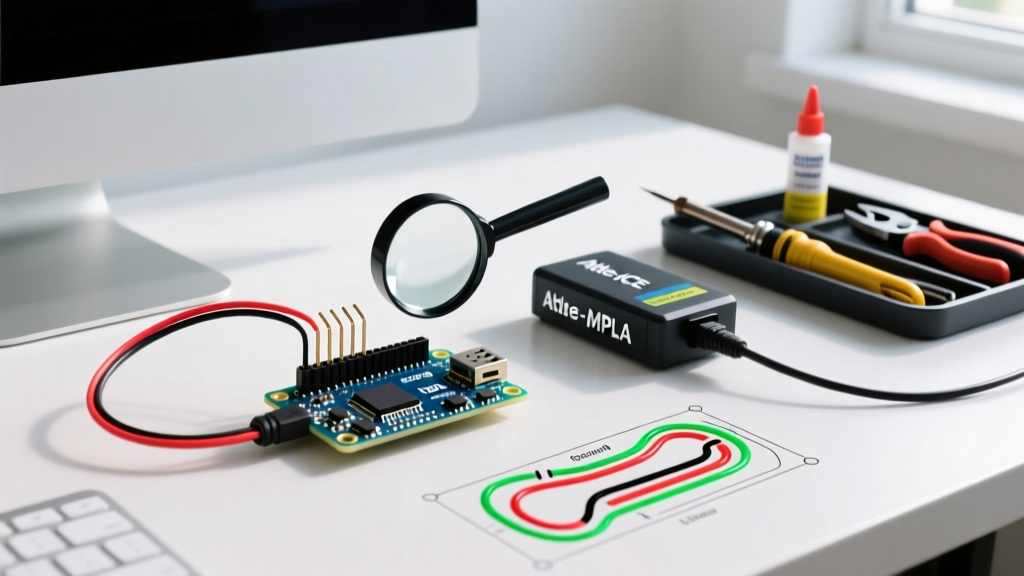
| Atmel-ICE | $85 - $110 | 1.62V - 5.5V | Microchip Studio / MPLAB X | Professional standard; supports JTAG, debugWIRE, and UPDI. |
According to the Microchip Atmel-ICE documentation, modern programmers like the Atmel-ICE and the more budget-friendly MPLAB SNAP feature integrated level shifters and target voltage sensing. This prevents the catastrophic backfeeding issues common with cheap USBasp clones when programming 3.3V ATmega328P variants.
Step-by-Step Migration: Wiring the 6-Pin ICSP Header
The physical interface for Arduino ICSP relies on the standard 2x3 pin header (0.1-inch pitch). Understanding the exact pinout is critical, as plugging the cable in backward will short VCC to GND or send 5V directly into the MISO data line, potentially destroying the programmer.
The Standard 2x3 AVR Pinout
When looking at the male header on your target board with the notch (or missing pin indicator) facing you, the pinout is as follows:
- MISO (Master In Slave Out) - Data from target to programmer
- VCC (Target Voltage) - Power (Optional, see warning below)
- SCK (Serial Clock) - Clock signal
- MOSI (Master Out Slave In) - Data from programmer to target
- RESET - Pulls target reset line low to enter programming mode
- GND (Ground) - Common ground reference
Critical Warning on VCC: Modern programmers like the MPLAB SNAP can power low-draw targets via the VCC pin. However, if your custom PCB already has a populated voltage regulator or an external power supply connected, never connect the programmer's VCC pin. Backfeeding 5V from the programmer into a board that is already being powered by an external 12V-to-5V regulator can fry the programmer's internal voltage sensing circuitry. Use a 5-pin cable or physically bend/remove the VCC pin on your programming ribbon cable for production environments.
Advanced PCB Design: Integrating ICSP for Production
If you are migrating from a prototyping phase to a manufactured PCB, the standard 2x3 through-hole header wastes valuable board space and requires drilling. The industry-standard upgrade is to implement a footprint for a Tag-Connect cable.
The Tag-Connect TC2030-IDC-NL (No Legs) uses a 6-pin edge-contact footprint. It requires no through-holes, saving routing space on dense 2-layer or 4-layer boards. While the initial cable investment is roughly $45, the per-board cost drops to zero (just copper pads), and programming time drops significantly as the cable simply presses onto the pads via a retaining clip. For high-volume flashing, pairing a Tag-Connect footprint with an Atmel-ICE and a custom pogo-pin test jig is the ultimate production workflow.
Troubleshooting Common ICSP Migration Failures
Migrating to Arduino ICSP introduces hardware-level variables that the bootloader previously masked. Here are the most common edge cases and their exact solutions.
1. The 'Target Clock is Too Slow' Failure
As noted in the Arduino SPI communication guide, the SPI clock speed used by the programmer must be strictly less than one-quarter of the target microcontroller's CPU clock speed. If you are programming a fresh ATmega328P from the factory, its default internal oscillator is set to 1MHz (with the CKDIV8 fuse enabled).
If your modern programmer attempts to connect at a default SPI speed of 2MHz, the communication will fail silently or throw a 'signature mismatch' error in AVRDUDE. Solution: Force the programmer's SPI clock down to 125kHz for the initial connection. Once connected, rewrite the low fuse (lfuse) to 0xFF to enable the 16MHz external crystal, after which you can raise the SPI programming speed back to 2MHz or higher.
2. Floating RESET Lines and Noise Injection
Unlike USB serial programming, ICSP requires the RESET pin to be held low to initiate the SPI programming sequence. In custom PCB designs, if the RESET line lacks a dedicated 10kΩ pull-up resistor to VCC, ambient electromagnetic noise can cause the pin to float. This results in the microcontroller randomly entering SPI programming mode during normal operation, causing the main sketch to halt. Always include a 10kΩ pull-up and a 0.1µF decoupling capacitor near the ICSP header's RESET pin in your schematic.
3. Signature Mismatch on ATtiny Chips
When migrating to ATtiny85 or ATtiny45 chips via Arduino ICSP, a common error is reading the signature 0x00 0x00 0x00 or 0xFF 0xFF 0xFF. This almost always indicates a wiring fault on the MISO/MOSI lines or a missing common ground. Because the ATtiny85 uses the same pins for SPI and standard GPIO, ensure no external peripherals (like displays or sensors) are actively pulling the MISO/MOSI lines high or low during the flashing process. Use series resistors (330Ω) on SPI lines if they must be shared with external hardware.
Frequently Asked Questions
Can I use an Arduino Uno as an ICSP programmer?
Yes, by flashing the 'ArduinoISP' sketch to the Uno, it acts as a bridge. However, this is strictly a prototyping workaround. The Uno's serial-to-USB bridge introduces latency, and it lacks the voltage-sensing protection of a dedicated MPLAB SNAP or Atmel-ICE. Migrate to a dedicated hardware programmer for reliable production flashing.
Does ICSP programming erase the EEPROM?
By default, a 'Chip Erase' command via ICSP clears the flash memory but preserves the EEPROM. However, if you modify the EESAVE fuse bit to '0' (programmed), the EEPROM will also be wiped during a chip erase. Always verify your fuse settings before performing a full erase on a chip containing critical calibration data.