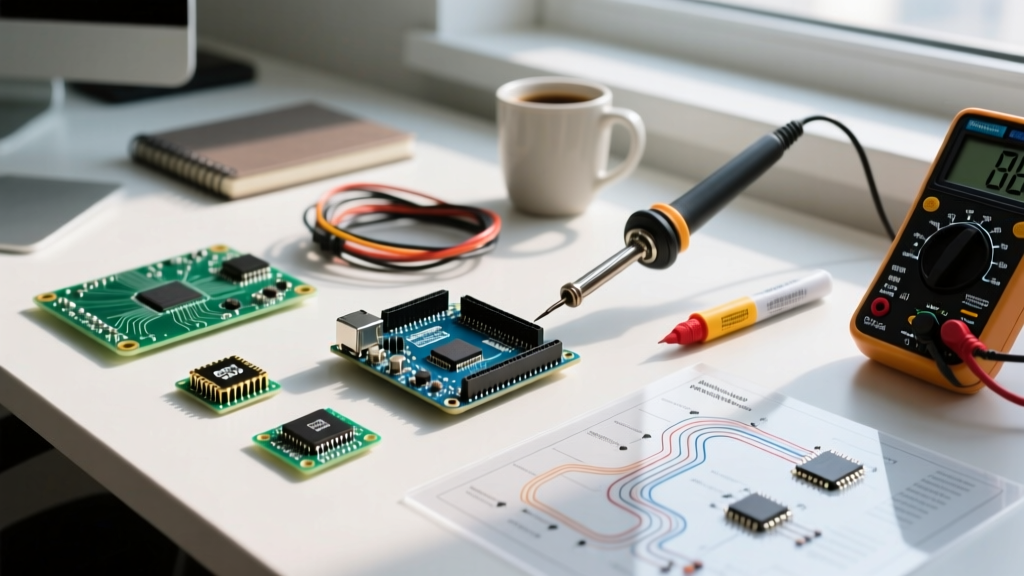

The Modern Introduction of Arduino: Beyond the Basics
When engineers and hobbyists seek an introduction of Arduino, they are often met with outdated tutorials referencing the legacy Uno R3. As of 2026, the ecosystem has evolved significantly. The introduction of Arduino hardware now centers around 32-bit ARM architectures, native USB CDC-ACM communication, and integrated Wi-Fi/BLE capabilities. This quick reference guide bypasses the fluff, providing actionable hardware specifications, power architecture limits, and advanced troubleshooting matrices for modern makers.
2026 Board Selection Quick Reference Matrix
Choosing the right microcontroller unit (MCU) is the first critical step. Below is a comparison of the three most relevant boards for modern prototyping, reflecting current distributor pricing and silicon specifications.
| Board Model | Core MCU | Architecture | Clock Speed | Flash / SRAM | Approx. Price (USD) |
|---|---|---|---|---|---|
| Uno R3 (Legacy) | ATmega328P | 8-bit AVR | 16 MHz | 32 KB / 2 KB | $27.00 |
| Uno R4 Minima | Renesas RA4M1 | 32-bit ARM Cortex-M4 | 48 MHz | 256 KB / 32 KB | $19.50 |
| Nano ESP32 | ESP32-S3 | 32-bit Xtensa LX7 | 240 MHz | 16 MB / 512 KB | $18.00 |
Source: Refer to the Arduino Uno R4 Minima Documentation for full pinout and DMA controller specifications.
Power Architecture & Thermal Failure Modes
A common pitfall during the introduction of Arduino projects is misunderstanding the onboard voltage regulation. Supplying incorrect voltage to the barrel jack or VIN pin is a leading cause of permanent board failure.
The Linear Regulator Trap
Boards like the Uno R3 and Mega 2560 utilize an NCP1117 linear voltage regulator to step down input voltage from the barrel jack to 5V. Linear regulators dissipate excess voltage as heat. The thermal formula is:
Heat Dissipated (W) = (Input Voltage - 5V) × Current Draw (A)
If you connect a 12V power supply and draw 300mA through the 5V rail, the regulator must dissipate (12V - 5V) × 0.3A = 2.1 Watts. The NCP1117 in a SOT-223 package without a heatsink will trigger internal thermal shutdown at approximately 1.5W to 2.0W, causing your board to randomly reboot under load.
Troubleshooting Native USB & Bootloader Crashes
Modern boards like the Uno R4 Minima and Nano ESP32 feature native USB (via the Renesas RA4M1 and ESP32-S3 chips, respectively). Unlike the ATmega16U2 USB-to-Serial bridge on the older R3, native USB handles both serial communication and the bootloader. This introduces a specific failure mode: the disappearing COM port.
How to Recover a "Bricked" Native USB Port
If a sketch crashes the USB stack (e.g., by flooding the serial buffer or misconfiguring the USB descriptors), the IDE will fail to upload new code, showing a "Port Greyed Out" error.
- Locate the Reset Button: Find the tactile reset switch on the PCB.
- The Double-Tap Method: Quickly press the reset button twice in succession. The timing should be roughly 300ms between taps.
- Observe the LED: The onboard LED (usually Pin 13 or the RGB status LED) will begin a slow, pulsing "breathing" fade. This indicates the chip has entered ROM Bootloader mode.
- Re-upload: The COM port will reappear in Arduino IDE 2.3.x. Select it and upload a known-good sketch, such as the bare
Blinkexample.
Memory Management: SRAM vs. Flash
Understanding the distinction between Flash memory (where your compiled `.ino` code lives) and SRAM (where variables reside during execution) is crucial. A classic error introduced during early Arduino tutorials is the exhaustion of SRAM using string literals.
The F() Macro Optimization
When you write Serial.println("Hello World");, the string is stored in Flash but copied into precious SRAM at runtime. On an 8-bit board with only 2KB of SRAM, this causes stack collisions and erratic behavior. Always wrap static strings in the F() macro:
Serial.println(F("Hello World"));This forces the compiler to read the string directly from Flash memory, preserving SRAM for dynamic variables and heap allocations. For a deeper dive into compiler flags and memory maps, consult the Arduino IDE 2.x Guide.
Frequently Asked Questions (FAQ)
Q: Do I need to know C++ to use the Arduino IDE?
A: Yes, but at a foundational level. The Arduino language is essentially a set of C++ wrapper functions (Wiring) and a simplified build process. The IDE automatically generates function prototypes and includes `
Q: Why does my 9V alkaline battery fail to power my Uno via the barrel jack?
A: A standard 9V alkaline battery has a high internal resistance and a low total capacity (approx. 400-500mAh). When the Arduino's voltage regulator and onboard LEDs draw current, the battery's voltage sags below the regulator's dropout threshold (typically 6.5V to 7V minimum for stable 5V output). For portable projects, use a 2S LiPo battery (7.4V nominal) paired with a switching buck converter, or a standard USB power bank connected to the micro-USB/USB-C port.
Q: What is the maximum current I can draw from a single I/O pin?
A: On the legacy ATmega328P (Uno R3), the absolute maximum rating per I/O pin is 40mA, but the recommended continuous operating current is 20mA. Furthermore, the total current drawn across all pins on a single PORT (e.g., PORTD) must not exceed 100mA. On the newer Renesas RA4M1 (Uno R4), pins can source/sink up to 20mA, but you must consult the specific Arduino Uno R4 Store Page and datasheet for aggregate port limits to prevent silicon degradation.
Q: How do I resolve the "CH340 Driver" error on clone boards?
A: Many third-party clone boards replace the ATmega16U2 USB bridge with a cheaper CH340G or CH341A chip to cut costs. Windows 11 occasionally blocks older, unsigned CH340 drivers. To fix this, download the latest signed CH341SER.EXE directly from the WCH (Nanjing Qinheng Microelectronics) official repository, uninstall the previous "Unknown Device" from the Windows Device Manager, and reinstall. Ensure you are using a verified data-sync USB cable, as charge-only cables lack the D+ and D- data lines required for serial enumeration.