
Beyond the Blink Sketch: Why Engineers Seek an Alternative zu Arduino
The Arduino ecosystem revolutionized rapid prototyping. However, as projects transition from the workbench to production floors, the limitations of the classic AVR architecture and the Arduino IDE become apparent. In the global engineering community—and particularly among our DACH-region readers searching for an alternative zu Arduino—the shift toward professional toolchains, advanced DMA (Direct Memory Access), and multi-core architectures is a dominant trend for 2026.
Whether you are constrained by I/O bottlenecks, requiring native USB-OTG, or looking to slash your Bill of Materials (BOM) costs for a 10,000-unit manufacturing run, choosing the right microcontroller unit (MCU) is critical. This configuration guide bypasses basic hobbyist overviews and dives straight into the professional setup, toolchain configuration, and edge-case management for the top three Arduino alternatives dominating the market today.
2026 MCU Comparison Matrix: Specs, Pricing, and Toolchains
| MCU Board / Chip | Core Architecture | Approx. Price (2026) | Primary Toolchain | Best Use Case |
|---|---|---|---|---|
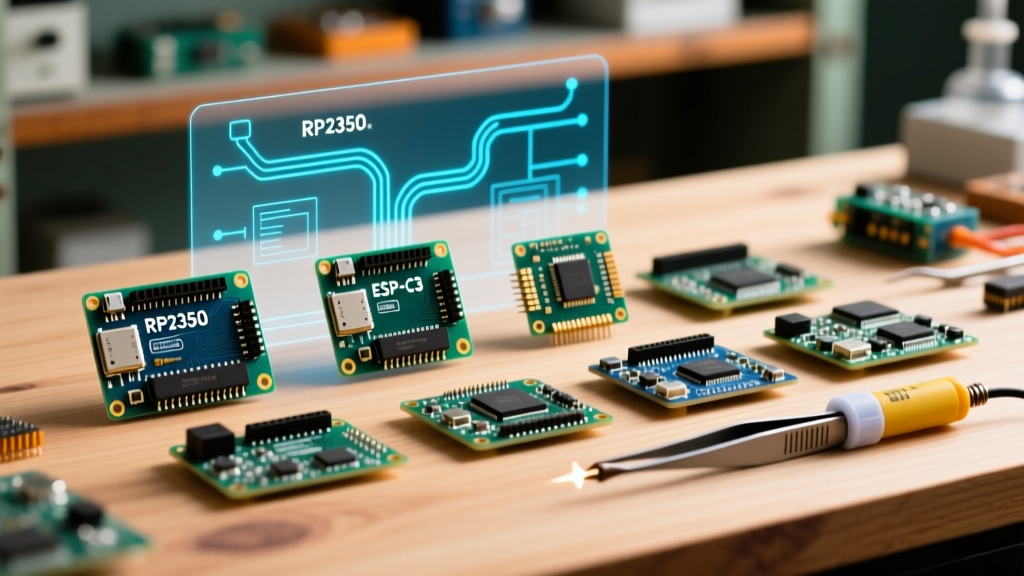
| Raspberry Pi Pico 2 (RP2350) | Dual-Core Cortex-M33 / RISC-V | $5.00 | Pico SDK (CMake) | High-speed PIO, secure boot, low-cost production |
| ESP32-S3-WROOM-1 | Dual-Core Xtensa LX7 (240MHz) | $8.50 - $12.00 | ESP-IDF v5.3+ | IoT, Edge AI, Camera interfaces, WiFi/BLE 5 |
| STM32 Nucleo-G431KB | ARM Cortex-M4F (170MHz) | $16.00 - $19.00 | STM32CubeIDE | Motor control, industrial sensors, precision ADC |
1. Raspberry Pi Pico 2 (RP2350): Configuring the CMake Environment
The original RP2040 was a massive success, but the RP2350 inside the Pico 2 introduces hardware security features (OTP secure boot), 520KB of on-chip SRAM, and a unique architectural choice: you can run it on dual ARM Cortex-M33 cores or dual Hazard3 RISC-V cores. When configuring this alternative zu Arduino, abandoning the Arduino IDE for the native Pico SDK is mandatory to leverage the Programmable I/O (PIO) state machines.
Step-by-Step Pico SDK Configuration
- Install the Toolchain: On Ubuntu/Debian, install the ARM and RISC-V GCC compilers via
sudo apt install gcc-arm-none-eabi gcc-riscv64-unknown-elf cmake. - Clone the SDK: Pull the latest 2026 release of the Pico SDK and set your environment variable:
export PICO_SDK_PATH=/path/to/pico-sdk. - CMakeLists.txt Setup: Your project root must contain a
CMakeLists.txtfile. To target the RISC-V cores instead of ARM, you must explicitly define the platform.
Pro-Tip for RP2350 Architecture Switching:
To compile for the RISC-V Hazard3 cores, addset(PICO_PLATFORM rp2350-riscv)in your CMake configuration before callingpico_sdk_init(). This yields a 10-15% improvement in specific integer math operations compared to the M33 cores.
For hardware abstraction, avoid the gpio_put() Arduino-style wrappers in performance-critical loops. Instead, configure the PIO state machines using the .pio assembly files to handle WS2812 LED matrices or custom serial protocols without CPU intervention. Refer to the official Raspberry Pi Pico SDK Documentation for the complete PIO instruction set.
2. ESP32-S3: Migrating from Arduino Core to ESP-IDF
The ESP32-S3 is the undisputed king of wireless Edge AI. While the Arduino core for ESP32 is convenient, it masks critical memory management and partition table configurations. For production IoT devices, the Espressif IoT Development Framework (ESP-IDF) is the only viable configuration path.
Managing PSRAM and Partition Tables
A common failure mode when migrating to the ESP32-S3 is running out of internal SRAM when loading camera buffers or TensorFlow Lite models. The S3 variant supports up to 8MB of Octal PSRAM, but it requires precise sdkconfig tuning.
- Enable Octal PSRAM: Run
idf.py menuconfig, navigate to Component config > ESP PSRAM, and ensure SPI RAM config is set to Octal mode with a frequency of 80MHz. - Custom Partition Tables: The default Arduino partition table allocates too much space to OTA (Over-The-Air) slots if you aren't using them. Create a custom
partitions.csvto expand thefactoryapp partition to 3MB, leaving the rest for SPIFFS/LittleFS data storage. - USB-OTG Native Configuration: Unlike older ESP32 chips, the S3 features native USB. In
menuconfig, enable USB CDC on boot to routeprintf()and serial logs directly through the USB-C port without requiring an external CP2102 UART bridge.
For deep-dive API references on the S3's vector instructions for neural network acceleration, consult the Espressif ESP-IDF ESP32-S3 Documentation.
3. STM32G4 Series: Mastering the Clock Tree in CubeMX
When industrial reliability, precision analog-to-digital conversion (ADC), and advanced motor-control timers are required, STMicroelectronics' STM32G4 series is the industry standard. The Nucleo-G431KB development board is an excellent, low-cost entry point. Configuring this chip requires a paradigm shift from writing raw code to designing hardware trees visually.
STM32CubeMX Configuration Workflow
Instead of writing initialization code manually, STM32 engineers use the .ioc (Initialization Open Configuration) file generated by STM32CubeMX. Here is how to configure the critical subsystems:
A. The Clock Tree (Crucial for Baud Rates and Timers)
Arduino boards hide clock configuration behind a simple SystemCoreClock variable. On the STM32G4, you must manually route the High-Speed External (HSE) oscillator through the Phase-Locked Loop (PLL).
- Open the Clock Configuration tab in STM32CubeMX.
- Set the HSE to your board's crystal frequency (e.g., 8MHz on many Nucleo boards via the ST-Link MCO, or 24MHz on custom PCBs).
- Adjust the PLLM, PLLN, and PLLR multipliers to achieve exactly 170MHz for the SYSCLK without exceeding the hardware limits (highlighted in red by the software if violated).
- Ensure the APB1 and APB2 peripheral clocks are correctly divided, as UART baud rate generation depends directly on these bus clocks.
B. HAL vs. LL (Low-Layer) Libraries
By default, CubeMX generates Hardware Abstraction Layer (HAL) code. While HAL is easy to read, it introduces significant overhead in interrupt service routines (ISRs). For high-frequency ADC sampling (e.g., reading current sensors for Field Oriented Control at 20kHz), you must configure CubeMX to generate Low-Layer (LL) API code for those specific peripherals, bypassing the HAL state-machine checks.
Download the graphical configurator and review the supported peripherals via the STMicroelectronics STM32CubeMX Portal.
The Migration Framework: Abstracting Your Firmware
Moving to an alternative zu Arduino is not just about changing hardware; it is about changing your software architecture. To ensure your code remains portable across the RP2350, ESP32-S3, and STM32G4, implement a Hardware Abstraction Layer (HAL) in your C/C++ codebase.
Directory Structure for Professional MCU Projects
/src/core- Business logic, state machines, and PID algorithms (MCU agnostic)./src/drivers- I2C/SPI sensor drivers using standard C structs and function pointers./src/hal/esp32- ESP-IDF specific implementations of the driver interfaces./src/hal/stm32- STM32 LL/HAL specific implementations.
By utilizing CMake build profiles, you can compile the exact same /src/core logic against the ESP32-S3 for your WiFi-enabled consumer product, and against the STM32G4 for your wired industrial variant, without rewriting a single line of business logic.
Frequently Asked Questions (FAQ)
Can I use a standard JTAG/SWD debugger with these alternatives?
Yes. Unlike standard Arduino boards that rely on serial bootloader printing, professional MCUs require hardware debugging. The Pico 2 supports SWD via its dedicated debug pins (allowing breakpoints in VS Code via Cortex-Debug). The ESP32-S3 supports USB-JTAG directly through its native USB port, while the STM32 Nucleo boards feature an onboard ST-Link V2-1 debugger, eliminating the need for external hardware like the Segger J-Link for basic stepping and memory inspection.
How does the BOM cost compare for mass production?
While a bare ATmega328P chip costs around $2.20 in 10k volumes, it requires external USB-to-Serial ICs, voltage regulators, and crystals. The ESP32-S3-WROOM-1 module integrates RF matching, flash, and PSRAM for roughly $3.50 in volume, offering vastly superior performance and a smaller PCB footprint. The RP2350 bare IC is priced aggressively at under $1.00 in high-volume tape-and-reel formats, making it the most cost-effective 32-bit alternative on the market.
Is MicroPython a viable alternative to C/C++ for these boards?
For the RP2350 and ESP32-S3, MicroPython is an excellent configuration choice for rapid UI development and non-timing-critical sensor polling. However, for the STM32G4 series, or any application requiring deterministic microsecond-level interrupt handling (like motor commutation), bare-metal C/C++ via the native SDKs remains mandatory.