
The Evolution of Arduino Architectures
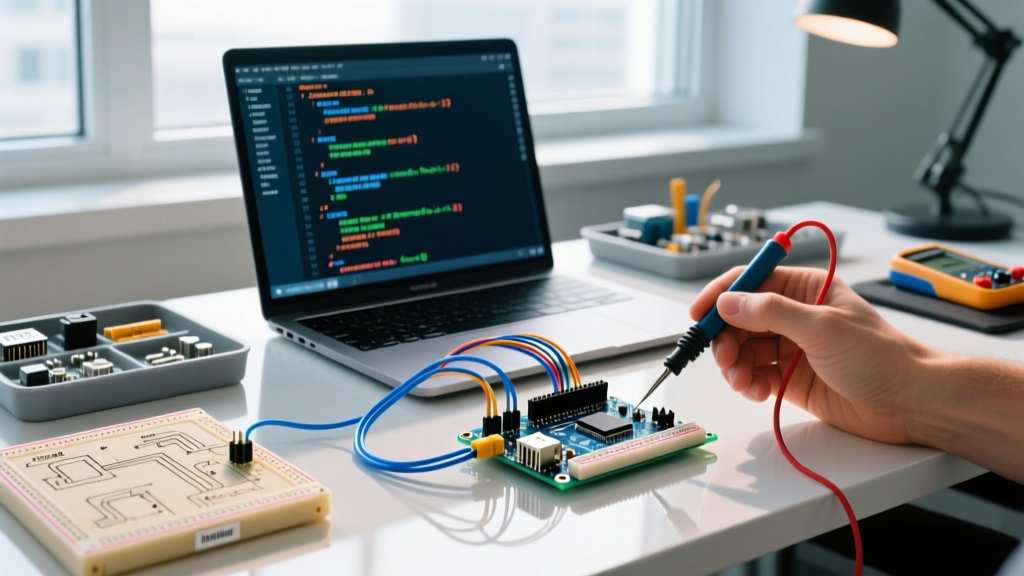
When makers hear the word Arduino, they typically envision bare-metal C++ sketches running in a continuous loop(). However, as modern maker projects scale to include multi-threading, wireless stacks, and real-time motor control, evaluating and configuring dedicated operating systems for Arduino-compatible boards becomes essential. In 2026, the hardware ecosystem has matured significantly. Boards like the Arduino Uno R4 WiFi (powered by the Renesas RA4M1 Cortex-M4) and the Portenta H7 (featuring a dual-core STM32H747) possess the computational overhead required to run sophisticated Real-Time Operating Systems (RTOS).
Transitioning from a bare-metal superloop to an RTOS allows developers to manage concurrent tasks, implement secure inter-process communication, and utilize advanced power-saving states. This configuration guide will walk you through setting up the most prominent operating environments for modern Arduino hardware.
Architecture Matrix: Choosing the Right OS
Before writing a single line of code, you must match the operating system to your microcontroller's capabilities. Below is a comparative matrix of the primary environments available to Arduino developers today.
| OS Environment | Memory Overhead | Context Switch Time | Ideal Target Board (2026) | Primary Use Case |
|---|---|---|---|---|
| Bare-Metal (Arduino Core) | ~0 KB | N/A (Superloop) | Uno R3 / Nano ($22.00) | Simple sensors, basic actuators |
| FreeRTOS | 5-12 KB | ~8 µs (Cortex-M4) | Uno R4 WiFi ($27.50) | Concurrent tasks, queues, motor control |
| Zephyr RTOS | 30-60 KB | ~4 µs (Cortex-M7) | Portenta H7 ($112.00) | Complex IoT, secure BLE, USB stacks |
| Embedded Linux (Yocto) | 32+ MB | Variable (MMU) | Portenta X8 ($199.00) | Edge AI, computer vision, Node.js |
Configuring FreeRTOS on Cortex-M4 Boards
FreeRTOS remains the most accessible RTOS for the Arduino ecosystem, largely due to the Arduino_FreeRTOS wrapper library. When configuring FreeRTOS on a board like the Nano 33 BLE Sense Rev2 (nRF52840) or the Uno R4, the core configuration is handled via the FreeRTOSConfig.h header file.
Step 1: Heap and Tick Configuration
The system tick rate dictates the resolution of your task scheduler. For most sensor polling and LED multiplexing tasks, a 1000 Hz tick rate (1 ms resolution) is optimal. Furthermore, you must allocate a static heap for dynamic task creation. On a Cortex-M4 with 32 KB of SRAM, allocating 15 KB to the RTOS heap provides ample room for queues and task stacks without starving peripheral DMA buffers.
#define configCPU_CLOCK_HZ ( 48000000UL )
#define configTICK_RATE_HZ ( ( TickType_t ) 1000 )
#define configMAX_PRIORITIES ( 5 )
#define configMINIMAL_STACK_SIZE ( 128 )
#define configTOTAL_HEAP_SIZE ( ( size_t ) ( 15 * 1024 ) )
#define configUSE_MUTEXES 1
Step 2: Task Creation and Stack Sizing
A common failure mode for beginners is under-allocating stack memory. The configMINIMAL_STACK_SIZE is defined in words, not bytes. On a 32-bit architecture, a stack size of 128 words equals 512 bytes. If your task utilizes Serial.println() or performs floating-point math, you must increase this to at least 256 words (1024 bytes) to prevent stack corruption.
- High Priority (4): Motor control loops, hardware interrupt deferral.
- Medium Priority (2-3): Sensor I2C/SPI polling, wireless stack management.
- Low Priority (1): Serial logging, LED status indicators.
- Idle Priority (0): System background tasks, power management hooks.
Setting Up Zephyr RTOS for Advanced IoT
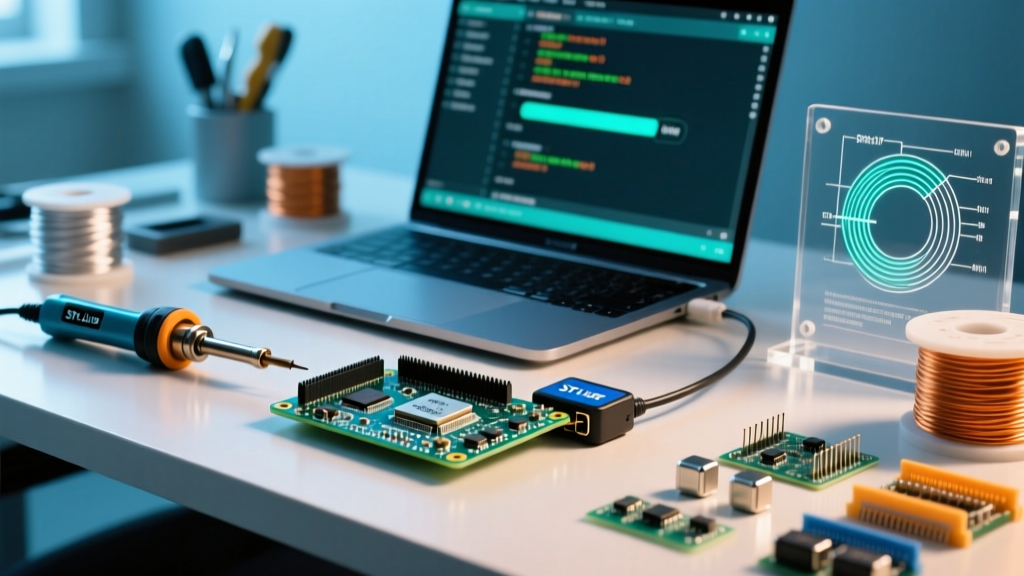
For high-end boards like the Arduino Portenta H7, Zephyr RTOS offers a vastly superior driver model and native support for complex networking stacks like Thread and Matter. Zephyr abandons the traditional Arduino IDE sketch model in favor of a CMake-based build system and DeviceTree hardware description.
DeviceTree Overlays and prj.conf
In Zephyr, hardware configuration is decoupled from application logic. To enable the Bluetooth Low Energy (BLE) stack and configure memory partitions on an Arduino-compatible Nordic board, you modify the prj.conf file:
CONFIG_MAIN_STACK_SIZE=2048
CONFIG_SYSTEM_WORKQUEUE_STACK_SIZE=1024
CONFIG_HEAP_MEM_POOL_SIZE=4096
CONFIG_BT=y
CONFIG_BT_PERIPHERAL=y
CONFIG_BT_DEVICE_NAME="FluxSensor_Node"
According to the Zephyr Project Documentation, utilizing DeviceTree overlays (.overlay files) allows you to map specific Arduino header pins to internal MCU peripherals without altering the core board definition files. This ensures your code remains portable across different Zephyr-supported Silicon.
Critical Troubleshooting and Edge Cases
Running an RTOS introduces concurrency bugs that do not exist in bare-metal programming. Here is how to diagnose and resolve the most frequent configuration failures.
1. Stack Overflow and HardFaults
If your Arduino board randomly resets or triggers a HardFault exception, a task stack overflow is the primary suspect. FreeRTOS provides a built-in hook to detect this. Enable configCHECK_FOR_STACK_OVERFLOW in your configuration and implement the callback:
void vApplicationStackOverflowHook(TaskHandle_t xTask, char *pcTaskName) {
    // Log the offending task name via Serial or halt execution
    while(1) {
        // Blink onboard LED rapidly to indicate fatal RTOS error
    }
}
Pro Tip: During development, periodically call uxTaskGetStackHighWaterMark(NULL) within your tasks. This returns the minimum amount of remaining stack space (in words) since the task started, allowing you to right-size your memory allocation.
2. Priority Inversion in I2C Bus Contention
Imagine a low-priority task is reading a temperature sensor over I2C. A high-priority task preempts it, but then attempts to read an accelerometer on the same I2C bus. The high-priority task blocks, waiting for the bus. If a medium-priority task then preempts the low-priority task, the high-priority task is effectively blocked by the medium-priority task—a classic priority inversion.
The Fix: Never use simple Binary Semaphores for shared hardware resources. Always use Mutexes (xSemaphoreCreateMutex()). As detailed in the FreeRTOS Reference Manual, Mutexes implement priority inheritance, temporarily elevating the priority of the task holding the lock to prevent medium-priority tasks from causing deadlocks.
Expert Insight: When debugging RTOS timing issues on Arduino boards, do not rely solely on
Serial.print()for timestamping. The serial buffer transmission time can skew your measurements by milliseconds. Instead, toggle a GPIO pin connected to a logic analyzer or oscilloscope to measure true context-switching latency and interrupt service routine (ISR) execution times.
Power Optimization: Tickless Idle Mode
For battery-operated Arduino IoT nodes, the RTOS scheduler ticking 1,000 times a second prevents the MCU from entering deep sleep states. By enabling Tickless Idle Mode (configUSE_TICKLESS_IDLE), the RTOS calculates the time until the next scheduled task wakes up, halts the SysTick timer, and places the Cortex-M core into a low-power STOP or STANDBY mode. When configuring this, ensure your hardware's low-power timer (LPTIM) is correctly routed in the DeviceTree or board variant file to act as the wake-up source. Implementing tickless idle on a Nano 33 BLE can reduce idle power consumption from ~4 mA down to roughly 18 µA, extending a 250 mAh LiPo battery life from days to several months.