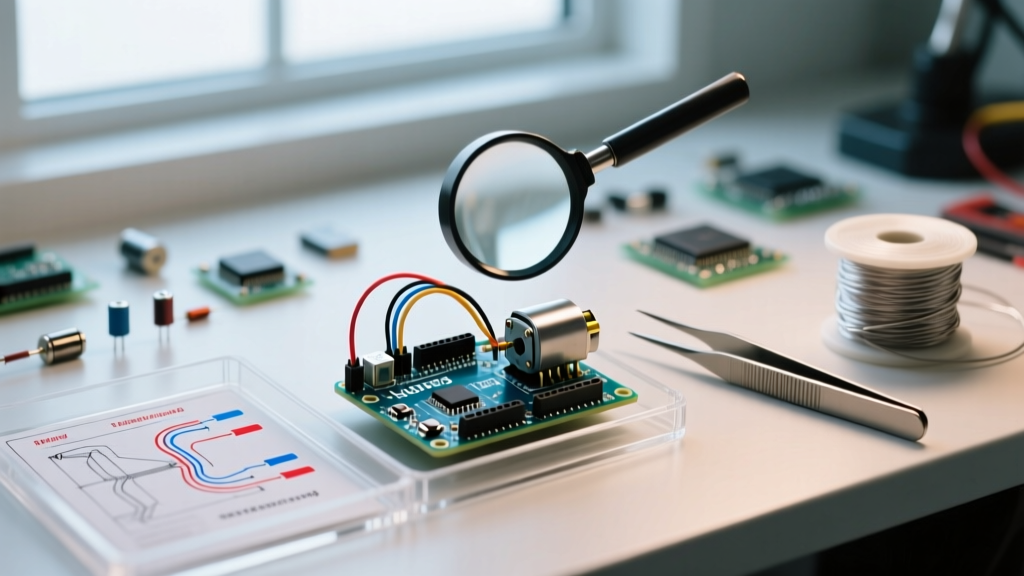

The State of Arduino H Bridge Motor Control in 2026
The landscape of Arduino H bridge motor control has evolved significantly. While early maker projects relied almost exclusively on the bulky, inefficient L298N bipolar transistor modules, the 2026 community standard heavily favors MOSFET-based drivers, integrated smart gate controllers, and high-frequency PWM techniques. Whether you are building a differential drive rover, a robotic arm, or an automated winch, understanding the nuances of H-bridge topologies is critical for thermal management and power efficiency.
In this community resource roundup, we synthesize the most valuable insights, hardware recommendations, and open-source libraries curated from top maker forums, GitHub repositories, and engineering discussions. We will bypass the basic 'blink an LED' tutorials and dive straight into the technical realities of motor driving.
Community-Recommended H-Bridge ICs & Modules
Browsing through the Arduino Forum and robotics Discord servers, a clear consensus has emerged regarding which motor drivers to use for specific applications. Below is a comparison matrix of the most frequently recommended H-bridge solutions for 5V and 3.3V microcontrollers.
| IC / Module | Topology | Continuous Current | Voltage Drop | Avg Price (2026) | Best Use Case |
|---|---|---|---|---|---|
| TB6612FNG | MOSFET | 1.2A (3.2A peak) | ~0.5V | $4.50 - $6.00 | Small 6V-12V N20/JGA25 gearmotors, I2C rovers. |
| DRV8871 | MOSFET | 3.6A | ~0.6V | $3.00 - $4.50 | Single high-torque motors, no separate logic VCC needed. |
| BTS7960 | High-Side/Low-Side | 43A (with heatsink) | Very Low | $12.00 - $18.00 | E-bike conversions, heavy linear actuators, 24V systems. |
| L298N | Bipolar BJT | 2.0A | ~2.0V - 3.0V | $2.00 - $3.50 | Legacy educational kits, low-budget 12V prototypes. |
Community Pro-Tip: If you are using a 3.3V microcontroller like the Arduino Nano ESP32 or an RP2040 board, avoid the standard BTS7960 modules unless they are specifically marked as 'Logic Level' or feature onboard optocouplers with 3.3V-compatible input thresholds. Standard BTS7960 boards often require 5V logic to fully turn on the internal MOSFET gates.
Essential Open-Source Libraries & GitHub Repos
Writing raw PWM and direction pin logic is fine for a single motor, but managing dead-time, coast/brake modes, and acceleration curves across multiple motors requires robust software. Here are the top community-maintained libraries for Arduino H bridge motor control:
1. DualG2HighPowerMotorShield (by Pololu)
For high-power applications using the DRV8701 or DRV8256-based carriers, Pololu's open-source library remains the gold standard. It includes built-in functions for current sensing via the IC's analog output pin, allowing you to implement software-based stall detection and overcurrent protection without external shunt resistors.
2. L298N (by Andrea Lombardo)
Despite the hardware's age, Lombardo's library is still widely used for educational setups. Its standout feature is the non-blocking acceleration and deceleration curves. Instead of using delay() to ramp up motor speed, the library uses state-machine logic tied to millis(), freeing up the MCU to handle sensor fusion or ROS 2 serial communications.
3. AccelStepper (by Mike McCauley)
While primarily for steppers, AccelStepper is frequently adapted by the community for DC motor position control when paired with quadrature encoders. The library's trapezoidal and S-curve acceleration profiles are mathematically optimized to prevent mechanical resonance and wheel slip in heavy rovers.
Deep Dive: Solving Common Community-Reported Failure Modes
When analyzing 'magic smoke' and 'burnt Arduino' threads on the EEVblog forum and Reddit's r/robotics, three specific failure modes dominate the Arduino H bridge motor control space. Here is how the community solves them:
The Flyback Diode Reverse Recovery Trap
Most cheap motor driver modules include 1N4007 rectifier diodes for flyback protection. However, the 1N4007 has a reverse recovery time ($t_{rr}$) of approximately 30 microseconds. If you drive your H-bridge with a 20kHz PWM signal (a 50-microsecond period), the diode spends more than half of its off-cycle in a short-circuit state while recovering, generating massive heat and voltage spikes that destroy the H-bridge IC.
- The Fix: Desolder the 1N400x diodes and replace them with Schottky diodes like the SS34 or 1N5819. Schottky diodes have virtually zero reverse recovery time, making them mandatory for PWM frequencies above 1kHz.
Shoot-Through and Dead-Time Insertion
When switching motor directions rapidly, there is a brief window where both the high-side and low-side MOSFETs in an H-bridge leg might be partially conductive. This creates a low-resistance path directly from VCC to Ground, known as shoot-through.
- The Fix: Implement 'dead-time' in your code. Before reversing the logic pins, set both direction pins LOW for at least 5 to 10 microseconds. Modern hardware like the Texas Instruments DRV series handles dead-time insertion automatically via internal logic, but if you are building discrete bridges, software or hardware dead-time is non-negotiable.
Logic Level Mismatch (The 3.3V vs 5V Problem)
Driving a standard IRF520 or IRF3205 MOSFET directly from a 3.3V ESP32 or Arduino Nano ESP32 GPIO pin will result in the MOSFET operating in its linear (ohmic) region rather than fully saturating. This causes the MOSFET to act like a massive resistor, dissipating watts of heat and melting your breadboard.
- The Fix: Always use 'Logic Level' MOSFETs (denoted by an 'L' in the part number, like the IRLZ44N or IRLB8721) which have a $V_{GS(th)}$ (Gate-Source Threshold Voltage) well below 2.5V, ensuring full enhancement at 3.3V.
Advanced Wiring: Discrete MOSFET H-Bridges
For custom PCB designs or high-current applications exceeding 50A, off-the-shelf modules fall short. The community frequently turns to discrete N-channel MOSFET H-bridges. However, driving the high-side N-channel MOSFET requires a gate voltage higher than the motor supply voltage. This is where bootstrap circuits and dedicated gate drivers come into play.
Using a half-bridge driver like the IR2104 is the community standard for discrete designs. The IR2104 uses a bootstrap capacitor and diode to generate the $V_{GS} + V_{BAT}$ required to turn on the high-side MOSFET. When calculating your bootstrap capacitor ($C_{boot}$), the community formula is:
C_boot >= (Q_g * 10) / (V_boot - V_f)
Where $Q_g$ is the total gate charge of your chosen MOSFET, $V_{boot}$ is the internal Zener voltage (usually ~15V), and $V_f$ is the forward voltage of the bootstrap diode (use a fast-recovery diode like the UF4007, not a standard 1N4007). For a comprehensive look at selecting the right discrete components, the Pololu Motor Drivers guide offers excellent baseline schematics for integrating these gate drivers with 3.3V microcontrollers.
Curated Video Masterclasses & Further Reading
Visualizing current flow and PWM duty cycles is often easier through video demonstrations. The community highly recommends the following resources for deepening your understanding of inductive loads and H-bridge topologies:
- EEVblog #1089 - H-Bridge Motor Driver Tutorial: Dave Jones breaks down the exact oscilloscope traces of shoot-through and explains why gate resistors ($R_g$) are necessary to dampen high-frequency ringing caused by parasitic trace inductance.
- GreatScott! - DIY Electronic Speed Controller (ESC): A practical walkthrough of building a 3-phase bridge (an extension of the H-bridge concept) for brushless motors, highlighting the importance of back-EMF zero-crossing detection.
- Official Arduino Documentation: The Arduino Motors guide remains a vital primer for beginners transitioning from DC hobby motors to stepper and servo control paradigms.
FAQ: Arduino H Bridge Motor Control
Can I power an H-bridge and an Arduino from the same battery?
Yes, but you must isolate the power rails. Large DC motors generate severe voltage sags and inductive spikes when starting and stopping. Always use a separate voltage regulator (like a buck converter set to 5V) for the Arduino, and place a large electrolytic capacitor (e.g., 2200µF) across the motor's power supply rails to absorb transient current demands.
Why is my motor whining at a high pitch?
That is the PWM frequency entering the audible spectrum (usually between 1kHz and 16kHz). To eliminate the whine, increase your Arduino's PWM frequency to an ultrasonic range, typically 20kHz to 25kHz. On an ATmega328P (Arduino Uno), this requires manipulating the Timer1 registers (e.g., setting the prescaler to 1 for ~31kHz on pins 9 and 10).
Do I need a heatsink for the TB6612FNG?
Under normal continuous loads of 1A or less, the TB6612FNG runs cool due to its low $R_{DS(on)}$ MOSFETs. However, if you are pushing 2A+ during stall conditions or frequent start-stop cycles, attaching a small 14x14x6mm aluminum heatsink with thermal tape to the IC package will significantly extend its lifespan.