
The Anatomy of a True Arduino Desk
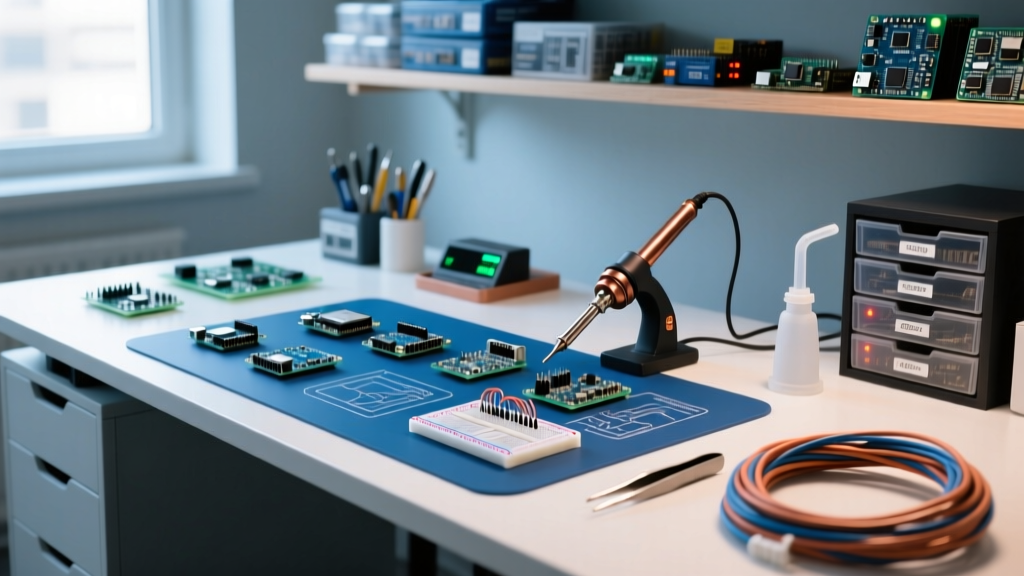
When makers first start with microcontrollers, any kitchen table or office desk will suffice. However, as projects evolve from blinking LEDs to complex ESP32 IoT nodes or custom ATmega328P PCB designs, a standard desk becomes a liability. A dedicated Arduino desk is not merely a piece of furniture; it is an integrated development environment optimized for firmware flashing, hardware debugging, circuit prototyping, and light soldering.
In 2026, with the proliferation of dense SMD (Surface Mount Device) components and highly sensitive RF modules like the nRF52840, the physical environment where you compile and upload sketches directly impacts your hardware's lifespan and your debugging efficiency. This guide breaks down the exact specifications, edge cases, and architectural decisions required to build the ultimate MCU workbench.
Surface Materials and ESD Mitigation
The most critical failure point for beginners is ignoring Electrostatic Discharge (ESD). While modern Arduinos feature basic onboard protection, repeated sub-lethal ESD events can cause 'latch-up' conditions or degrade the flash memory retention of your microcontroller. According to the ESD Association, maintaining a controlled dissipative environment is essential for handling sensitive semiconductors.
Expert Insight: Never use a standard rubber mat or a plastic desk cover. These materials are insulators that actively generate and hold static charges exceeding 10,000 volts. You need a dissipative surface.
Specifying the Right ESD Mat
For an Arduino desk, you need a two-layer dissipative mat with a surface resistance strictly between $10^6$ and $10^9$ ohms.
- Top Layer (Green/Blue): Static dissipative vinyl. Allows charges to bleed off slowly, preventing sudden spikes that could fry an ESP32's GPIO pins.
- Bottom Layer (Black): Conductive carbon-loaded rubber. Provides a low-resistance path to the ground snap.
- Recommended Model: Desco 19332 (24" x 36") or SCS 8210. Expect to pay around $55 to $75.
Ensure the mat is connected to a true earth ground via a 1-megohm current-limiting resistor cord. This resistor is non-negotiable; it protects you from shock if you accidentally touch a live 120V/240V AC wire while grounded to the mat.
Power Architecture and the USB Ground Loop Problem
An Arduino desk requires a split power architecture: one for AC mains (laptops, monitors, soldering stations) and one for DC prototyping (bench power supplies, logic analyzers). Adhering to OSHA Electrical Safety guidelines, all AC power strips on your desk must be GFCI (Ground Fault Circuit Interrupter) protected if liquids or soldering fluxes are present.
The Notorious Arduino Ground Loop
A common edge case that destroys PC motherboards and Arduino voltage regulators is the USB Ground Loop. This occurs when your Arduino is powered simultaneously by a bench power supply (connected to the 5V pin and GND) and your PC via USB (for Serial Monitor debugging). If the bench supply's earth ground and your PC's earth ground have a slight potential difference, current will flow through the Arduino's USB data lines, frying the ATmega16U2 USB-to-Serial chip.
The Solution: Integrate an isolated USB hub into your Arduino desk setup. The Plugable USB 2.0 4-Port Isolated Hub (approx. $45) uses optocouplers to break the ground loop while maintaining perfect data integrity for sketch uploading and serial debugging.
Illumination: CRI and Color Temperature for Jumper Wires
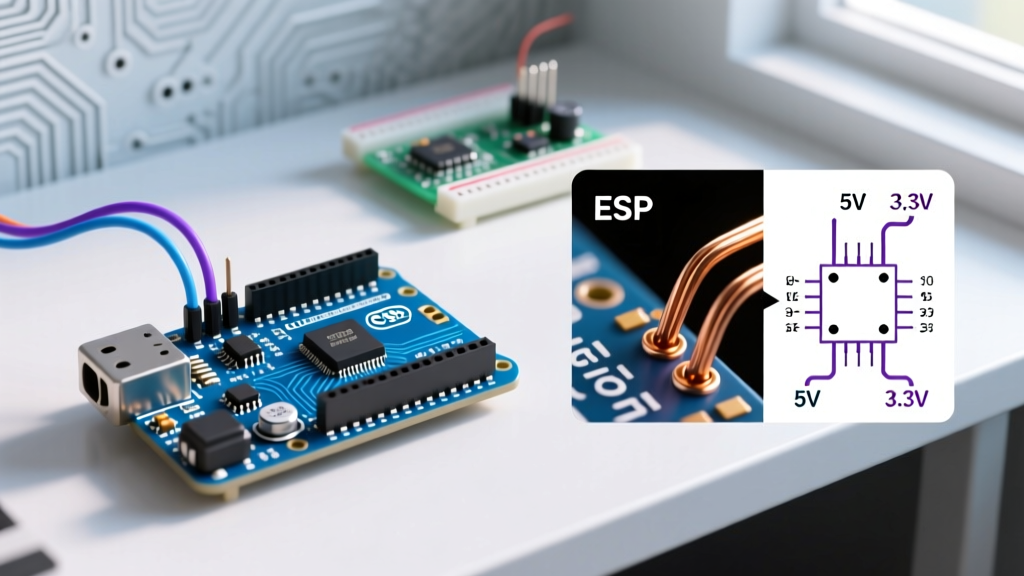
Distinguishing between a dark brown, black, and deep red jumper wire on a crowded breadboard requires specific lighting parameters. Standard office lighting (typically 3000K-4000K with a low CRI) causes color blending, leading to catastrophic wiring mistakes like feeding 5V into a 3.3V I2C SDA line.
| Lighting Parameter | Standard Office Light | Optimized Arduino Desk Light | Why It Matters for MCU Work |
|---|---|---|---|
| Color Temperature | 3000K (Warm White) | 5000K - 6500K (Daylight) | Provides neutral contrast for reading silkscreen text on PCBs. |
| CRI (Color Rendering Index) | 70 - 80 | 95+ | Accurately renders wire insulation colors and resistor bands. |
| Illuminance (Lux) | 300 Lux | 1000+ Lux at desk level | Reduces eye strain when inspecting 0.1" header solder joints. |
Hardware Recommendation: Mount a high-CRI LED strip (such as the Waveform Lighting 5000K ABSOLUTE Series) inside an aluminum extrusion channel directly above your primary breadboarding zone. Pair this with a BenQ ScreenBar for your monitor to eliminate screen glare during late-night coding sessions.
Organization: Managing Shields, Breakouts, and Jumpers
The physical footprint of Arduino development expands rapidly. You will accumulate dozens of sensor breakouts (BME280, MPU6050), motor drivers, and relay modules. Drawer systems are inefficient because they hide component labels. The industry standard for the modern Arduino desk is a slatwall or pegboard grid mounted directly behind the work surface.
Pegboard vs. Slatwall Matrix
- IKEA Skadis Pegboard: Budget-friendly ($25), highly customizable with 3D-printed hooks (available on Thingiverse/Printables), but lacks the sheer weight capacity for heavy spools of 18 AWG silicone wire.
- WallControl Metal Slatwall: More expensive ($80+ per panel), accepts standard 1/4" peg hooks and proprietary metal slats. Ideal for holding heavy bench multimeters and spools of solder.
Pro-Tip: Dedicate a specific row of your grid for 'Active Project Bins.' Use clear acrylic bins to store the specific breakout boards and jumper wires for your current sketch, keeping the main desk surface clear for the breadboard and logic analyzer.
2026 Budget Breakdown: Building the Arduino Desk
Below is a realistic, no-fluff budget for building a professional-grade Arduino desk from scratch, utilizing a heavy-duty base and optimized accessories.
| Component | Specific Recommendation | Estimated Cost (2026) |
|---|---|---|
| Desk Top | IKEA Karlby Countertop (74" x 1.5") or local butcher block | $140.00 |
| Desk Frame | Generic Heavy-Duty Steel Frame (Amazon/Local) | $70.00 |
| ESD Mat | Desco 19332 Statfree T2 Plus (24" x 36") with ground cord | $65.00 |
| Power Distribution | Tripp Lite 6-Outlet GFCI Power Strip | $45.00 |
| USB Isolation | Plugable USB 2.0 Isolated 4-Port Hub | $45.00 |
| Lighting | Waveform Lighting 5000K High-CRI LED Strip + Aluminum Channel | $55.00 |
| Organization | IKEA Skadis Pegboard + Assorted Hooks | $35.00 |
| Total | Complete Optimized MCU Environment | $455.00 |
Common Edge Cases and Troubleshooting
Even with a perfect physical setup, Arduino desk environments present unique troubleshooting scenarios:
- Serial Monitor Garbage Characters: If you see random characters in your serial output despite setting the correct baud rate in the IDE, check your desk's grounding. A floating ground on your PC or a noisy AC mains line from a cheap soldering station (like ungrounded clone irons) can inject EMI into the USB data lines. Ensure your soldering station is grounded to the same strip as your PC.
- Brownout Resets During Upload: If your Arduino Nano or Pro Micro resets during the 'avrdude' upload phase, your USB hub may not be supplying the required 500mA peak current during the bootloader handshake. Use a powered, isolated hub rather than relying on bus power from a monitor's downstream USB port.
- Fume Extraction Placement: If you solder headers onto your Arduinos at the desk, place your fume extractor (e.g., Hakko FA-400) between you and the solder joint, not behind the joint. Pulling fumes away from your breathing zone is vastly superior to pushing them.
Building a dedicated Arduino desk is an investment in your maker journey. By prioritizing ESD safety, isolating your power architecture, and optimizing your visual environment, you eliminate the physical variables that cause hardware bugs, allowing you to focus entirely on writing clean, efficient C++ firmware.