
The 2026 Arduino Ecosystem: Beyond the Classic AVR
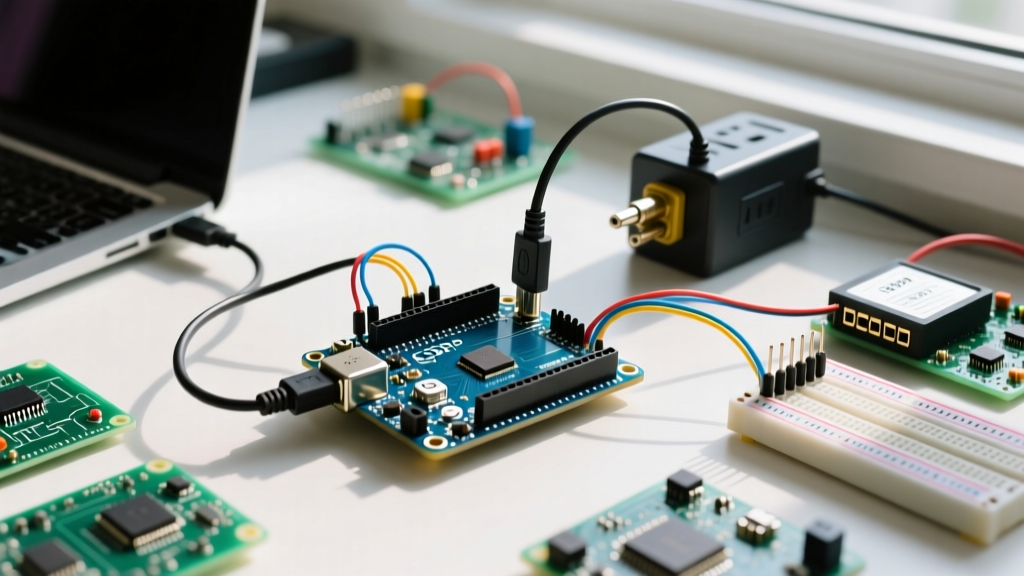
Understanding Arduino coding basics in 2026 requires acknowledging a massive shift in underlying hardware. While the classic Arduino Uno R3 (ATmega328P) remains a staple for legacy projects, the modern maker bench is dominated by the Arduino Uno R4 WiFi (powered by the Renesas RA4M1 ARM Cortex-M4, retailing around $27.50) and the Nano ESP32 (ESP32-S3, ~$21.50). These boards offer vastly superior processing speeds, native floating-point units (FPUs), and Wi-Fi/BLE capabilities. However, this architectural leap introduces critical differences in how C++ code is compiled and executed. This quick reference FAQ and cheat sheet bridges the gap between legacy AVR coding and modern 32-bit ARM/ESP environments.
Core Skeleton: setup() vs. loop()
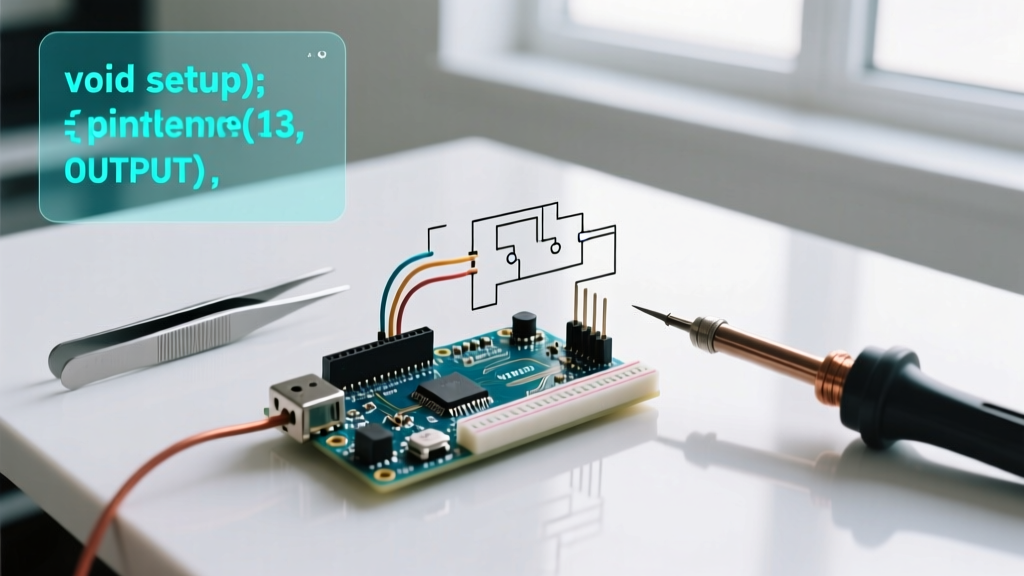
Every Arduino sketch relies on two mandatory functions. Understanding their execution context is the foundation of all Arduino coding basics.
setup(): Executes exactly once upon power-up or hardware reset. Use this for initializing serial communication (Serial.begin(115200)), configuring pin modes (pinMode(LED_BUILTIN, OUTPUT)), and instantiating peripheral libraries (e.g., I2C sensors, displays).loop(): Executes continuously in an infinite while-loop managed by the underlying RTOS or main.c wrapper. This is where your primary state machines, sensor polling, and logic reside.
Expert Edge Case: On ESP32-based boards (like the Nano ESP32), thesetup()andloop()functions actually run on the main application core (Core 1) inside a FreeRTOS task namedloopTask. If you blockloop()with a heavydelay(), you can starve the background Wi-Fi/BT stack, leading to silent network disconnects.
Architecture & Data Type Quick Reference Matrix
The most common pitfall when migrating code from an older Uno R3 to a modern Uno R4 or Nano ESP32 is assuming data type sizes are universal. They are not. Always refer to the official Arduino Language Reference for standard definitions, but use this matrix for hardware-specific realities.
| Board Model | Microcontroller | Architecture | int Size | float Size | SRAM | Flash Memory |
|---|---|---|---|---|---|---|
| Uno R3 | ATmega328P | 8-bit AVR | 16-bit (-32k to 32k) | 32-bit | 2 KB | 32 KB |
| Uno R4 Minima | Renesas RA4M1 | 32-bit ARM | 32-bit (-2B to 2B) | 32-bit | 32 KB | 256 KB |
| Nano ESP32 | ESP32-S3 | 32-bit Xtensa | 32-bit (-2B to 2B) | 32-bit | 512 KB | 8 MB |
Pro-Tip: To write deterministic, cross-platform code, abandon generic int or long declarations. Instead, include <stdint.h> and use explicit types like int16_t, uint32_t, and int8_t.
Frequently Asked Questions: Arduino Coding Basics
1. Why did my integer overflow at 32,767?
If you wrote a sketch on a classic Uno R3 using an int to count encoder pulses or milliseconds, it will overflow and wrap to -32,768 once it hits 32,767. This is because the AVR-GCC compiler defines an int as 16 bits. If you port that exact same code to an Uno R4 (ARM) or Nano ESP32, the int becomes 32 bits, and the overflow won't happen until 2,147,483,647. Solution: Explicitly declare your variables as int16_t or uint32_t depending on your required range, ensuring identical behavior across all architectures.
2. How do I prevent SRAM exhaustion on classic AVR boards?
On the ATmega328P, you only have 2,048 bytes of SRAM. Every string literal you print (e.g., Serial.println("Initializing sensor array...");) is copied from Flash memory into SRAM at runtime. If you use too many verbose debug strings, the stack and heap will collide, causing random reboots or silent failures.
The Fix: Use the F() macro. Wrapping your string in F() forces the compiler to leave the string in Flash memory and read it directly during the Serial.print() execution.
// Bad for SRAM
Serial.println("System boot sequence initiated.");
// Good for SRAM
Serial.println(F("System boot sequence initiated."));
Note: The F() macro is largely unnecessary on 32-bit boards with 32KB+ of SRAM, but it remains a best practice for backward compatibility.
3. delay() vs. millis(): Which timing function should I use?
delay(ms) is a blocking function. It halts the CPU, preventing button reads, network handshakes, or motor control updates until the time elapses. Arduino coding basics dictate that delay() should only be used in initial prototyping.
For production firmware, use the non-blocking millis() approach (often called the BlinkWithoutDelay pattern):
unsigned long previousMillis = 0;
const long interval = 1000;

void loop() {
  unsigned long currentMillis = millis();
  if (currentMillis - previousMillis >= interval) {
    previousMillis = currentMillis;
    // Toggle LED or read sensor here
  }
  // CPU is free to run other tasks here
}
4. What causes the "expected ';' before" compiler error?
This is the most ubiquitous syntax error for beginners. It almost always means you missed a semicolon at the end of the previous line. The compiler reads line-by-line; when it hits the next line without a terminator, it throws the error pointing to the current line. Always check the line immediately above the error highlight.
5. Why isn't my I2C sensor responding?
Before blaming the code, verify the hardware pull-up resistors. The internal pull-ups on the ATmega328P (approx. 20kΩ - 50kΩ) are often too weak for high-speed I2C or long wire runs. Modern boards like the Uno R4 have different internal pull-up characteristics. Actionable advice: Add external 4.7kΩ pull-up resistors to both SDA and SCL lines tied to VCC (3.3V or 5V, matching your logic level). Use the I2C Scanner sketch from the AVR Libc documentation or Arduino examples to verify the hex address (e.g., 0x3C for SSD1306 OLEDs).
Operator Cheat Sheet: Logical vs. Bitwise
Confusing logical and bitwise operators is a frequent source of bugs in low-level MCU programming, especially when dealing with hardware registers or sensor bitmasks.
- Logical AND (
&&): Evaluates totrue(1) orfalse(0). Used inifstatements. (e.g.,if (temp > 20 && humidity < 50)) - Bitwise AND (
&): Compares individual bits. Used for masking. (e.g.,byte status = registerVal & 0x0F;isolates the lower 4 bits). - Logical OR (
||): True if either condition is true. - Bitwise OR (
|): Sets specific bits high without affecting others. (e.g.,PORTB |= (1 << PB5);sets pin 5 high). - Bitwise XOR (
^): Flips bits. Excellent for toggling states or basic checksums.
Final Best Practices for 2026 Firmware
As microcontrollers become more powerful, the line between embedded firmware and desktop software blurs. However, resource constraints still apply. Always initialize your serial baud rates to 115200 or higher (the Uno R4 and ESP32 handle 921600 effortlessly via native USB). Avoid using the String object (capital 'S') in loops, as it causes heap fragmentation on both AVR and ESP32 architectures. Instead, rely on standard C-style character arrays (char[]) or snprintf() for formatting data payloads. Mastering these Arduino coding basics ensures your sketches are robust, memory-efficient, and ready for deployment across the entire modern Arduino lineup.