
The Architecture of Vehicle Diagnostics
Since the Environmental Protection Agency (EPA) mandated standardized On-Board Diagnostics (OBD-II) for all light-duty vehicles in 1996, the J1962 connector has served as the universal gateway to a vehicle's internal networks. For makers and automotive engineers, bridging the gap between a car's Controller Area Network (CAN bus) and a microcontroller like an Arduino or ESP32 unlocks powerful capabilities: from custom digital dashboards and telemetry data loggers to automated performance tuning. However, successfully executing an Arduino OBD2 integration requires a deep understanding of vehicle network topologies, logic-level voltages, and the specific translation protocols used by diagnostic adapters.
At its core, OBD-II is not a single protocol but a standardized set of diagnostic messages (Parameter IDs, or PIDs) that can be transmitted over several different physical layers, including ISO 15765-4 CAN, ISO 14230-4 (KWP2000), and ISO 9141-2. As of 2026, while CAN-FD (Flexible Data-Rate) is increasingly prevalent in modern EV and ADAS systems, standard ISO 15765-4 CAN remains the absolute baseline for retrieving standard OBD-II PIDs across almost all internal combustion vehicles.
Hardware Topologies: ELM327 vs. Raw CAN-BUS Shields
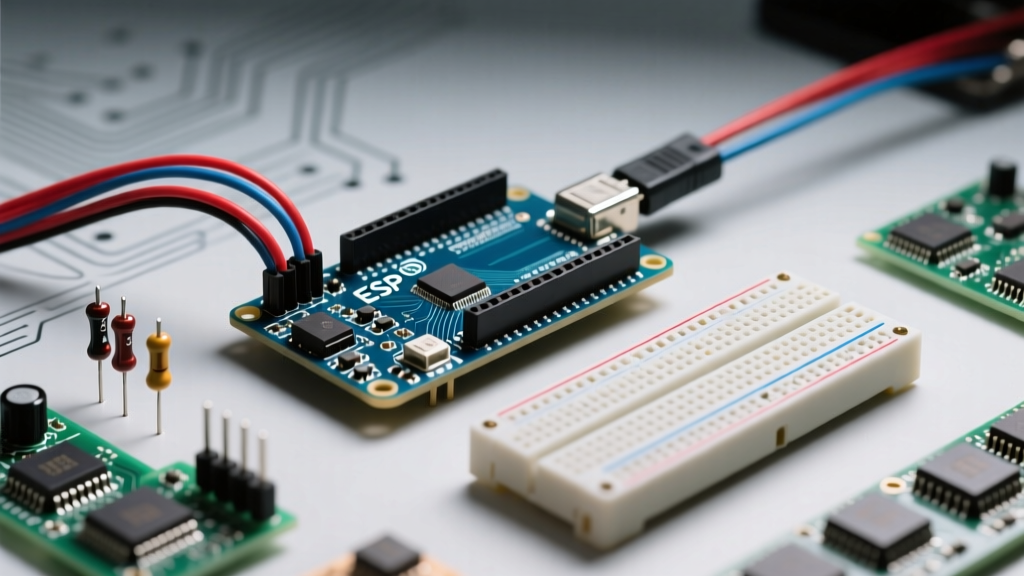
When designing an Arduino OBD2 interface, engineers generally choose between two distinct hardware approaches: using an ELM327-based UART translator or wiring a raw CAN-BUS transceiver shield. Each method fundamentally changes how the microcontroller interacts with the vehicle.
| Feature | ELM327 UART / Bluetooth Adapter | Raw CAN-BUS Shield (e.g., MCP2515) |
|---|---|---|
| Primary Function | Translates raw CAN/ISO frames to ASCII AT commands | Passes raw hexadecimal CAN frames directly to SPI |
| Microcontroller Load | Low (handles simple string parsing) | High (requires manual frame filtering and bitwise math) |
| Average Cost (2026) | $12 - $35 (depending on genuine vs. clone chips) | $15 - $25 (e.g., Seeed Studio CAN-BUS Shield V2.0) |
| Best Use Case | Basic telemetry, simple dashboards, Bluetooth logging | Advanced reverse engineering, UDS protocols, custom ECUs |
The ELM327 is essentially an automotive interpreter. Instead of forcing the Arduino to parse complex, high-speed hexadecimal CAN frames, the ELM327 handles the physical layer arbitration and protocol handshakes, presenting the microcontroller with simple, human-readable ASCII strings via a standard UART serial connection. Conversely, a raw CAN shield, such as the Seeed Studio CAN-BUS Shield V2.0 utilizing the MCP2515 controller and MCP2551 transceiver, connects directly to the CAN-High and CAN-Low differential pairs, requiring the developer to write or utilize libraries that manually construct and decode OBD-II request frames.
The J1962 Pinout and Voltage Logic Warnings
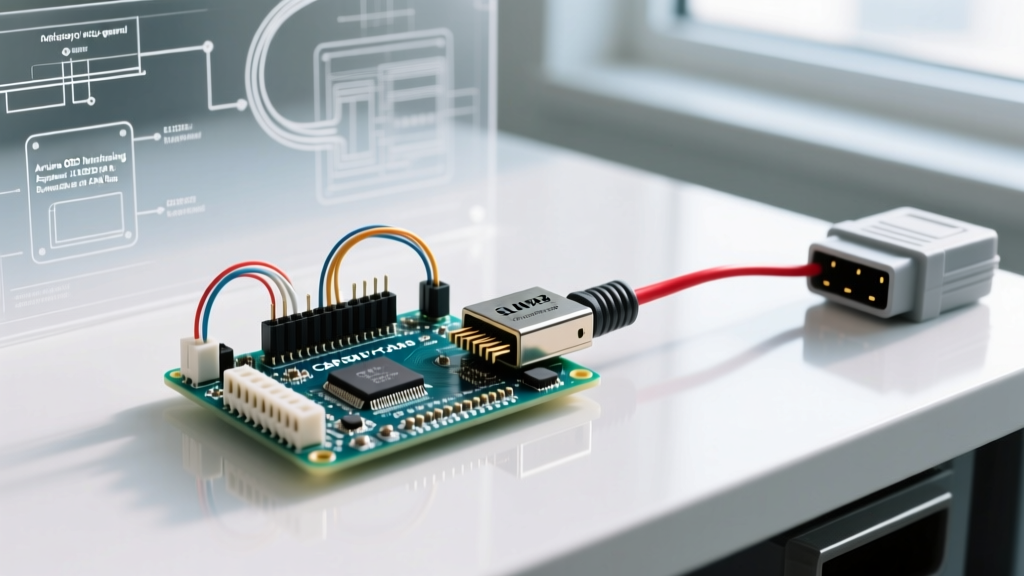
Physical connection to the vehicle is standardized via the 16-pin J1962 female connector. While manufacturers use various proprietary pins for advanced diagnostics, standard OBD-II interfacing relies on a strict subset:
- Pin 4: Chassis Ground
- Pin 5: Signal Ground
- Pin 6: CAN High (ISO 15765-4)
- Pin 14: CAN Low (ISO 15765-4)
- Pin 16: Battery Positive (12V - 14.4V unswitched)
Critical E-E-A-T Warning: Logic Level Shifting
One of the most common and destructive failure modes in Arduino OBD2 projects involves voltage mismatch. The standard OBD-II port provides 12V on Pin 16, which is typically stepped down by the ELM327 adapter's internal voltage regulator. However, the UART TX/RX pins on many cheap, aftermarket ELM327 breakout boards operate at 5V logic levels.
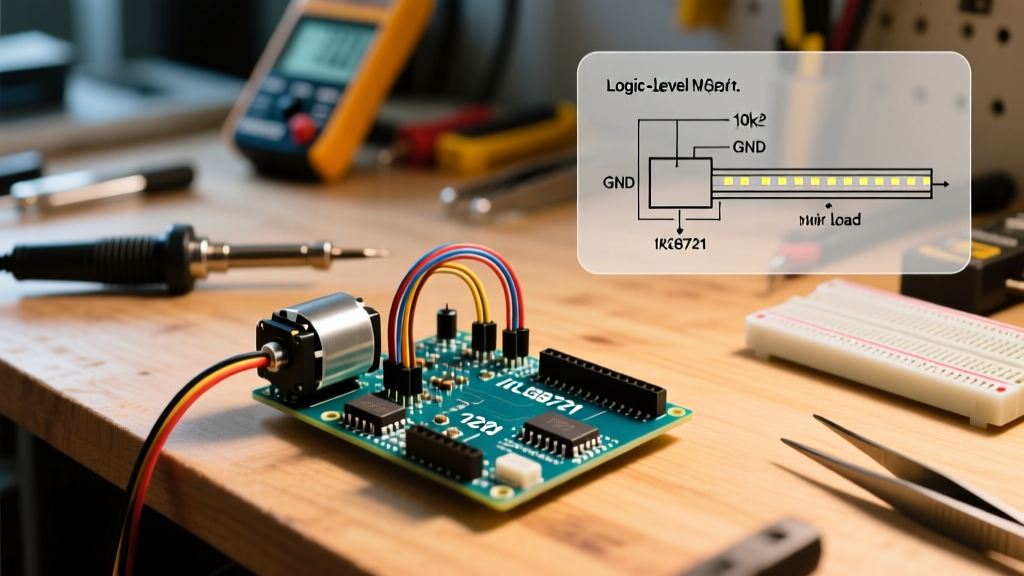
If you are using a 5V Arduino Uno or Mega, this is generally safe. But if you are upgrading to a 3.3V microcontroller like the ESP32, Teensy 4.1, or Raspberry Pi Pico, connecting a 5V ELM327 TX pin directly to the ESP32's RX pin will permanently destroy the GPIO circuitry. You must implement a logic level shifter or a simple resistive voltage divider (e.g., a 2kΩ resistor in series with the TX line, and a 3.3kΩ resistor pulling the RX pin to ground) to safely step the 5V signal down to ~3.1V.
Decoding the Protocol: AT Commands and PIDs
When utilizing the ELM327 approach, communication is governed by 'AT' (Attention) commands, originally modeled after the Hayes modem command set. Upon powering up, the microcontroller must initialize the adapter before requesting vehicle data.
Standard Initialization Sequence:
1.ATZ(Reset the ELM327)
2.ATE0(Disable command echo to save parsing overhead)
3.ATL0(Disable linefeeds)
4.ATSP0(Set protocol to Auto-detect)
5.0100(Request supported PIDs 01-20 to verify connection)
Once initialized, the Arduino queries specific Parameter IDs (PIDs). According to the SAE J1979 standard and detailed extensively in CSS Electronics' OBD2 PID tutorials, a standard Mode 01 request (current data) consists of the mode byte (01) followed by the PID byte.
Essential PIDs and Bitwise Decoding
The vehicle's ECU responds with hexadecimal bytes that must be mathematically converted into real-world engineering units. Here is how the Arduino processes the three most critical telemetry PIDs:
- Engine RPM (PID 0x0C): The ECU returns two bytes (A and B). The formula is
((A * 256) + B) / 4. This allows for a maximum RPM reading of 16,383.75 with a quarter-RPM resolution. - Vehicle Speed (PID 0x0D): The ECU returns a single byte (A). The formula is simply
A, yielding speed in km/h (0 to 255). - Throttle Position (PID 0x11): The ECU returns byte A. The formula is
(100 / 255) * A, resulting in a percentage from 0 to 100%.
Software Implementation: The ELMduino Library
While you can write custom UART parsers using standard Serial.read() functions, the open-source ELMduino library remains the most robust solution for Arduino and ESP32 environments. It automatically handles the baud rate negotiation (standard ELM327 UART baud rate is 38400, though some Bluetooth variants default to 9600) and abstracts the bitwise math into simple floating-point variables.
When coding your main loop, it is vital to implement non-blocking delays. Querying too many PIDs in rapid succession can overwhelm the vehicle's CAN bus gateway or trigger the ELM327's internal buffer overflow, resulting in BUFFER FULL or STOPPED errors. A best practice is to poll high-priority PIDs (RPM, Speed) every 100ms, and lower-priority PIDs (Coolant Temp, O2 Sensors) every 1000ms.
Common Failure Modes and Edge Cases
Even with perfect wiring, Arduino OBD2 projects frequently encounter edge cases in the field. Understanding these failure modes separates amateur prototypes from reliable automotive electronics.
- The 'Clone' Chip Problem: Genuine ELM327 chips (originally by ELM Electronics) are largely discontinued and expensive. The market is flooded with $8 clone chips (often mislabeled as 'v2.1'). Many of these clones have incomplete firmware that drops support for older protocols like ISO 14230-4 KWP, meaning they will fail to connect to pre-2008 vehicles. Always verify adapter compatibility with your specific target vehicle year.
- ECU Sleep States: Pin 16 of the OBD-II port provides unswitched 12V. If your Arduino data logger remains plugged in while the car is parked, it will continuously draw current. Furthermore, modern vehicles put their CAN bus gateways to sleep 10 to 20 minutes after ignition-off. Your code must monitor the RPM or Ignition Monitored PID; if the engine is off, the Arduino must enter deep sleep mode to prevent draining the vehicle's 12V lead-acid battery below the 11.8V cranking threshold.
- CAN ID Filtering: If using a raw MCP2515 shield instead of an ELM327, the Arduino will be bombarded with thousands of CAN frames per second (including ABS, airbag, and infotainment traffic). You must configure the MCP2515 hardware acceptance masks and filters to only accept frames with the standard OBD-II broadcast ID of
0x7DF(requests) and0x7E8(responses), otherwise the Arduino's SPI buffer will overrun and crash the sketch.
Authoritative References
For further reading on emissions standards and diagnostic protocols, consult the EPA's official overview on OBD testing and compliance, which outlines the regulatory framework necessitating these standardized interfaces. Additionally, deep-diving into the electrical characteristics of the CAN physical layer will greatly assist in debugging transceiver issues on the bench.