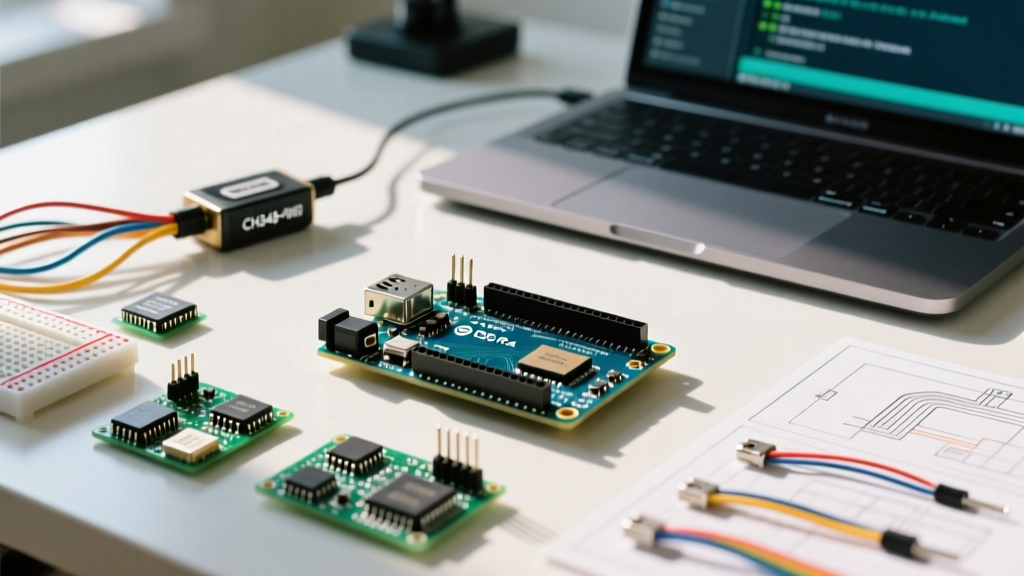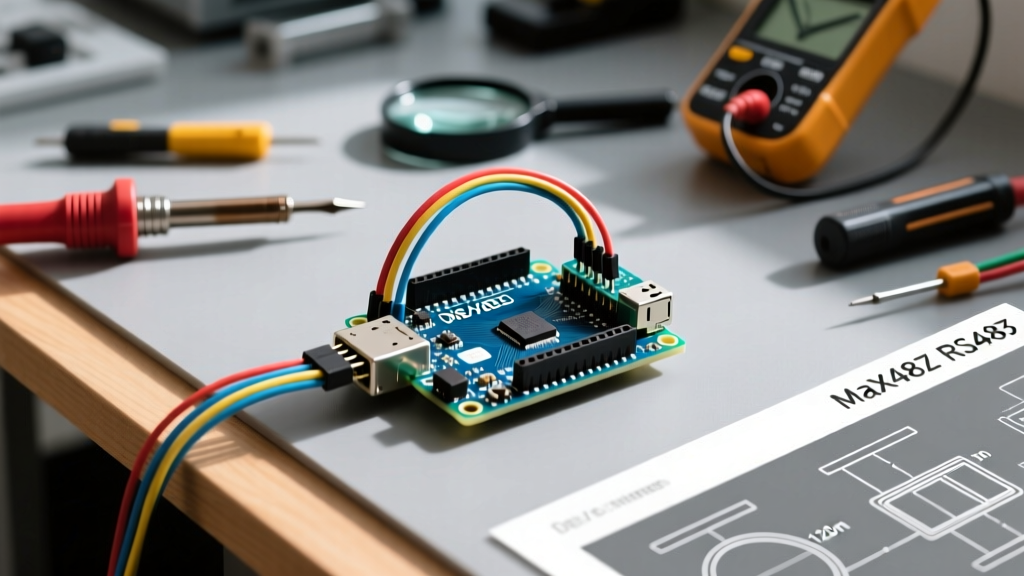

Why Arduino RS485 Setups Fail in the Field
RS-485 remains the undisputed king of robust, long-distance serial communication in industrial and maker environments. Capable of spanning up to 1,200 meters and supporting multi-drop networks, it is a staple for environmental monitoring, CNC control, and smart agriculture. However, transitioning from a benchtop UART prototype to a field-deployed EIA-485 standard network introduces complex physical layer challenges. When your Arduino RS485 setup drops packets, hangs, or fails to initialize, the culprit is rarely the microcontroller itself. As of 2026, the market is flooded with ultra-cheap HW-519 MAX485 clone modules (often retailing around $1.20), which lack the isolation and protection circuitry of industrial transceivers, making proper wiring and software timing absolutely critical.
The Master Diagnostic Matrix
Before grabbing an oscilloscope, cross-reference your symptoms with this failure mode matrix to isolate the physical or logical layer error.
| Symptom | Probable Root Cause | Diagnostic Action |
|---|---|---|
| Complete silence (no TX/RX LEDs) | DE/RE pin stuck HIGH or LOW | Verify digital pin mapping and measure voltage on DE/RE during TX. |
| Corrupted data / Garbage characters | Baud rate mismatch or missing termination | Confirm both nodes use identical baud; check for 120-ohm termination. |
| Last byte of transmission truncated | DE pin dropped LOW before TX buffer emptied | Insert Serial.flush() before toggling DE pin LOW. |
| Node works on bench, fails in field | Common-mode voltage exceeded (-7V to +12V) | Install a dedicated ground wire between nodes or use isolated RS485 modules. |
| Network hangs when one node powers off | Floating A/B lines causing noise | Implement fail-safe biasing resistors on the master node. |
The Grounding Misconception: Why Differential Needs a Ground Wire
The most persistent myth in maker forums is that RS-485, being a differential protocol, only requires two wires (A and B) because the signal is read as the voltage difference between them. This is dangerously incomplete. According to Texas Instruments RS-485 design guidelines, the receiver chip (like the MAX485) measures the differential signal, but it does so relative to its own ground. The absolute voltage on the A and B lines must remain within the receiver's common-mode voltage range, typically -7V to +12V.
If you run a 50-meter cable between two Arduinos powered by different supplies, the ground potential difference between the two buildings or power strips can easily exceed 5 volts. Without a dedicated ground wire tying the two RS-485 modules together, the common-mode limit is breached, resulting in corrupted data or catastrophic thermal failure of the transceiver chip. Always run a 3-wire cable (A, B, and GND) for non-isolated setups. If ground loops are a concern, upgrade to an isolated module like the XY-017 (approximately $8.50), which uses optocouplers and an isolated DC-DC converter to break the ground path entirely.
The DE/RE Pin Dilemma: Mastering Hardware Flow Control
Standard TTL-to-RS485 modules operate in half-duplex mode, utilizing Driver Enable (DE) and Receiver Enable (RE) pins. To transmit, DE must be HIGH; to receive, DE must be LOW. Beginners frequently write code that toggles the DE pin immediately after the Serial.print() command, resulting in truncated messages.
Expert Insight: The Arduino UART operates via a background hardware buffer. Serial.print() merely loads data into this buffer and returns immediately. If you pull the DE pin LOW at this exact moment, the transceiver switches to receive mode before the physical bits have left the TX pin, chopping off the end of your payload.
To fix this, you must leverage the Arduino Serial.flush() documentation standard. This function blocks code execution until the outbound TX buffer is completely empty.
Correct C++ Transmission Sequence
digitalWrite(DE_PIN, HIGH); // Enable Driver
delayMicroseconds(50);      // Allow MAX485 to switch states
Serial.print("SENSOR_DATA:42");
Serial.flush();             // CRITICAL: Wait for hardware TX buffer to empty
digitalWrite(DE_PIN, LOW);  // Return to Receive mode
Signal Integrity: Cable Impedance and Termination Resistors
When diagnosing high-speed packet loss (115200 baud and above), cable selection is often the hidden variable. Many hobbyists use standard Cat5e Ethernet cable. While Cat5e is a twisted pair, its characteristic impedance is 100 ohms. The RS-485 standard dictates a 120-ohm impedance environment. Using 100-ohm cable with 120-ohm termination resistors creates an impedance mismatch, causing signal reflections that corrupt data over long runs. For professional deployments, use dedicated RS-485 cable like Belden 9841 (120 ohms, 15 pF/ft capacitance).
When to Use Termination and Biasing
- Termination Resistors (120 Ohm): Place one 120-ohm resistor across the A and B lines at the physical Master node, and another at the furthest Slave node. Do not place them on intermediate nodes in a daisy chain, as parallel resistance will drop the impedance too low for the driver to handle.
- Fail-Safe Biasing Resistors: When the RS-485 bus is idle (no node transmitting), the A and B lines float, making them highly susceptible to electromagnetic interference (EMI). To prevent false triggers, add a 560-ohm pull-up resistor on the A line to VCC (5V) and a 560-ohm pull-down resistor on the B line to GND at the Master node. This guarantees a logical 'Mark' (idle) state.
Baud Rate vs. Distance Limitations
RS-485 is not infinitely fast over infinite distances. Cable capacitance acts as a low-pass filter, rounding off the sharp edges of digital square waves. If you are diagnosing timeouts, ensure your baud rate aligns with the physical length of your network.
| Baud Rate | Maximum Recommended Distance | Typical Application |
|---|---|---|
| 9600 bps | 1,200 meters (4,000 ft) | Environmental sensors, water tank levels |
| 57600 bps | 600 meters (2,000 ft) | Modbus RTU industrial automation |
| 115200 bps | 150 meters (500 ft) | High-speed CNC jog pendants, 3D printer farms |
| 250000 bps | 50 meters (160 ft) | Real-time motor telemetry |
Step-by-Step Diagnostic Flowchart
When a new Arduino RS485 node refuses to join the network, follow this strict isolation sequence:
- Verify Local Loopback: Disconnect the A/B lines. Jumper the TX and RX pins on the Arduino. Send data via Serial Monitor. If it fails, your microcontroller code or UART configuration is flawed.
- Verify Transceiver Loopback: Connect the MAX485 module. Jumper the A and B pins directly on the module header. Send data. If it fails, your DE/RE pin timing is wrong, or the module is dead.
- Check Biasing Voltage: With the bus idle, use a multimeter to measure between A and B. You should read a positive voltage (typically +200mV to +5V) indicating the biasing resistors are holding the bus in a Mark state.
- Inspect Ground Continuity: Measure the AC and DC voltage between the Master GND and Slave GND. If it exceeds 2V, you have a ground loop or missing ground wire.
By systematically eliminating the physical layer variables—impedance, common-mode voltage, and termination—you can transform an unreliable Arduino RS485 prototype into an industrial-grade communication network.