
The Enduring Power of Serial Telemetry in 2026
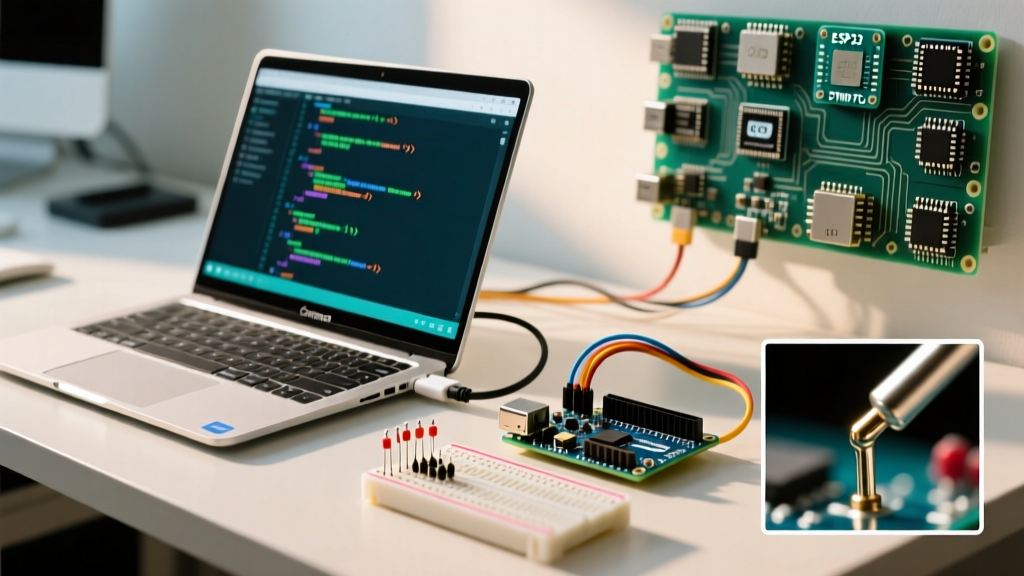
Despite the proliferation of affordable SWD/JTAG debug probes and sophisticated RTOS trace tools, the humble Serial.println() remains the undisputed king of rapid microcontroller debugging. Whether you are prototyping an IoT sensor on an ESP32-S3, tuning motor control loops on an RP2040, or maintaining legacy ATmega328P hardware, mastering serial output is non-negotiable.
In this community resource roundup, we move beyond the basic Serial.println("Hello World") tutorial. We have curated the most effective Arduino serial println examples used by professional embedded engineers to solve real-world edge cases, format data for the Arduino IDE 2.x Serial Plotter, and prevent buffer-overflow crashes in high-speed interrupt service routines (ISRs).
The Mathematics of Serial Blocking
Before diving into the code snippets, it is critical to understand the hardware limitations of serial transmission. When you call Serial.println(), the data is pushed into a RAM-based TX buffer. If the buffer is full, the function blocks execution until space frees up.
Expert Insight: On a standard 16MHz ATmega328P (Arduino Uno) with a 64-byte TX buffer transmitting at 9600 baud, each byte takes approximately 1.04ms to send (10 bits per byte). If you attempt to print a 100-byte string, the first 64 bytes fill the buffer instantly, but the remaining 36 bytes will block your main loop for roughly 37.5 milliseconds. In a 1kHz PID control loop, this latency will cause catastrophic system instability.
For a deeper dive into hardware-specific buffer behaviors, the PJRC Serial Buffering Documentation provides an exhaustive breakdown of USB-CDC versus hardware UART buffering across ARM Cortex-M architectures.
Community Roundup: Top 4 Arduino Serial Println Examples
1. The Timestamped Telemetry Logger (Rollover-Safe)
A common mistake in long-running environmental monitors is failing to account for the millis() rollover, which occurs every 49.7 days. This example safely prefixes every log line with a timestamp without using blocking delay() functions.
void printTelemetry(float tempC, float humidity) {
  unsigned long currentMillis = millis();
  Serial.print("[");
  Serial.print(currentMillis / 1000); // Seconds
  Serial.print(".");
  Serial.print((currentMillis % 1000) / 100); // Tenths of a second
  Serial.print("s] T:");
  Serial.print(tempC, 2); // 2 decimal places
  Serial.print("C | H:");
  Serial.print(humidity, 1);
  Serial.println("%");
}
Why this works: By using modulo arithmetic and printing segments individually, we avoid the memory overhead of String concatenation and sprintf buffer allocations, which are notorious for causing heap fragmentation on AVR chips.
2. Hexadecimal Memory Dumps for I2C/SPI Debugging
When reverse-engineering an I2C sensor or debugging SPI flash memory, raw decimal output is useless. You need zero-padded hexadecimal dumps. The standard Serial.println(val, HEX) drops leading zeros (e.g., printing A instead of 0A), which ruins data alignment.
void dumpI2CRegisters(uint8_t deviceAddr, uint8_t startReg, uint8_t length) {
  Serial.print("I2C Dump 0x");
  Serial.println(deviceAddr, HEX);

  for (uint8_t i = 0; i < length; i++) {
    uint8_t data = Wire.read();
    // Zero-padding logic
    if (data < 0x10) Serial.print("0");
    Serial.print(data, HEX);
    Serial.print(" ");

    if ((i + 1) % 16 == 0) Serial.println(); // Line break every 16 bytes
  }
  Serial.println();
}
Pro-Tip: Always cast your variables to uint8_t before printing in HEX. If you pass a signed int8_t with a negative value, the Arduino core will print it as a 32-bit signed hex integer (e.g., FFFFFFF1), completely cluttering your console.
3. CSV Formatting for Arduino IDE Serial Plotter
The Arduino IDE Serial Plotter is an invaluable tool for visualizing sensor data, but it requires strict CSV (Comma Separated Value) formatting. A trailing comma or an accidental println on a label will break the graph.
void plotPIDData(float setpoint, float actual, float pwmOutput) {
  // Format: Label:Value,Label:Value
  Serial.print("Setpoint:");
  Serial.print(setpoint);
  Serial.print(",");

  Serial.print("Actual:");
  Serial.print(actual);
  Serial.print(",");

  // CRITICAL: Use println ONLY on the very last variable
  Serial.print("PWM:");
  Serial.println(pwmOutput);
}
Edge Case Warning: The Serial Plotter in IDE 2.3+ supports up to 500,000 baud via USB-CDC. If you are plotting high-frequency accelerometer data, ensure your MCU supports USB-CDC (like the RP2040 or ESP32-S3) rather than a hardware UART bridge (like the CH340 on the Uno), which will bottleneck at 115,200 baud.
4. Non-Blocking JSON Telemetry for IoT Gateways
When sending data to an ESP8266/ESP32 AT-command bridge or a local serial gateway, structured JSON is preferred. Instead of using heavy libraries, this lightweight snippet constructs a JSON payload using the F() macro to save precious SRAM.
void sendJsonTelemetry(int batteryMv, bool faultState) {
  Serial.print(F("{\"bat_mv\":"));
  Serial.print(batteryMv);
  Serial.print(F(",\"fault\":"));
  Serial.print(faultState ? "true" : "false");
  Serial.println(F("}"));
}
Memory Impact: Wrapping string literals in the F() macro forces the compiler to store them in PROGMEM (Flash) rather than copying them to SRAM at boot. On an ATmega328P with only 2KB of SRAM, this single practice can prevent stack collisions.
Performance Matrix: Serial.println() Overhead by Architecture
Not all microcontrollers handle serial output equally. Below is a comparison of how different architectures process Serial.println() under heavy load.
| MCU Architecture | Common Board | Interface Type | Default TX Buffer | Blocking Behavior |
|---|---|---|---|---|
| AVR 8-bit | Arduino Uno R3 | Hardware UART (ATmega16U2) | 64 Bytes | Hard block; halts CPU until space frees. |
| ARM Cortex-M0+ | Raspberry Pi Pico | Native USB-CDC | 256 Bytes | Non-blocking until buffer full; yields to USB stack. |
| Xtensa LX7 | ESP32-S3 DevKit | Native USB-CDC / UART | Configurable (Default 256B) | Blocks but yields to FreeRTOS higher-priority tasks. |
| ARM Cortex-M4 | Teensy 4.1 | Native USB-CDC | Dynamic / Large | Highly optimized; virtually non-blocking at 480Mbps. |
Critical Edge Cases and Failure Modes
Even with perfect code, serial communication is prone to hardware-level quirks. Keep these failure modes in mind:
- The "Missing First Byte" Bug (USB-CDC): On boards with native USB (Leonardo, Micro, RP2040), the serial connection is established after the MCU boots. If you print immediately in
setup(), the first few lines will be lost into the void. Fix: Usewhile(!Serial);or a 500ms delay to wait for the host PC to enumerate the USB device. - Baud Rate Mismatch Artifacts: If your terminal outputs garbage characters like
ÿorþ, your baud rate is incorrect. Note that many modern USB-CDC implementations (like the RP2040) ignore the baud rate set in the IDE, defaulting to maximum USB throughput. However, if you are using a hardware UART bridge (FTDI, CH340), 115200 is the standard, though the RP2040 hardware UART can reliably sustain up to 921,600 baud over short wires. - Interrupt Context Crashes: Never call
Serial.println()inside an ISR (Interrupt Service Routine). If the TX buffer is full, the function will block waiting for an interrupt that cannot fire because you are already inside one, resulting in a permanent system deadlock.
Authoritative Resources for Further Study
To continue refining your embedded debugging skills, consult these foundational resources:
- Arduino Official Serial Reference - The definitive guide to the core Serial API, including formatting parameters and return types.
- PJRC Serial Buffering Documentation - Paul Stoffregen's deep dive into USB Serial optimization, essential for understanding the difference between
Serial.print()andSerial.send_now(). - Arduino IDE Serial Plotter Guide - Official documentation on leveraging CSV serial streams for real-time data visualization without third-party tools.
By integrating these advanced Arduino serial println examples into your workflow, you will drastically reduce debugging time, eliminate memory leaks, and build more resilient firmware for your next embedded project.