
Designing a Reliable Robotic Car with Arduino
Designing a reliable robotic car with Arduino requires far more than simply wiring components together on a breadboard. The most common point of failure in DIY robotics is electrical incompatibility—specifically, mismatched logic levels, inadequate current delivery, and voltage drops across motor drivers. When a microcontroller resets unexpectedly or motors stall under load, the root cause is almost always a compatibility oversight in the component selection phase.
This guide breaks down the exact electrical and logical compatibility requirements for building a 2WD or 4WD Arduino-based robotic chassis in 2026. We will evaluate microcontroller options, compare H-bridge motor drivers based on MOSFET versus BJT architectures, and establish strict power supply rules to eliminate brownouts.
Microcontroller Board Compatibility Matrix
The choice of MCU dictates your available I/O pins, PWM channels for motor speed control, and logic voltage levels. While the Arduino Uno R3 remains the standard for beginners, advanced robotic cars often require the pin density of the Mega or the wireless capabilities of the ESP32.
| Board Model | Logic Level | PWM Channels | Best Robotic Use Case | Avg Price (2026) |
|---|---|---|---|---|
| Arduino Uno R3 (ATmega328P) | 5V | 6 | Basic 2WD obstacle avoidance | $27 (Official) / $12 (Clone) |
| Arduino Nano (ATmega328P) | 5V | 6 | Compact custom PCB designs | $22 (Official) / $6 (Clone) |
| Arduino Mega 2560 | 5V | 15 | 4WD cars with LiDAR & multiple servos | $45 (Official) / $16 (Clone) |
| ESP32 DevKit V1 | 3.3V | 16 (LEDC) | Wi-Fi/Bluetooth FPV streaming cars | $6 - $9 |
Note: If you choose the ESP32 for its superior processing speed and wireless telemetry, you must account for its 3.3V logic level. Standard 5V motor drivers and ultrasonic sensors will require logic level shifting, which we cover in the sensor section below.
Motor Driver Matching: BJT vs. MOSFET Architectures
The motor driver is the bridge between your microcontroller's low-current PWM signals and the high-current demands of your DC gear motors. Selecting the wrong driver is the primary cause of sluggish robotic car performance.
The L298N: The Legacy BJT H-Bridge
The L298N dual H-bridge module is ubiquitous in starter kits. It utilizes Bipolar Junction Transistors (BJTs) in a Darlington pair configuration. While it can handle up to 2A per channel and accepts motor voltages up to 35V, it suffers from a massive voltage drop of 1.4V to 2.0V. If you power a 6V TT gear motor with a 7.4V LiPo battery through an L298N, the motor only receives roughly 5.4V to 6.0V. Furthermore, the BJT architecture wastes significant energy as heat, requiring the included heatsink for continuous operation above 1A.
The TB6612FNG: The Modern MOSFET Standard
For serious robotics, the TB6612FNG is the superior choice. It uses MOSFET technology, which reduces the voltage drop to approximately 0.5V at 1A. This means your motors receive nearly the full battery voltage, resulting in higher torque and speed. It supports continuous currents of 1.2A per channel (peaking at 3.2A) and operates at PWM frequencies up to 100kHz, allowing for ultra-smooth motor control that the L298N cannot achieve.
The DRV8833: Low-Voltage Efficiency
If your robotic car uses 3V to 6V N20 micro metal gearmotors, the Texas Instruments DRV8833 is the optimal driver. It operates natively at low voltages (2.7V to 10.8V) and includes built-in overcurrent and thermal shutdown protection. Unlike the L298N, it requires no external flyback diodes, saving crucial PCB real estate.
Power Supply Compatibility: The 9V Battery Trap
The most critical compatibility failure in beginner robotics is attempting to power a robotic car with Arduino using a standard 9V PP3 alkaline battery. This setup will almost guarantee system instability.
The Internal Resistance Problem: A standard 9V alkaline battery has an internal resistance of roughly 1 to 2 ohms. When a robotic car accelerates or hits an obstacle, the TT gear motors can draw a stall current of 1.5A each. According to Ohm's Law (V = IR), a 1.5A draw across a 1-ohm internal resistance causes a 1.5V voltage sag. The battery voltage instantly drops below the Arduino's minimum operating threshold (typically 6.5V on the VIN pin), triggering a brownout reset. The car stops, the current draw ceases, the voltage recovers, and the Arduino reboots—creating an endless loop of stuttering.
Recommended Power Configurations for 2026
- 2S LiPo Battery (7.4V, 1500mAh - 2200mAh): Capable of 20C+ discharge rates (30A+ continuous). This is the gold standard for 2WD and 4WD cars using TT motors and an L298N or TB6612FNG. Cost: ~$18.
- 2x 18650 Li-Ion Cells (7.4V nominal, 8.4V fully charged): Use high-drain cells like the Samsung 25R or Sony VTC6 (20A+ continuous discharge). Requires a 2S battery holder and a dedicated Li-ion charger. Cost: ~$12 for cells + $5 for holder.
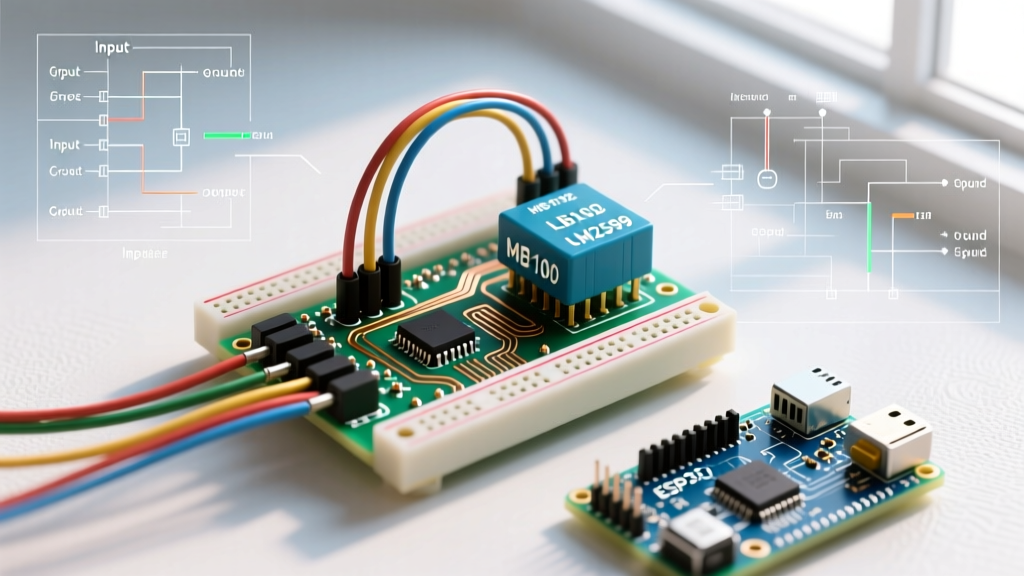
- Step-Down Buck Converter (LM2596): If using a 3S LiPo (11.1V) to power high-speed motors, you must use a buck converter to step the voltage down to 5V/6V for the Arduino's 5V pin and logic circuits, bypassing the inefficient onboard linear regulator.
Sensor Logic Level Compatibility
When integrating sensors into your robotic car, matching the logic levels of the MCU and the sensor is mandatory to prevent silicon damage.
HC-SR04 Ultrasonic Sensor (5V Logic)
The HC-SR04 requires a 5V trigger pulse and outputs a 5V echo signal. If you are using a 5V Arduino Uno, this is plug-and-play. However, if you are using a 3.3V ESP32 or Arduino Nano 33 IoT, feeding a 5V echo signal into a 3.3V GPIO pin will destroy the microcontroller over time. Solution: Use a simple voltage divider on the Echo pin (1kΩ resistor in series, 2kΩ resistor to ground) to drop the 5V signal to a safe 3.3V.
MPU6050 IMU (I2C Bus)
The MPU6050 accelerometer/gyroscope operates on the I2C bus. While the sensor itself can be powered by 3.3V or 5V, the I2C pull-up resistors on most cheap breakout boards are tied to the VCC pin. If you power the board with 5V, the SDA and SCL lines will be pulled up to 5V, which is dangerous for 3.3V MCUs. Always power the MPU6050 VCC pin with 3.3V when using an ESP32 to ensure the I2C bus remains at 3.3V logic levels.
Troubleshooting Common Compatibility Failures
| Symptom | Root Cause | Compatibility Fix |
|---|---|---|
| Arduino resets when motors start | Voltage sag / Brownout | Separate motor power from MCU power; add 1000µF capacitor across motor driver VCC/GND. |
| Motors spin in opposite directions | Phase mismatch | Swap the two motor wires on the driver terminal block; do not change code. |
| Car veers to one side at full speed | PWM non-linearity / Motor mismatch | TT motors have high manufacturing variance. Calibrate a trim value (e.g., +5 PWM) in software for the weaker motor. |
| I2C sensors drop data randomly | Noise on I2C lines from motors | Route I2C wires away from motor power lines; add 4.7kΩ pull-up resistors to SDA/SCL. |
Establishing a Common Ground
A frequent oversight when using separate power supplies for the motors (e.g., a LiPo) and the Arduino (e.g., a USB power bank) is failing to connect their grounds. Motor drivers and microcontrollers must share a common ground reference for the PWM control signals to be read correctly. Always run a dedicated ground wire from the battery's negative terminal to the Arduino's GND pin, and from the Arduino's GND to the motor driver's logic GND. Without this common ground, the logic signals will float, resulting in erratic motor behavior or complete failure to respond.
Authoritative References & Further Reading
- Arduino Official Documentation: Arduino Uno R3 Hardware Specifications - Detailed pinout, current limits, and voltage regulator thresholds.
- Pololu Robotics: TB6612FNG Dual Motor Driver Carrier - Datasheet analysis, MOSFET efficiency curves, and wiring diagrams.
- Texas Instruments: DRV8833 Dual H-Bridge Motor Driver - Technical reference manual for low-voltage robotic applications.