
The Fundamental Disconnect: Why Microcontroller Pins Fail
Interfacing an Arduino and motor is a foundational rite of passage in embedded systems design, yet it remains one of the most common sources of hardware failure for beginners. The core issue lies in a fundamental mismatch of physics: microcontrollers operate in the realm of low-voltage logic, while motors are high-current inductive loads.
The ATmega328P microcontroller at the heart of the classic Arduino Uno has strict current limitations. According to the official datasheet, each I/O pin can safely source or sink a maximum of 20mA continuously (with an absolute, silicon-damaging maximum of 40mA). Furthermore, the total current draw across all VCC and GND pins combined must not exceed 200mA. In stark contrast, a standard 130-size hobby DC motor draws roughly 300mA at no-load, and can spike past 1.5A during a stall condition. Connecting a motor directly to an Arduino pin will instantly vaporize the internal silicon traces of the microcontroller.
To bridge this gap, we use motor drivers—power electronics designed to accept low-current logic signals and switch high-current power from an external supply to the motor windings.
DC Motors: Continuous Rotation and H-Bridges
DC motors are the simplest actuators, providing continuous rotation where speed is controlled by voltage magnitude and direction by voltage polarity. Because Arduino pins cannot reverse polarity or supply adequate current, we use an H-Bridge driver IC.
Driver Selection: L298N vs. TB6612FNG
For years, the L298N dual H-bridge module (priced around $4 to $6) was the default choice. However, as of 2026, it is widely considered obsolete for efficient designs. The L298N relies on older BJT (Bipolar Junction Transistor) technology, resulting in a voltage drop of roughly 2V to 3V across the IC at just 1A of current. This wasted energy dissipates as severe heat, often requiring bulky heatsinks.
The modern standard is the TB6612FNG ($6 to $9). It utilizes MOSFET-based switching, dropping only about 0.5V at 1A. It runs cool, supports PWM frequencies up to 100kHz, and allows for much tighter physical packaging. According to the Adafruit Motor Selection Guide, MOSFET drivers are essential for battery-operated robotics where thermal efficiency directly dictates runtime.
Wiring and Back-EMF Suppression
When a DC motor spins, it acts as a generator. When you cut the power via PWM or an H-Bridge, the collapsing magnetic field generates a reverse voltage spike known as Back-EMF (Electromotive Force). If left unchecked, this spike will arc across contacts or destroy your driver IC.
- Hardware Fix: Solder a 1N5819 Schottky diode in reverse bias across the motor terminals (cathode to positive, anode to negative). Schottky diodes are preferred over standard 1N4007 diodes due to their near-instantaneous reverse recovery time, which is critical for high-frequency PWM switching.
- EMI Suppression: Solder a 0.1µF ceramic capacitor directly across the motor brushes. This filters out high-frequency radio interference that can otherwise cause the Arduino to experience random brownout resets.
Servo Motors: Precision Angular Control
Servos contain a DC motor, a gear train, and an internal potentiometer wired to a feedback control board. They do not require an H-Bridge; instead, they are controlled via a Pulse Width Modulation (PWM) signal on a standard 50Hz frequency.
- 1.0ms pulse: 0 degrees
- 1.5ms pulse: 90 degrees (center)
- 2.0ms pulse: 180 degrees
The High-Torque Power Trap
Beginners frequently wire the power line of a servo directly to the Arduino’s 5V pin. While this might work for a tiny SG90 micro-servo (which draws ~200mA), it is catastrophic for high-torque metal-gear servos like the MG996R ($6 to $10). Under heavy mechanical load, an MG996R can draw up to 2.5 Amps at 6V.
Critical Warning: Pulling 2.5A through the Arduino’s onboard 5V linear regulator will cause immediate thermal shutdown or permanent regulator failure. Furthermore, the voltage sag will drop the ATmega328P logic level below 2.7V, causing the microcontroller to reset mid-operation.
The Solution: Use an external LM2596 buck converter ($2 to $4) to step down your main battery voltage (e.g., a 2S 7.4V LiPo) to a stable 5.5V. Wire the buck converter’s output directly to the servo’s VCC and GND pins. You must tie the buck converter's GND to the Arduino's GND to establish a common logic reference for the PWM signal wire.
Stepper Motors: Microstepping and Positioning
Stepper motors, particularly the NEMA 17 form factor, move in discrete increments (usually 1.8° per full step, or 200 steps per revolution). They are driven by energizing electromagnetic coils in precise sequences. To interface an Arduino and motor of this type, we use chopper drivers like the A4988 or the advanced TMC2209.
Identifying Coil Pairs
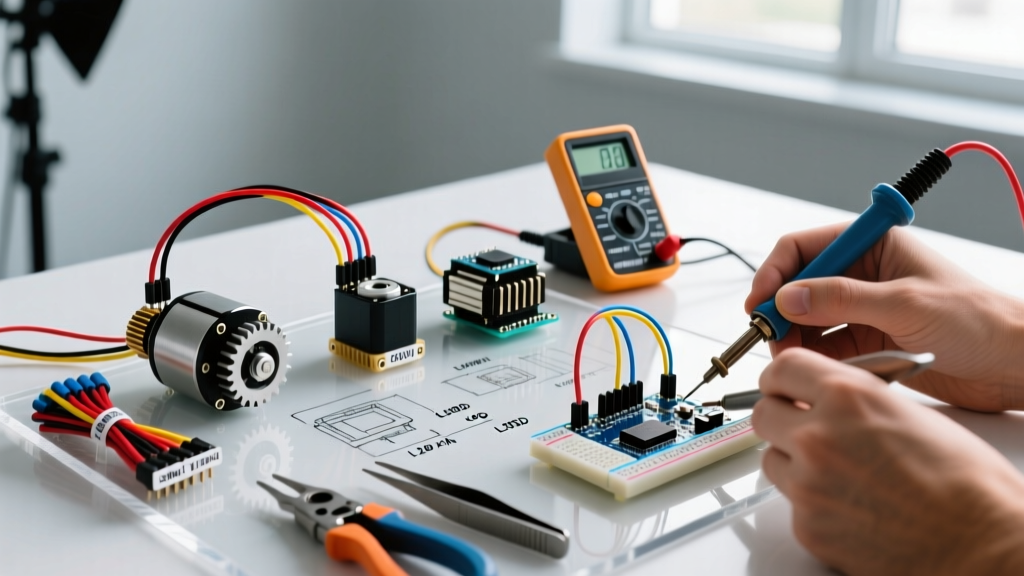
Bipolar steppers have four wires. You must identify the two distinct coil pairs. Using a multimeter in resistance mode, probe the wires. Two wires will show a low resistance (typically 1.5Ω to 5Ω). These are a pair. The remaining two wires will show continuity with each other, but infinite resistance when probed against the first pair.
Calibrating VREF: The Most Skipped Step
The Pololu Stepper Motor Driver Guide emphasizes that failing to set the current limit (VREF) on drivers like the A4988 is the leading cause of burnt-out stepper coils. The driver uses a sense resistor (usually 0.1Ω) to monitor current. You must manually tune the trimmer potentiometer on the driver board.
The Math (A4988): VREF = Current Limit / 2
If your NEMA 17 is rated for 1.5A per phase, your target VREF is 0.75V. Power the driver logic (VDD) with 5V from the Arduino. Place your multimeter’s black probe on the Arduino GND and the red probe on the metal trim pot. Use a ceramic screwdriver to adjust the pot until the multimeter reads exactly 0.75V. Skipping this step will either result in weak, skipping motors (VREF too low) or melted coil insulation and destroyed driver ICs (VREF too high).
Motor Selection Matrix
| Motor Type | Control Method | Recommended Driver (2026) | Typical Stall Current | Best Application |
|---|---|---|---|---|
| Brushed DC | H-Bridge / PWM | TB6612FNG / DRV8833 | 1.0A - 3.0A | Drive trains, conveyors, winches |
| RC Servo | 50Hz PWM (1-2ms) | Direct MCU Pin (Signal only) | 0.2A - 2.5A | Robotic arms, pan/tilt gimbals |
| Bipolar Stepper | Step/Dir Pulses | TMC2209 (UART) / A4988 | 1.0A - 2.0A (per phase) | 3D printers, CNC routers, linear actuators |
Advanced Troubleshooting: Ground Loops and Brownouts
When scaling up from a single motor to a multi-axis robotics platform, electrical noise becomes a primary adversary. If your Arduino randomly resets or serial data corrupts when a motor engages, you are experiencing a brownout or EMI injection.
Optoisolation for Industrial Setups
For high-voltage stepper setups (e.g., 24V or 48V rails powering NEMA 23 motors), sharing a ground plane between the motor power supply and the Arduino logic can invite catastrophic ground loops. In these scenarios, utilize optoisolators (like the PC817) on the Step, Direction, and Enable lines. This allows the Arduino to transmit light pulses across a physical gap to the motor driver, ensuring zero electrical continuity between the high-voltage motor domain and the sensitive 5V logic domain.
As detailed in the Arduino Official Motor Documentation, ensuring adequate decoupling capacitance (a 100µF electrolytic capacitor paired with a 0.1µF ceramic capacitor placed physically close to the motor driver's power input terminals) acts as a local energy reservoir. This prevents the motor's sudden current demands from dragging down the main supply voltage and resetting the microcontroller.
Summary
Successfully connecting an Arduino and motor requires respecting the boundaries between logic and power. By selecting MOSFET-based drivers for DC motors, utilizing external BECs for high-torque servos, and rigorously calibrating VREF on stepper choppers, you ensure reliable, long-lasting actuation in your embedded projects.