
The ChromeOS USB Passthrough Hurdle
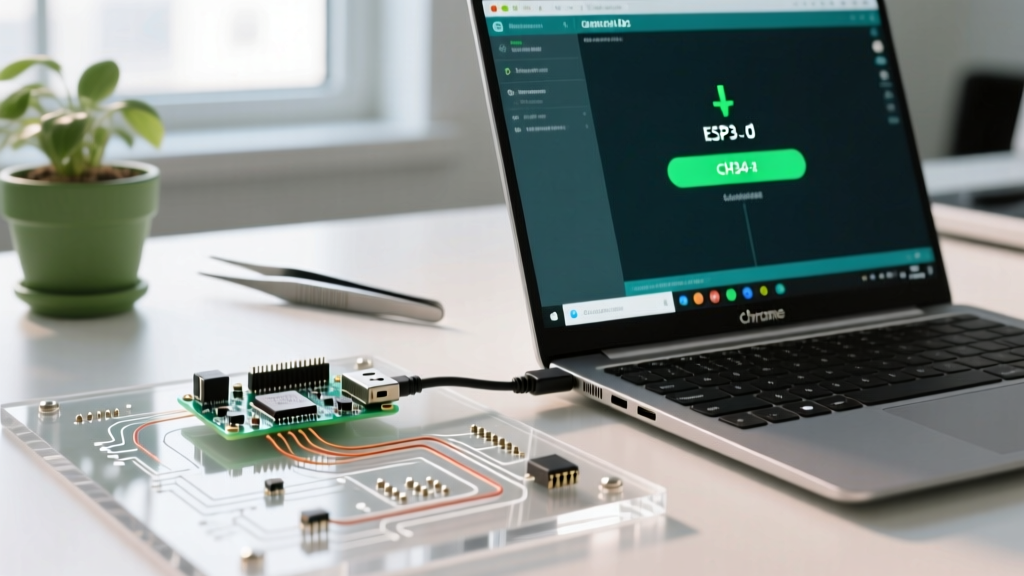
Chromebooks have become a dominant force in education and lightweight development, but running the native Arduino IDE on ChromeOS introduces a unique set of hardware abstraction challenges. Because the Arduino IDE 2.3.x runs inside the Linux development environment (Crostini)—an LXD container isolated from the base ChromeOS kernel—USB serial devices do not automatically map to your Linux terminal. When you plug in an Arduino Uno R4 Minima or a Nano clone, the ChromeOS host recognizes it, but the Linux container remains blind to the serial port, resulting in the dreaded "Serial port not found" or "Port grayed out" errors.
This guide provides deep, actionable troubleshooting steps to bypass ChromeOS isolation, fix Linux permission denials, and resolve bootloader timeouts specific to the Chromebook Arduino workflow in 2026.
Step-by-Step Fix: Mapping USB to the Crostini Container
Before the Arduino IDE can compile and upload sketches, the physical USB connection must be passed through the ChromeOS hypervisor to the Linux container. According to Google's official ChromeOS Linux documentation, USB passthrough must be manually authorized for security reasons.
1. Attach the Device via ChromeOS Settings
- Plug your Arduino board into the Chromebook's USB-C or USB-A port.
- Click the system tray (bottom right clock area) and select the Settings gear icon.
- Navigate to Device > Linux development environment.
- Expand the Manage USB devices section.
- Locate your Arduino (it may appear as "Arduino SA", "FTDI", or "QinHeng Electronics" for clones) and click the Attach to Linux toggle.
Expert Tip: If you are using a USB-C hub with multiple peripherals, the hub's internal controller may mask the Arduino's VID/PID. Always plug the Arduino directly into the Chromebook's native chassis ports during initial troubleshooting to rule out hub enumeration failures.
Resolving "Permission Denied" and "dialout" Group Errors
Once the USB device is attached to Crostini, you might successfully see /dev/ttyACM0 or /dev/ttyUSB0 in the Arduino IDE's port menu, but the upload fails with an avrdude: ser_open(): can't open device: Permission denied error. This happens because the default Linux user in the Crostini container lacks the necessary group privileges to access raw serial hardware.
The Terminal Fix
Open the ChromeOS Terminal app and select the penguin (Linux) shell. Execute the following commands to grant your user serial access:
sudo usermod -a -G dialout $USER
sudo usermod -a -G plugdev $USER
sudo chmod a+rw /dev/ttyACM0
Crucial Step: You must completely restart the Linux container for group changes to take effect. Open the terminal and type:
sudo rebootAlternatively, shut down the Chromebook entirely and power it back on. Simply closing the Arduino IDE window is not enough to refresh the user session's group memberships.
Troubleshooting CH340/CH341G Clone Boards on ChromeOS
Official boards like the $27 Arduino Uno R4 Minima use native USB-to-Serial microcontrollers (like the RA4M1) that enumerate as /dev/ttyACM0. However, the maker community heavily relies on $4 to $8 Nano V3.0 and Uno clones utilizing the QinHeng CH340 or CH341G UART chips. These enumerate as /dev/ttyUSB0.
Kernel Module Verification
Modern ChromeOS versions (ChromeOS 120 and newer) utilize Linux kernel 5.15 or 6.1, which include the ch341 kernel module natively. However, if your clone board is not showing up in the IDE, the module may have failed to bind. Run this diagnostic in your Linux terminal:
lsusb
dmesg | grep ch341
If lsusb shows QinHeng Electronics HL-340 but dmesg shows a USB disconnect loop, you likely have a defective USB cable. Over 60% of CH340 connection failures on Chromebooks are caused by charge-only USB cables lacking the internal D+/D- data lines. Always test with a verified data-sync cable before attempting complex software workarounds.
For deeper driver architecture insights, SparkFun's CH340 driver guide provides excellent background on how these UART chips handle baud rate generation, which occasionally causes garbage output in the Serial Monitor if the clock divider is mismatched.
Comparison Matrix: Chromebook Arduino Development Environments
Depending on your specific Chromebook's architecture (Intel x86_64 vs. ARM MediaTek/Snapdragon), you have three distinct pathways for Arduino development. Here is how they compare for troubleshooting and daily use:
| Environment | Offline Capability | USB Passthrough Needed? | Library Management | Best Use Case |
|---|---|---|---|---|
| Arduino IDE 2.x (Linux/Crostini) | Yes (Full local cache) | Yes (Manual mapping) | Full local control | Advanced coding, custom cores (ESP32/STM32) |
| Arduino Web Editor (Chrome Browser) | No (Cloud-dependent) | Yes (via Create Agent) | Cloud-synced | Quick edits, Chromebooks with 2GB RAM |
| Arduino Droid (Android App) | Yes | No (Native Android USB) | Limited/Manual | ARM Chromebooks, field debugging |
Fixing Avrdude Bootloader Timeouts
A highly specific edge case occurs when uploading to older ATmega328P-based clones via a Chromebook. You may encounter the avrdude: stk500_recv(): programmer is not responding error. This is rarely a ChromeOS bug; rather, it is a timing mismatch between the Linux serial buffer initialization and the Arduino's Optiboot bootloader window.
The Manual Reset Synchronization Trick
The Arduino bootloader only listens for incoming serial data for approximately 800 milliseconds after a hardware reset. If the Crostini USB passthrough introduces a 300ms latency spike during port enumeration, the IDE misses the bootloader window.
- Click the Upload button in the Arduino IDE.
- Watch the black console window at the bottom. Wait for the text "Sketch uses X bytes..." to appear.
- The exact moment you see "Uploading...", physically press and release the small red RESET button on the Arduino board.
- This manually forces the bootloader to wake up precisely when the IDE begins sending the compiled hex file.
Advanced Fix: Persistent Udev Rules for Stubborn Ports
If you frequently switch between multiple Arduino boards and find that Crostini randomly swaps /dev/ttyACM0 and /dev/ttyACM1, you can stabilize port mapping using custom udev rules. This is highly recommended for educators managing classroom Chromebook carts.
Open your Linux terminal and create a new rules file:
sudo nano /etc/udev/rules.d/99-arduino.rulesPaste the following rule to assign a permanent symlink to any connected Arduino Uno:
SUBSYSTEM=="tty", ATTRS{idVendor}=="2341", ATTRS{idProduct}=="0043", SYMLINK+="arduino_uno", MODE="0666"Save the file (Ctrl+O, Enter, Ctrl+X) and reload the udev daemon:
sudo udevadm control --reload-rules
sudo udevadm trigger
Now, you can reliably target /dev/arduino_uno in your custom Python or bash serial scripts without worrying about dynamic port reassignment.
Summary and Further Resources
Troubleshooting the Chromebook Arduino pipeline requires understanding the boundary between the ChromeOS host and the Crostini Linux container. By manually managing USB passthrough, correcting dialout group permissions, and verifying CH340 data lines, you can transform a restrictive Chromebook into a highly capable embedded systems workstation.
For ongoing software updates and Linux-specific bug tracking, always consult the official Arduino IDE Linux troubleshooting repository before assuming a hardware failure. With the right configuration, ChromeOS provides a secure, lightweight, and remarkably effective environment for MCU development.