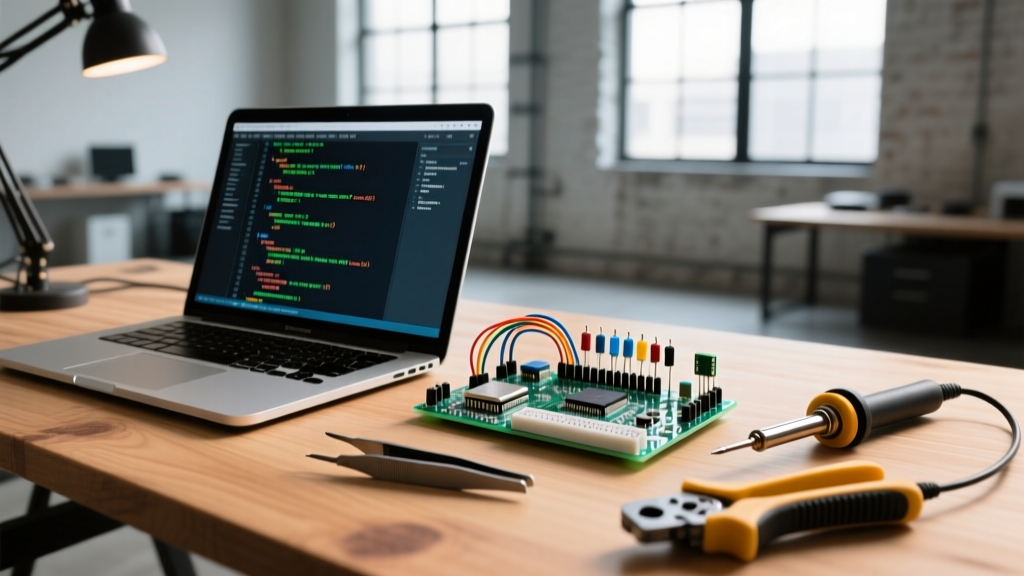

Why Transition from GUI to Arduino and Command Line Workflows?
For years, the Arduino IDE has been the gateway for millions of makers. However, as projects scale into production-grade IoT deployments, headless Raspberry Pi 5 integrations, and automated CI/CD pipelines, the graphical interface becomes a bottleneck. Bridging the gap between Arduino and command line environments via the Arduino CLI (Command Line Interface) is no longer just a niche trick; it is an essential skill for modern embedded engineers in 2026.
The Arduino CLI allows you to compile sketches, manage board cores, flash firmware, and monitor serial outputs entirely from a terminal. This tutorial provides a deep-dive, step-by-step guide to mastering this workflow, complete with real-world edge cases, exact hardware configurations, and automation strategies.
Prerequisites and Environment Setup
Before writing code, we must establish a robust terminal environment. The Arduino CLI is a single, self-contained binary, making it incredibly lightweight (under 30MB) compared to the multi-gigabyte IDE 2.x footprint.
Installation Across Operating Systems
- Linux (Ubuntu/Debian): Run the official install script via terminal:
curl -fsSL https://raw.githubusercontent.com/arduino/arduino-cli/master/install.sh | sh. Move the binary to your PATH:sudo mv arduino-cli /usr/local/bin/. - macOS: Use Homebrew for seamless updates:
brew install arduino-cli. - Windows: Utilize the Windows Package Manager:
winget install Arduino.ArduinoCLI.
Verify your installation by checking the version. As of early 2026, the stable release is v1.1.x:
arduino-cli versionInitializing the Configuration and Core Index
Unlike the IDE, the CLI does not auto-download board definitions on first launch. You must manually initialize the config file and update the core index.
arduino-cli config init
arduino-cli core update-index
Expert Insight: If you are working behind a corporate proxy or university firewall, thecore update-indexcommand will fail silently or timeout. You can configure proxy settings directly in the generated~/.arduino15/arduino-cli.yamlfile under thenetworkmapping.
Core Management and the FQBN Concept
The most critical concept when merging Arduino and command line workflows is the FQBN (Fully Qualified Board Name). The FQBN tells the compiler exactly which architecture, board, and specific hardware flags to use.
Installing Board Cores
To install the standard AVR core (for boards like the $19.99 Arduino Uno R4 Minima or classic Uno R3) and the ESP32 core (for the $8.50 ESP32-S3 DevKitC-1), run:
arduino-cli core install arduino:avr
arduino-cli core install esp32:esp32
FQBN Reference Table
Use the following table to identify the correct FQBN for your target hardware. You can always list all installed FQBNs by running arduino-cli board listall.
| Hardware Target | Package | FQBN String | Typical Use Case |
|---|---|---|---|
| Arduino Uno R3 | arduino:avr | arduino:avr:uno |
Basic 5V logic, simple sensors |
| Arduino Nano 33 IoT | arduino:samd | arduino:samd:nano_33_iot |
Low-power WiFi/BLE wearables |
| ESP32-S3 DevKit | esp32:esp32 | esp32:esp32:esp32s3 |
AI edge inference, camera streams |
| Raspberry Pi Pico | rp2040:rp2040 | rp2040:rp2040:rpipico |
Dual-core PIO state machines |
The Core Commands: Compile, Upload, and Monitor
Let us walk through the exact lifecycle of a sketch named sensor_node.ino located in a directory named sensor_node.
1. Compilation
Compiling via CLI allows you to specify output directories, which is vital for version control and binary archiving.
arduino-cli compile --fqbn arduino:avr:uno --output-dir ./build ./sensor_nodePro-Tip: Append --clean to force a full rebuild, ignoring cached object files. This is crucial when troubleshooting elusive linker errors after modifying external C++ libraries.
2. Uploading Firmware
First, identify your board's serial port using arduino-cli board list. On Linux, it typically appears as /dev/ttyACM0; on macOS, look for /dev/cu.usbmodem*; on Windows, it will be COM3 (or similar).
arduino-cli upload -p /dev/ttyACM0 --fqbn arduino:avr:uno ./sensor_node3. Serial Monitoring
The CLI includes a built-in serial monitor. To connect at a standard 115200 baud rate with local echo enabled:
arduino-cli monitor -p /dev/ttyACM0 -c baudrate=115200 --timestampPress CTRL+C to detach the monitor without resetting the microcontroller.
Advanced Workflow: Automating with Makefiles
Typing long FQBN strings repeatedly is inefficient. Professional firmware engineers integrate the Arduino and command line tools into build systems like make. Below is a production-ready Makefile template for an ESP32-S3 project.
# Makefile for ESP32-S3 CLI Build
SKETCH = sensor_node
FQBN = esp32:esp32:esp32s3
PORT = /dev/cu.usbmodem14201
BUILD_DIR = ./build

.PHONY: all clean upload monitor

all:
	arduino-cli compile --fqbn $(FQBN) --output-dir $(BUILD_DIR) $(SKETCH)

clean:
	rm -rf $(BUILD_DIR)

upload: all
	arduino-cli upload -p $(PORT) --fqbn $(FQBN) $(SKETCH)

monitor:
	arduino-cli monitor -p $(PORT) -c baudrate=115200
With this Makefile saved in your project root, you simply type make upload to compile and flash in one step, or make clean to purge build artifacts.
Troubleshooting Common CLI Edge Cases
When working strictly in the terminal, you lose the visual error pop-ups of the IDE. Here is how to handle the most frequent failure modes:
Linux Permission Denied on Upload
If you receive a permission denied error when accessing /dev/ttyACM0, your user lacks access to the serial dialout group. Fix this permanently by running:
sudo usermod -a -G dialout $USERNote: You must log out and log back in (or reboot) for group changes to take effect.
macOS Port Locking Issues
On Apple Silicon Macs, if the CLI reports the port is busy, another process (often a background serial logger or the Arduino IDE daemon) is holding the file descriptor. Identify and kill the process:
lsof | grep /dev/cu.usbmodem
kill -9 <PID>
Missing Dependencies in Custom Libraries
If compilation fails with fatal error: Wire.h: No such file or directory, the CLI is not automatically resolving library dependencies like the IDE does. You must explicitly install them:
arduino-cli lib install "Adafruit BME280 Library"Integrating with CI/CD Pipelines (GitHub Actions)
The true power of combining Arduino and command line tools emerges in automated testing. By using the CLI inside a Docker container or GitHub Actions runner, you can enforce code quality checks on every pull request.
According to the official Arduino CLI documentation, the tool is designed to be headless and non-interactive, making it perfect for CI environments. You can use the --format json flag on commands like arduino-cli board list --format json to pipe hardware states into automated testing scripts or logging databases.
Frequently Asked Questions
Can I use the Arduino CLI to manage custom board URLs?
Yes. If you are using third-party hardware like the STM32duino or specialized LoRaWAN nodes, you must add their JSON index URLs to your configuration. Run arduino-cli config set board_manager.additional_urls https://example.com/package_index.json followed by arduino-cli core update-index.
Does the CLI support debugging via GDB?
Yes, but it requires a hardware debug probe (like the $15.00 Arduino Zero programming port or a J-Link). You can initiate a debug session by running arduino-cli debug -p /dev/ttyACM0 --fqbn arduino:samd:arduino_zero_edbg, which launches GDB in the terminal. For deeper insights into debug architectures, refer to the Arduino CLI GitHub Repository wiki.
How do I export a compiled binary for OTA updates?
Use the --output-dir flag during compilation. The CLI will generate both a .elf file (for debugging) and a .bin or .hex file (for Over-The-Area flashing). For ESP32 OTA workflows, the Espressif Arduino Core Documentation details how to extract the specific app.bin partition from the CLI build directory.
Conclusion
Transitioning from a graphical IDE to a terminal-based workflow fundamentally changes how you interact with embedded systems. By mastering the Arduino and command line interface, you unlock faster compile times, seamless integration with modern version control systems, and the ability to deploy firmware to headless edge devices. Start by replacing your daily IDE clicks with CLI commands, build a custom Makefile, and watch your embedded development productivity scale to professional engineering standards.