
Why Transition to arduino-cli for Headless Workflows?
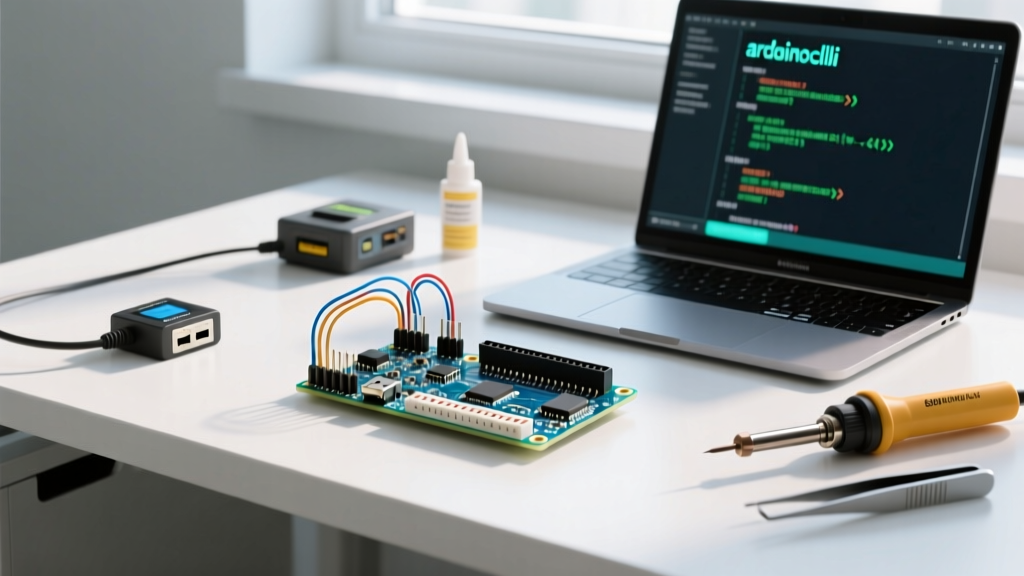
As embedded development matures in 2026, the traditional Arduino IDE GUI is increasingly inadequate for automated, headless, or CI/CD-driven environments. Whether you are deploying firmware to an ESP32-S3 via a Raspberry Pi 5 kiosk, running automated regression tests in Docker, or managing a fleet of STM32-based IoT sensors, the arduino-cli is the undisputed industry standard. It strips away the Java-based GUI overhead, offering a lightweight, scriptable binary that integrates seamlessly into Makefiles, GitHub Actions, and cron jobs.
However, migrating from the GUI to the command line introduces a steep learning curve regarding configuration management. Unlike the IDE, which hides directory structures and board manager URLs behind preference menus, arduino-cli relies on a strict YAML configuration file and explicit pathing. This guide provides a deep-dive configuration workflow, ensuring your headless MCU environment is robust, isolated, and ready for production.
Phase 1: Core Initialization and Directory Mapping
Before writing a single line of configuration, you must establish the foundational directory structure. On a headless Linux system (such as Ubuntu Server or Raspberry Pi OS), the default data directories often conflict with root/sudo permissions if not explicitly defined.
First, install the latest binary. While package managers like apt often host outdated versions, fetching directly from the official GitHub releases ensures you have the latest core compatibility patches.
curl -fsSL https://raw.githubusercontent.com/arduino/arduino-cli/master/install.sh | BINDIR=/usr/local/bin shOnce installed, initialize the base configuration. This command generates the foundational arduino-cli.yaml file and creates the necessary staging directories.
arduino-cli config initBy default, this creates a configuration file at ~/.arduino15/arduino-cli.yaml. According to the official arduino-cli configuration documentation, this file dictates how the CLI resolves cores, libraries, and telemetry. For headless servers, we highly recommend disabling telemetry to prevent background network requests from interrupting automated build pipelines.
Phase 2: Deep Dive into arduino-cli.yaml
The arduino-cli.yaml file is the nerve center of your headless setup. Open the file in your preferred terminal editor (e.g., nano or vim) and adjust the core parameters. Below is an optimized configuration matrix for a dedicated build server managing both Espressif and STM32 architectures.
board_manager:
  additional_urls:
    - https://raw.githubusercontent.com/espressif/arduino-esp32/gh-pages/package_esp32_index.json
    - https://github.com/stm32duino/BoardManagerFiles/raw/main/package_stmicroelectronics_index.json
directories:
  data: /opt/arduino/data
  downloads: /opt/arduino/staging
  user: /opt/arduino/sketchbook
library:
  enable_unsafe_install: false
telemetry:
  enabled: false
logging:
  level: warn
  format: text
Key Configuration Parameters Explained
- board_manager.additional_urls: This array replaces the "Additional Boards Manager URLs" text box in the GUI. By defining these here, any user or script on the system executing
arduino-cli core update-indexwill automatically fetch the latest ESP32 and STM32 core manifests. - directories.data: This is where board cores and tools (like
esptool.pyorarm-none-eabi-gcc) are installed. Moving this to/opt/arduino/dataprevents permission issues when running builds via systemd services or cron. - directories.user: This acts as your default sketchbook. Libraries installed via
arduino-cli lib installwill be symlinked or cloned here. - logging.level: Setting this to
warnorerroris critical for CI/CD pipelines. The defaultinfolevel generates massive stdout outputs that can bloat your GitHub Actions logs or Docker build caches.
Phase 3: Project-Isolated Configurations
A common failure mode in headless environments is "library creep"—where a globally installed library for one project breaks the compilation of another due to version mismatches. To achieve true environment isolation, leverage the --config-file flag.
Instead of relying on the global ~/.arduino15/arduino-cli.yaml, create a localized YAML file inside your project repository root:
arduino-cli config init --config-file ./project-cli.yamlModify this local file to point the user directory to a local ./lib folder. When compiling, pass the flag:
arduino-cli compile --config-file ./project-cli.yaml -b esp32:esp32:esp32s3 ./srcThis guarantees that your build environment is perfectly reproducible, a mandatory requirement for professional firmware engineering.
Phase 4: GUI vs. CLI Configuration Paradigms
Understanding the architectural differences between the IDE and the CLI helps prevent legacy habits from breaking your automated workflows.
| Configuration Aspect | Arduino IDE (GUI) | arduino-cli (Headless) |
|---|---|---|
| Library Resolution | Scans global sketchbook + bundled IDE libs | Strict adherence to YAML user dir & local project libs |
| Core Updates | Manual via Board Manager UI prompts | Scriptable via core upgrade in CI pipelines |
| Custom Hardware Folders | Requires placing in hardware/ sketchbook dir |
Managed via explicit directories.user mapping |
| Port Selection | Dropdown menu, auto-detects via serial monitor | Requires explicit -p /dev/ttyUSB0 or FQBN mapping |
Phase 5: Linux Permissions and udev Rules
The most frequent stumbling block for makers configuring arduino-cli on headless Linux servers (like a Raspberry Pi acting as an OTA flash server) is USB serial permission denial. When you attempt to upload a sketch using arduino-cli upload, the process will fail with a Permission denied or Cannot open /dev/ttyUSB0 error if the user lacks dialout access.
While adding your user to the dialout group (sudo usermod -a -G dialout $USER) is the standard fix, modern headless deployments require robust udev rules to handle dynamic USB re-enumeration, especially when dealing with clone boards utilizing CH340 or CP2102 USB-to-UART bridge ICs.
Creating Persistent udev Rules
Create a new rules file: sudo nano /etc/udev/rules.d/99-arduino-cli.rules. Add the following hardware-specific vendor/product ID mappings to ensure persistent 0666 (read/write) permissions for your CI runner or daemon user:
# CH340 (Common on generic Nano/ESP32 clones)
SUBSYSTEM=="usb", ATTRS{idVendor}=="1a86", ATTRS{idProduct}=="7523", MODE="0666"

# CP2102 (Common on NodeMCU and Silicon Labs bridges)
SUBSYSTEM=="usb", ATTRS{idVendor}=="10c4", ATTRS{idProduct}=="ea60", MODE="0666"

# FT232R (Genuine Arduino boards and high-end FTDI cables)
SUBSYSTEM=="usb", ATTRS{idVendor}=="0403", ATTRS{idProduct}=="6001", MODE="0666"
After saving, reload the rules daemon:
sudo udevadm control --reload-rules && sudo udevadm triggerThis ensures that whenever a device is plugged into the headless server, arduino-cli can immediately access the serial port for flashing without requiring root privileges.
Phase 6: Automating Core and Library Installs
In a fresh Docker container or CI runner, cores and libraries are absent. You must script the dependency resolution before compilation. The official arduino-cli GitHub repository provides extensive documentation on scripting these steps, but a standard Makefile target for dependency resolution looks like this:
setup-cli-env:
	arduino-cli core update-index --config-file ./project-cli.yaml
	arduino-cli core install esp32:esp32@3.0.0 --config-file ./project-cli.yaml
	arduino-cli lib install "FastLED" "ArduinoJson" --config-file ./project-cli.yaml
Pro-Tip for Docker Builds: When building firmware inside a Docker container, pin your core versions (e.g.,esp32:esp32@3.0.0) rather than usinglatest. Espressif frequently introduces breaking changes in their toolchain updates that can cause silent compilation failures or binary bloat in automated pipelines.
Summary and Next Steps
Mastering arduino-cli configuration transforms the Arduino ecosystem from a hobbyist prototyping tool into a professional, enterprise-grade firmware development pipeline. By leveraging custom YAML configurations, isolating project dependencies, and hardening Linux USB permissions via udev, you eliminate the "it compiles on my machine" syndrome. For further reading on integrating these CLI workflows into GitHub Actions, refer to the broader Arduino documentation portal, which maintains up-to-date examples on CI/CD matrix testing for embedded hardware.