
The Undisputed King of Stepper Kinematics
If you are building a DIY CNC router, a 3D printer, or a multi-axis robotic arm in 2026, you have inevitably crossed paths with the Arduino AccelStepper library. Originally authored by Mike McCauley, this library remains the gold standard for managing stepper motor acceleration, deceleration, and non-blocking position control. However, mastering its nuances—especially when pairing it with modern silent drivers like the TMC2209 or deploying on multicore ESP32 boards—requires tapping into the collective wisdom of the maker community.
This roundup curates the most authoritative, battle-tested community resources, forum megathreads, and GitHub wrappers available today. We bypass the superficial 'blink-an-LED' tutorials and dive straight into the kinematics, hardware math, and edge cases that separate amateur prototypes from industrial-grade maker projects.
1. The Official Foundation: AirSpayce Documentation
Before exploring community forks, every developer must internalize the official AirSpayce AccelStepper documentation. The most common point of failure for beginners is misunderstanding the difference between run() and runSpeed().
- run(): Steps the motor according to the acceleration profile set by
setAcceleration(). It must be called as frequently as possible (ideally every 1ms or faster) in your main loop. - runSpeed(): Ignores acceleration entirely and steps at a constant rate defined by
setSpeed(). Useful for homing routines or continuous conveyor belts, but detrimental to high-inertia CNC axes.
Community Insight: A frequent mistake on the Arduino forums is placing delay() or blocking I2C sensor reads inside the loop() while relying on run(). This starves the stepper algorithm, resulting in missed steps and audible stuttering. The community consensus is strict: keep the main loop under 500 microseconds.
2. The Legendary 'Stepper Motor Basics' Megathread
No resource roundup is complete without referencing Robin2’s seminal guide on the Arduino Forum. The thread titled Stepper Motor Basics has been the rite of passage for motion control engineers for years, and its principles remain entirely relevant in 2026.
'The AccelStepper library does not move the motor. YOUR code moves the motor by calling run() frequently. The library only calculates WHEN the next step should occur.' — Robin2, Arduino Forum Legend.
This paradigm shift is crucial. Robin2’s thread provides exhaustive wiring diagrams for pairing NEMA 17 motors (like the widely available 17HS4401, producing 40Ncm of torque for roughly $12) with DRV8825 and A4988 drivers. The community has since updated these principles to include UART-controlled drivers, emphasizing that AccelStepper handles the step/dir signals, while a secondary library handles the driver's internal registers.
3. Hardware Math: Synchronizing Pulleys and Microsteps
One of the most valuable community contributions is the standardization of 'Steps-Per-Millimeter' calculators. AccelStepper operates in abstract 'steps', not physical distances. Translating real-world mechanics into library parameters requires precise math.
The 2026 Standard CNC Drive Train
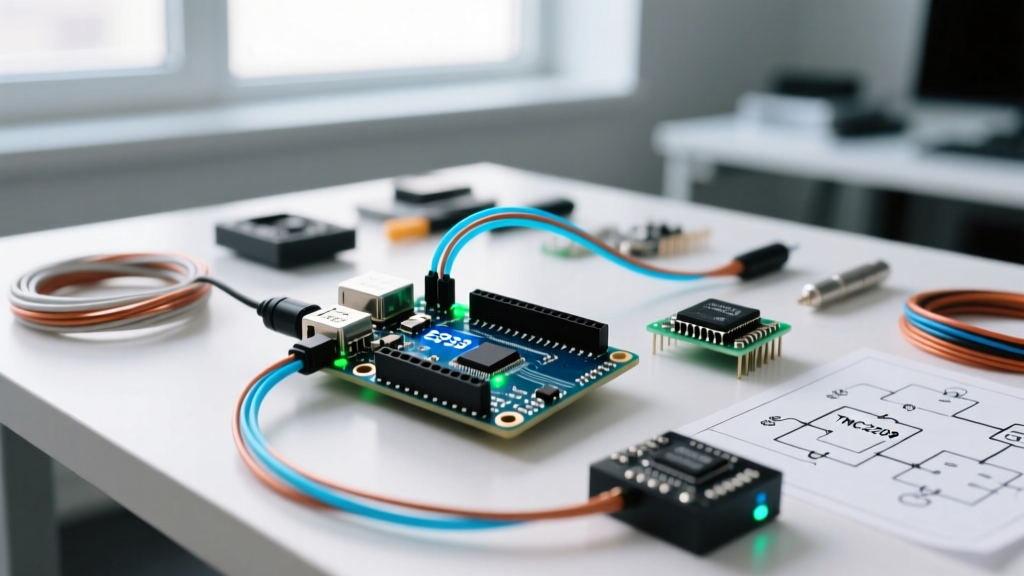
Consider a standard CoreXY or Cartesian setup using a GT2 20-tooth pulley and a BigTreeTech TMC2209 V1.2 driver (priced around $14 in 2026).
- Motor Base Steps: A standard 1.8° NEMA 17 yields 200 full steps per revolution.
- Microstepping: The TMC2209 configured via hardware jumpers or UART to 16 microsteps yields 3,200 steps per revolution.
- Belt Pitch: A GT2 belt has a 2mm pitch. A 20T pulley moves the belt 40mm per revolution.
- Steps per mm: 3,200 steps / 40mm = 80 steps/mm.
If your G-code interpreter demands a travel speed of 100mm/s, you must configure AccelStepper as follows:
stepper.setMaxSpeed(8000); // 100mm/s * 80 steps/mm
stepper.setAcceleration(4000); // 50mm/s^2 ramp-up
Community members on the Motors, Mechanics, Power and CNC sub-forum frequently point out that setting acceleration too high on a TMC2209 in 'stealthChop' mode will cause the driver to silently drop steps or trigger over-temperature shutdowns. The community-recommended workaround is to implement a software 'jerk' limit, gradually ramping the acceleration value rather than applying a static step function.
4. Beyond AccelStepper: Community Wrappers and Alternatives
While AccelStepper is phenomenal for single-axis or simple multi-axis setups, its built-in MultiStepper class has a notorious limitation: it does not support acceleration. It coordinates multiple motors to arrive at a destination simultaneously, but only at a constant, often slow, speed. To solve this, the community has developed advanced wrappers and alternative libraries.
| Library / Wrapper | Best Use Case | Acceleration Support | Hardware Compatibility |
|---|---|---|---|
| AccelStepper (Native) | Single-axis, simple robotics | Yes (Trapezoidal) | AVR, ESP32, SAMD |
| MultiStepper (Native) | Coordinated arrival (no ramping) | No (Constant Speed) | AVR, ESP32, SAMD |
| MobaTools | Complex multi-axis, ESP32 multicore | Yes (Hardware Timer based) | ESP32, AVR, STM32 |
| FastAccelStepper | High-speed ESP32 CNC (up to 50kHz) | Yes (Hardware Timer based) | ESP32, AVR |
The Rise of MobaTools and FastAccelStepper
For makers pushing the boundaries of ESP32-based motion control, the community heavily endorses MobaTools by MicroBahner. Unlike AccelStepper, which relies on software polling in the loop(), MobaTools utilizes hardware timers and interrupts. This means your stepper motors will continue to accelerate and move flawlessly even if your main code is busy processing Wi-Fi data or reading an SD card.
Similarly, FastAccelStepper has become the community standard for high-speed applications like laser engravers, where step pulses exceeding 30kHz are required—a threshold where software-polled AccelStepper begins to jitter on standard AVRs.
5. Edge Cases: ESP32 Multicore and Wi-Fi Starvation
In 2026, the ESP32-S3 and ESP32-C6 are the dominant microcontrollers for IoT-connected maker projects. However, running AccelStepper's run() method on the same core as the Wi-Fi stack often leads to watchdog timer (WDT) resets or dropped network packets.
The Community Fix: Pin your motion control loop to Core 0, leaving Core 1 exclusively for Wi-Fi and Arduino framework tasks.
void stepperTask(void* parameter) {
  for(;;) {
    stepper1.run();
    stepper2.run();
    vTaskDelay(1 / portTICK_PERIOD_MS); // 1ms resolution
  }
}

void setup() {
  // Initialize steppers...
  xTaskCreatePinnedToCore(stepperTask, 'StepperTask', 4096, NULL, 1, NULL, 0);
}
This FreeRTOS implementation, widely shared across GitHub gists and Reddit’s r/esp32, guarantees that your kinematics remain buttery smooth regardless of network latency or MQTT broker reconnections.
Summary: Building Your 2026 Motion Control Stack
The Arduino AccelStepper library is not just a piece of code; it is a gateway to precision engineering. By combining the official AirSpayce documentation with the practical, hardware-level math found in forum megathreads, and upgrading to interrupt-driven wrappers like MobaTools for multicore boards, you can build motion systems that rival commercial CNC machines. Bookmark these resources, respect the run() loop, and always calculate your steps-per-millimeter before powering up your TMC2209 drivers.