
Why Your Arduino GPS Module Outputs Blank Serial Data
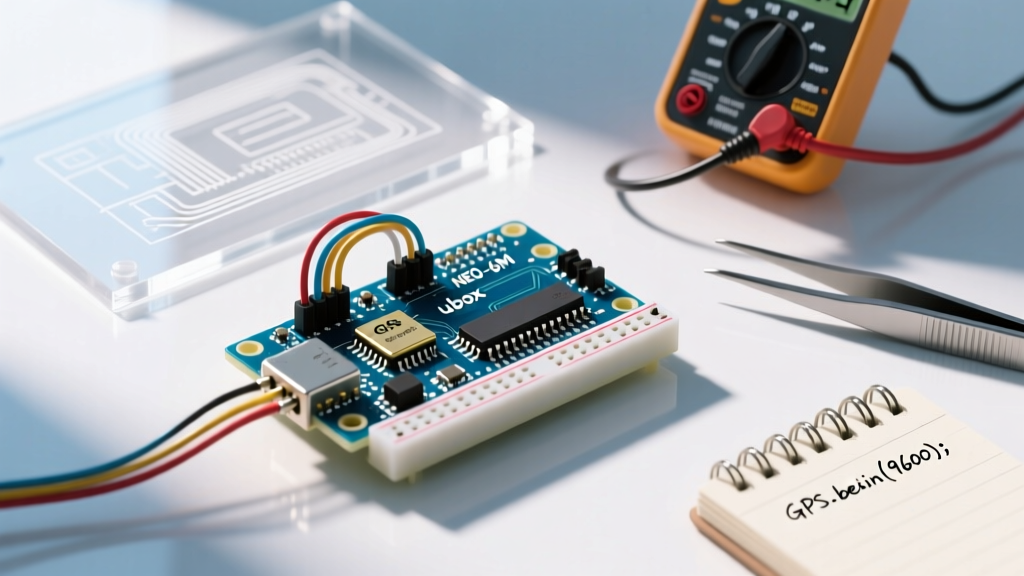
Integrating location tracking into a microcontroller project is a rite of passage for makers, but it rarely works perfectly on the first try. If you are researching how to use Arduino with a GPS module, you have likely encountered the most infamous issue in the hobby: blank serial output or endless streams of invalid NMEA data. Generic GY-NEO6MV2 boards hover around $7 to $11 in 2026, while genuine u-blox NEO-M8N modules with active ceramic patch antennas cost $22 to $35. Regardless of the hardware tier, the failure modes remain remarkably consistent.
This troubleshooting guide bypasses basic wiring diagrams and dives straight into the electrical and environmental edge cases that cause GPS modules to fail on the workbench. We will cover power starvation, logic level destruction, baud rate conflicts, and the physics of satellite acquisition.
The Indoor Testing Fallacy: TTFF and Almanac Data
The number one reason makers believe their GPS module is broken is the Time to First Fix (TTFF). When a GPS module powers on without stored orbital data (an ephemeris or almanac), it performs a Cold Start.
- Cold Start TTFF: Typically 27 seconds to several minutes, requiring a clear, unobstructed view of the sky.
- Warm/Hot Start TTFF: 1 to 5 seconds, assuming the module retained almanac data via its backup battery or supercapacitor.
If you power your Arduino and GPS module indoors, the 15x15mm ceramic patch antenna cannot penetrate modern energy-efficient roofing or low-E glass to reach the -130 dBm signal strength required for a lock. The module will output NMEA sentences (like $GPGGA), but the latitude and longitude fields will remain blank, and the status flag will read V (Void) instead of A (Active).
Pro-Tip: Always perform your initial bench test near an open window or step outside for at least 5 minutes. If the module's onboard PPS (Pulse Per Second) LED begins blinking exactly once per second, you have achieved a 3D fix.
Hardware and Power Starvation: The Silent Killer
GPS modules are surprisingly power-hungry during the signal acquisition phase. A standard u-blox NEO-6M draws roughly 45mA during acquisition and settles to about 35mA during tracking. While this seems trivial for an Arduino, the voltage regulation on cheap clone modules is a major point of failure.
The AMS1117-3.3 LDO Dropout Issue
Most budget GPS breakout boards utilize an AMS1117-3.3 linear voltage regulator. This LDO requires a minimum dropout voltage of 1.3V to maintain a stable 3.3V output. If you power the module's VCC pin from the Arduino Uno's 5V pin, the input is nominally 5.0V. However, under the 45mA transient load of satellite acquisition, the USB VBUS line or the Arduino's onboard polyfuse can cause the 5V rail to sag to 4.6V. This leaves only 1.3V of headroom—exactly the dropout threshold. The LDO will oscillate, causing the GPS microcontroller to brownout and reset endlessly, outputting garbage characters to the serial monitor.
The Fix: Power high-draw GPS modules using a dedicated 3.3V source or ensure your Arduino's 5V rail is being fed by the barrel jack (7V-12V) utilizing the Arduino's robust onboard NCP1117 regulator, rather than relying on USB power.
Wiring and Logic Level Mismatches
Understanding logic levels is critical when learning how to use Arduino with a GPS module. The u-blox chips operate strictly at 3.3V logic.
- TX Pin (Module to Arduino): The module sends 3.3V signals. The ATmega328P (Arduino Uno R3) recognizes anything above 3.0V as a HIGH. This connection is generally safe and works directly.
- RX Pin (Arduino to Module): The Arduino sends 5V signals. Feeding 5V directly into the 3.3V-tolerant RX pin of a u-blox module can degrade the internal ESD protection diodes over time, or instantly fry the UART peripheral on cheaper clone chips.
The Fix: Implement a simple voltage divider on the Arduino TX to GPS RX line using a 1kΩ and 2kΩ resistor network to step the 5V logic down to a safe ~3.3V. If you are using a modern 3.3V board like the Arduino Nano 33 IoT or ESP32, direct wiring is safe.
SoftwareSerial Interrupt Limitations
When using an Arduino Uno, hardware serial (pins 0 and 1) is reserved for USB communication with the IDE. Makers default to the SoftwareSerial library, but this library relies on Pin Change Interrupts (PCINT). On the ATmega328P, only pins 2, 3, 8, 9, 10, 11, 12, and 13 support PCINT. If you wire your GPS TX pin to Analog Pin A0 or digital pin 4, SoftwareSerial will silently fail to receive data, resulting in a blank serial monitor. Furthermore, SoftwareSerial can only listen to one port at a time, which causes data corruption if you are simultaneously debugging via hardware serial.
Baud Rate Conflicts and NMEA Parsing
By default, authentic u-blox NEO-6M and NEO-M8N modules communicate at 9600 baud. However, many third-party clone boards ship with firmware pre-configured to 115200 baud. If your Arduino SoftwareSerial is initialized at 9600, but the module is shouting at 115200, your serial monitor will display unreadable wingdings or nothing at all.
To parse the raw NMEA 0183 sentences, avoid writing custom string-splitting functions. Rely on the industry-standard TinyGPS++ library by Mikal Hart, which efficiently handles checksum validation and extracts specific data points without exhausting the ATmega328P's 2KB SRAM.
Master Troubleshooting Matrix
| Symptom | Root Cause | Diagnostic Fix |
|---|---|---|
| Completely blank serial monitor | TX/RX swapped or PCINT pin used | Cross TX to RX. Ensure GPS TX is on Uno pin 2, 3, or 8-13. |
| Gibberish characters (e.g., ??y??) | Baud rate mismatch | Test Serial.begin(115200) in setup. Check clone firmware specs. |
| NMEA data present, but Lat/Lon is 0.00 | No satellite fix (Indoor testing) | Move outdoors. Wait 5+ minutes for Cold Start almanac download. |
| GPS data freezes or resets randomly | AMS1117 LDO voltage dropout | Measure VCC under load. Use external 3.3V supply or Arduino barrel jack. |
| Module gets excessively hot | 5V fed directly to 3.3V VCC pin | Disconnect immediately. Verify VCC input matches board LDO requirements. |
Step-by-Step Diagnostic Workflow
Follow this exact sequence to isolate your hardware or software fault when integrating u-blox receiver modules with your microcontroller:
- Bypass the Library: Strip your code down to a raw serial bridge. Read from
SoftwareSerialand print directly to hardwareSerial. Do not use TinyGPS++ yet. - Verify the Baud Rate: Open the IDE Serial Monitor. Cycle through 9600, 115200, and 38400 until you see readable
$GPGGAor$GNRMCsentences. - Check the Status Flag: Look at the 6th field in the
$GPGGAsentence. A0means invalid fix. A1means standard GPS fix. If it is0, your code is fine; your antenna environment is the problem. - Implement TinyGPS++: Once raw data is verified, implement the Adafruit GPS parsing methodologies or TinyGPS++ to extract the
gps.location.lat()andgps.location.lng()variables safely.
Final Thoughts on Precision Timing
If your project requires sub-millisecond timing synchronization (such as for a custom NTP server or high-speed data logging), do not rely on parsed serial NMEA sentences, which suffer from UART latency and library processing delays. Instead, wire the GPS module's PPS (Pulse Per Second) pin to an external hardware interrupt pin on the Arduino (Pin 2 or 3 on the Uno). The PPS pin outputs a 3.3V square wave that aligns to the start of the UTC second with an accuracy of roughly 30 nanoseconds, completely bypassing serial bottlenecks.