
The 2026 Landscape for Elegoo Arduino Kits
The Elegoo UNO R3 and Mega 2560 starter kits remain the undisputed heavyweights for makers entering the embedded systems space in 2026. While the core microcontroller technology (the ATmega328P and ATmega2560) hasn't changed, the surrounding ecosystem, IDE versions, and operating system driver behaviors have evolved significantly. Whether you are unboxing the Elegoo UNO R3 Super Starter Kit or troubleshooting a stubborn upload on Windows 11 24H2, this quick reference guide cuts through the noise. Below, we address the most common hardware limitations, software conflicts, and wiring edge cases that official manuals often gloss over.
Kit Tiers: What Exactly Did You Buy?
Elegoo segments its kits into distinct tiers. Understanding the exact component count and board variant is crucial for following specific tutorials. Here is the 2026 breakdown of their flagship offerings:
| Kit Name | Core MCU | Component Count | Avg. Price (2026) | Best Use Case |
|---|---|---|---|---|
| Elegoo UNO R3 Basic | ATmega328P (UNO) | ~35 Items | $22 - $26 | Learning basic logic, LEDs, and buttons. |
| Elegoo UNO R3 Super | ATmega328P (UNO) | ~63 Items | $36 - $42 | Sensors (DHT11, HC-SR04), servos, and LCDs. |
| Elegoo UNO R3 Most Complete | ATmega328P (UNO) | ~83 Items | $55 - $62 | Relays, stepper motors, and RF modules. |
| Elegoo Mega 2560 Project Super | ATmega2560 (Mega) | ~70+ Items | $58 - $65 | Robotics, 3D printers, and high I/O projects. |
Hardware & Power Delivery FAQ
Is the Elegoo UNO R3 fully compatible with Arduino IDE 2.3+?
Yes, but you must identify your USB-to-Serial chip. Elegoo typically uses the ATmega16U2 on their premium UNO R3 boards, which is natively recognized by Windows, macOS, and Linux without manual driver installation. However, some cost-optimized batches or third-party resellers may ship boards with the CH340G chip. If your board is not showing up in the IDE's 'Ports' menu, check the silver SMD chip near the USB port. If it reads 'CH340', you will need to download the latest 2026 CH340 signed drivers from the manufacturer's repository. For native 16U2 boards, simply select 'Arduino UNO' in the board manager and you are ready to compile.
Why does my SG90 Micro Servo cause the board to reset?
This is the most frequent point of failure for beginners. The SG90 micro servo included in the Elegoo kits has a stall current of roughly 220mA to 250mA. The UNO R3's onboard 5V voltage regulator (typically an AMS1117-5.0) and the USB port's resettable PTC polyfuse are hard-limited to safely supply around 400mA to 500mA total. The ATmega328P itself draws about 20mA. If you attempt to run even two SG90 servos simultaneously directly from the 5V pin, the current spike will cause the voltage to drop below 4.5V. This triggers the microcontroller's internal Brown-Out Detector (BOD), instantly resetting your sketch.
Pro-Tip: Never power more than one micro servo directly from the UNO's 5V pin. For multi-servo projects, use a dedicated 5V/6V external battery pack, tying the ground (GND) of the battery pack directly to the GND of the Arduino to maintain a common logic reference.
Sensor Troubleshooting Quick Reference
The DHT11 Temperature Sensor Returns 'NaN'
The DHT11 uses a proprietary single-bus communication protocol that is highly sensitive to timing and pull-up voltages. If your serial monitor outputs NaN (Not a Number) for both temperature and humidity, check the following:
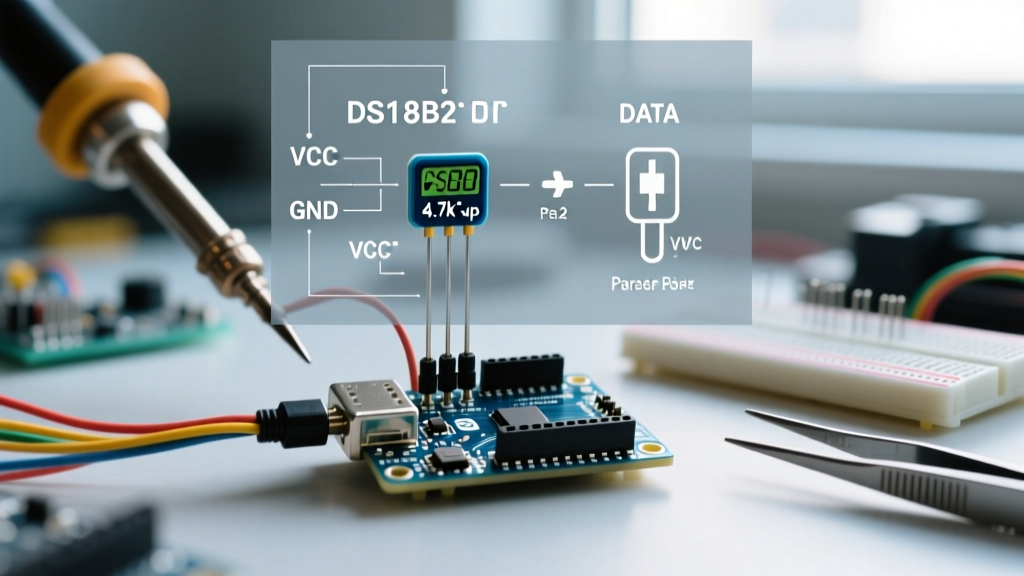
- Missing Pull-Up Resistor: The data line requires a 4.7kΩ to 10kΩ pull-up resistor connected between the VCC (5V) and the DATA pin. The Elegoo kit includes 10kΩ resistors; ensure one is in place.
- Timing Delays: The DHT11 requires a minimum of 2 seconds between read cycles. If your
loop()function polls the sensor every 100ms, the sensor will lock up. Implement adelay(2000)or use amillis()based non-blocking timer. - Library Mismatch: Ensure you are using the modern DHT sensor library by Adafruit via the Library Manager, rather than outdated legacy forks that struggle with the optimized timing in Arduino IDE 2.3.x.
HC-SR04 Ultrasonic Sensor: Logic Level Warnings
The HC-SR04 operates at 5V logic. When paired with the Elegoo UNO R3 (which is a 5V board), you can wire the Echo pin directly to a digital input. However, if you eventually migrate your project to a 3.3V microcontroller (like an ESP32 or Arduino Nano 33 IoT), the 5V Echo signal will permanently damage the 3.3V GPIO pin. Always design your HC-SR04 circuits with a simple voltage divider (using a 1kΩ and 2kΩ resistor) on the Echo pin if there is any chance you will upgrade the brain of your project later.
Upload & Port Errors (Windows 11 & macOS)
Compilation works, but the upload fails. Here is how to diagnose the most common IDE errors based on the official Arduino Troubleshooting Guide.
Error: 'Port is Grayed Out' or 'Board at COMX not found'
- The Cable Trap: Over 60% of 'dead on arrival' UNO complaints are caused by using a 'charge-only' USB cable. These cables lack the internal D+ and D- data wires. Swap to a verified data-sync cable (like one pulled from an older external hard drive or smartphone).
- macOS Permissions: On macOS Sonoma and Sequoia, the OS requires explicit permission for the IDE to access USB serial devices. Go to System Settings > Privacy & Security > Security and ensure the Arduino IDE is allowed to access accessories.
Error: 'Access is denied' or 'Port busy'
This occurs when the IDE's Serial Monitor is left open on the same COM port while you attempt to flash new code. The serial monitor locks the port, preventing the avrdude uploader from establishing a handshake. Always close the Serial Monitor tab before hitting the Upload button. If the port remains locked after closing the monitor, physically disconnect the USB cable, wait three seconds, and reconnect to force the OS to release the COM handle.
Next Steps: Expanding Beyond the Kit
Once you have exhausted the 60+ tutorials provided in the Elegoo Official Support & Downloads portal, it is time to upgrade your component quality. The kit's included breadboards and jumper wires are excellent for prototyping, but they suffer from contact resistance and intermittent connectivity over time. For permanent installations, transition to soldering on protoboards or designing custom PCBs. Furthermore, consider upgrading from the mechanical potentiometers to rotary encoders, and swapping the DHT11 for the vastly superior DHT22 (AM2302) which offers a wider temperature range (-40°C to 80°C) and 0.1°C resolution.
For a deeper dive into setting up your development environment and managing board packages, refer to the SparkFun Arduino IDE Installation Guide, which covers the nuances of the modern IDE architecture. Keep experimenting, respect the current limits of your voltage regulators, and happy making!