
Beyond Muscle Memory: What Serial.begin() Actually Does
For many makers and engineers, typing Serial.begin(9600); in the setup() function is an act of pure muscle memory. However, as embedded systems grow more complex in 2026—integrating high-speed sensor arrays, IoT telemetry, and industrial RS-485 networks—treating UART communication as an afterthought leads to dropped packets, silent buffer overruns, and unpredictable bootloops. To truly master the serial.begin arduino ecosystem, we must look past the Arduino IDE abstraction and understand the hardware registers being manipulated.
When you invoke Serial.begin(speed) on an AVR-based board like the Arduino Uno R3 (ATmega328P), the underlying HardwareSerial library calculates the necessary baud rate divisor and writes it to the USART Baud Rate Registers (UBRR0H and UBRR0L). It then enables the transmitter and receiver by setting specific bits in the USART Control and Status Register B (UCSR0B). If the math doesn't align perfectly with your microcontroller's clock speed, the resulting timing error can cause the receiving node to sample bits at the wrong voltage thresholds, resulting in gibberish data.
The Mathematics of Baud Rate Selection
Selecting the right baud rate is not just about picking the highest number available. It is a balancing act between throughput, cable length, and clock synchronization error. According to the SparkFun Serial Communication Guide, UART relies on precise timing without a shared clock line, making it highly susceptible to signal degradation over distance.
| Baud Rate | Bit Duration | Max Reliable Cable Length | Primary Use Case |
|---|---|---|---|
| 9600 | 104.16 µs | ~50 ft (Shielded) | Legacy GPS (NMEA), basic debug |
| 57600 | 17.36 µs | ~30 ft | Standard telemetry, MIDI-over-Serial |
| 115200 | 8.68 µs | ~15 ft | IDE Serial Monitor, ESP8266 AT commands |
| 1000000 | 1.00 µs | < 3 ft (PCB traces) | High-speed logic analyzer data dumps |
On a standard 16 MHz Arduino Uno, requesting 115,200 baud yields a hardware timing error of approximately 2.1%. This falls within the acceptable ±2.5% tolerance for most UART transceivers. However, if you attempt 250,000 baud on a 16 MHz AVR, the error spikes, requiring the library to toggle the U2X (Double Speed) bit to maintain signal integrity. Understanding this math is crucial when interfacing with strict industrial equipment.
Advanced Configurations: Parity, Stop Bits, and Industrial Protocols
The default configuration for Serial.begin() is SERIAL_8N1 (8 data bits, No parity, 1 stop bit). But what happens when you need to interface with a commercial Modbus RTU sensor or a DMX512 lighting controller? The Arduino API allows you to pass a second parameter to define the UART frame structure.
- SERIAL_8E1 (Even Parity): Mandatory for many industrial RS-485 Modbus networks. The hardware UART automatically calculates and appends the parity bit, offloading the MCU's CPU.
- SERIAL_8N2 (2 Stop Bits): Used in DMX512 stage lighting protocols, which require a specific break condition and frame timing to prevent stage lights from flickering or misinterpreting channels.
- SERIAL_7E1 (7 Data, Even Parity): Often found in legacy ASCII-based industrial scales and barcode scanners.
Pro-Tip for 2026 IoT Deployments: When using hardware RS-485 transceivers (like the MAX485) with an ESP32, rely on the microcontroller's built-in UART hardware flow control (RTS/CTS) rather than manually toggling the DE/RE pins via digitalWrite(). Manual toggling introduces microsecond delays that can corrupt the final byte of a Modbus packet.
Microcontroller Architecture: AVR vs. ESP32 vs. STM32
The behavior of the serial.begin arduino function changes drastically depending on the silicon you are programming. As documented in the Espressif ESP32 UART API Reference, modern SoCs offer multiple hardware UARTs, but they come with specific pin-mapping caveats.
ATmega328P (Arduino Uno/Nano)
Features exactly one hardware UART. The receive (RX) buffer is a software-managed ring buffer limited to 64 bytes. If your loop() function takes longer than 5.5 milliseconds to execute while receiving data at 115,200 baud, the 64-byte buffer will overflow, and incoming bytes will be silently discarded.
ESP32 and ESP32-S3
Features three hardware UARTs (UART0, UART1, UART2). UART0 is hardwired to the USB-to-UART bridge for flashing and debugging. A common failure mode for beginners is calling Serial.begin(115200) while external sensors are pulling GPIO1 (TX) or GPIO3 (RX) low, which prevents the ESP32 from entering the correct boot mode. To avoid this, remap the UART pins in your initialization:
// Remap Serial1 to safe GPIO pins on the ESP32
Serial1.begin(115200, SERIAL_8N1, 16, 17); // RX=16, TX=17
STM32 (BluePill / Nucleo Boards)
STM32 microcontrollers utilize a highly flexible matrix that allows almost any GPIO pin to act as a UART TX/RX line via Alternate Functions. However, the Arduino core for STM32 requires you to explicitly define these alternate functions in the variant files, or use the HardwareSerial constructor with specific pin definitions to avoid compilation errors.
Step-by-Step: Building a Non-Blocking Serial Parser
Using Serial.readString() or Serial.parseInt() is a beginner trap. These functions are blocking, meaning they halt the MCU's execution until a timeout occurs (default 1000ms). In a real-time control system, a 1-second halt can cause a motor to crash or a PID loop to destabilize. Instead, use a non-blocking state machine approach.
String inputBuffer = "";
const char TERMINATOR = '\n';

void setup() {
  // Initialize at 115200 with standard 8N1 framing
  Serial.begin(115200, SERIAL_8N1);
  while (!Serial) { ; } // Wait for native USB boards (e.g., Leonardo, RP2040)
  Serial.println("System Ready. Awaiting commands...");
}

void loop() {
  // Non-blocking read
  while (Serial.available() > 0) {
    char c = Serial.read();
    if (c == TERMINATOR) {
      processCommand(inputBuffer);
      inputBuffer = ""; // Clear buffer for next packet
    } else if (c != '\r') { // Ignore carriage returns
      inputBuffer += c;
    }
  }

  // Other critical real-time tasks run here uninterrupted
  updateMotorPID();
  readSensors();
}

void processCommand(String cmd) {
  if (cmd.startsWith("SET_SPEED:")) {
    int speed = cmd.substring(10).toInt();
    Serial.print("Speed updated to: ");
    Serial.println(speed);
  }
}
This pattern ensures your MCU processes incoming serial data byte-by-byte as it arrives in the hardware FIFO, immediately parsing it upon hitting a newline character without stalling the main loop.
Troubleshooting Common UART Failure Modes
Even with perfect code, physical layer issues frequently disrupt serial communication. Here is how to diagnose the most common problems encountered in the lab.
1. Gibberish Output in the Serial Monitor
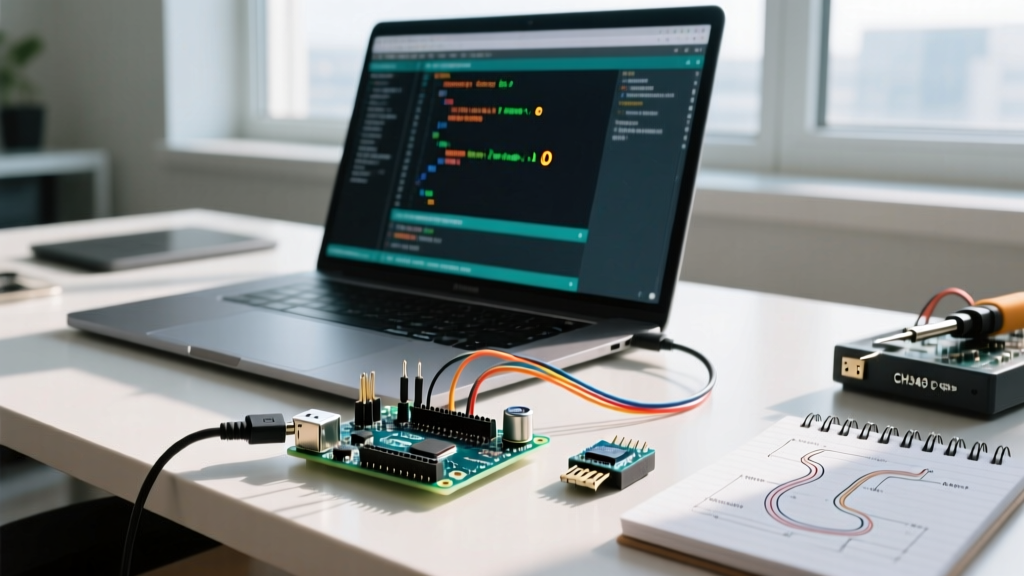
If your Serial Monitor displays random symbols (e.g., ÿÿÿ), you have a baud rate mismatch. Ensure the dropdown menu in the Arduino IDE matches the exact integer passed to Serial.begin(). Edge case: If you are using a cheap CH340 USB-to-Serial clone chip, it may struggle to maintain accurate timing at non-standard baud rates like 74880. Stick to standard IEEE baud rates (9600, 19200, 38400, 57600, 115200) for maximum compatibility.
2. Silent Data Loss (Buffer Overruns)
If you are sending large CSV logs from an SD card to a PC, but the PC only receives fragmented data, your RX buffer is overflowing. The official Arduino Serial Reference notes that Serial.available() only reports bytes currently sitting in the software buffer. If the PC is not polling fast enough, or if the MCU is transmitting faster than the USB-to-Serial bridge can handle, you must implement hardware flow control (RTS/CTS) or add software handshaking (XON/XOFF) to pause the transmission stream.
3. The ESP32 Bootloop Issue
As mentioned earlier, if your ESP32 continuously resets and prints memory addresses to the console, check the wiring on GPIO1 and GPIO3. The serial.begin arduino initialization happens early in the boot sequence. If external peripherals are back-feeding voltage into the RX pin while the ESP32 is powered off, it can trigger the internal ESD protection diodes, causing erratic brownouts. Always use a 330-ohm series resistor on TX/RX lines when interfacing with external 5V logic or noisy industrial sensors.
Conclusion
Mastering Serial.begin() is about more than just opening a port; it is about understanding the physical limitations of UART timing, the architectural quirks of your chosen microcontroller, and the necessity of non-blocking software design. By selecting the correct baud rate math, utilizing advanced framing for industrial protocols, and implementing robust ring-buffer parsing, you elevate your embedded projects from fragile prototypes to production-ready systems.