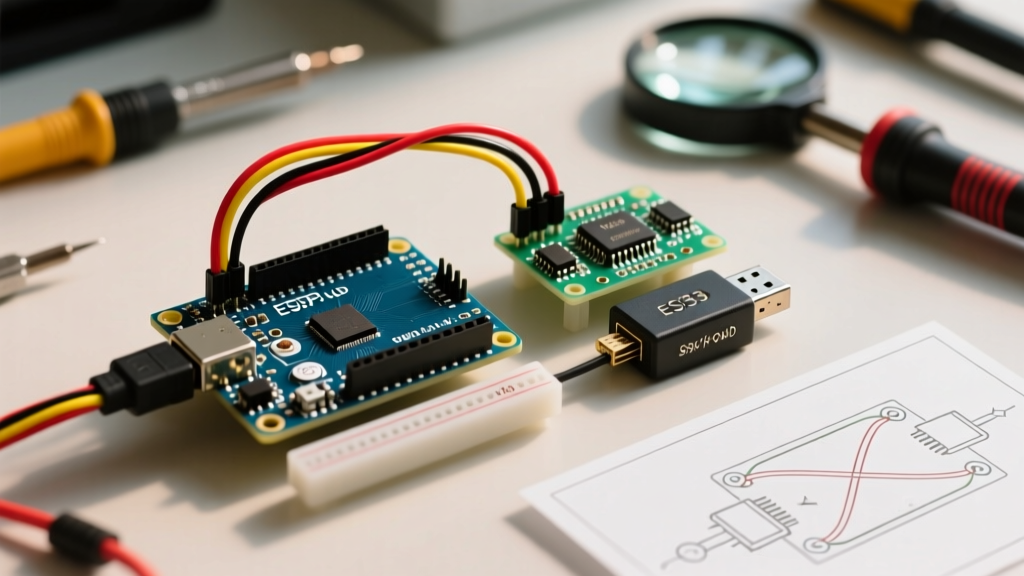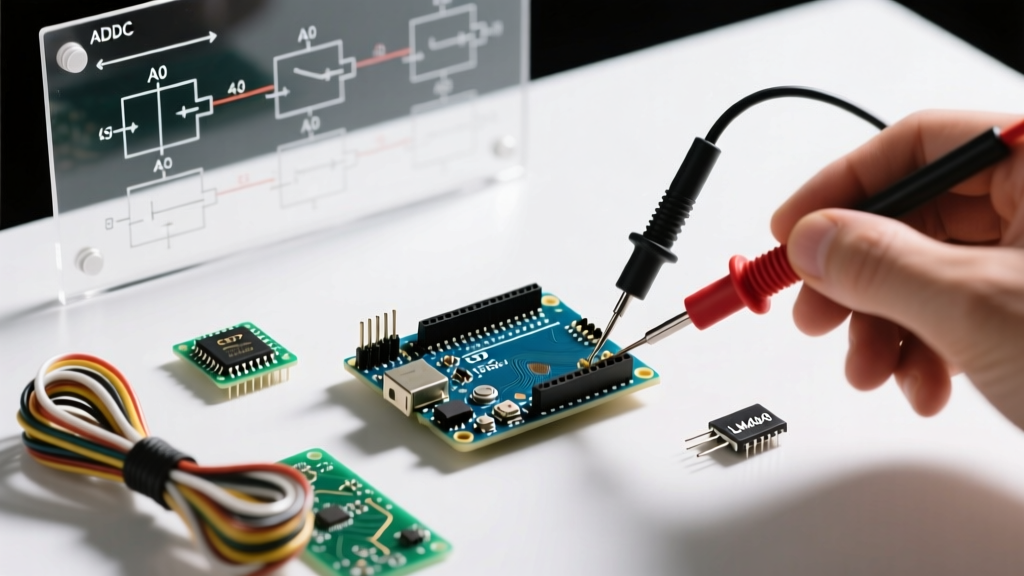

Mastering Analogue Pins Arduino Configuration
When interfacing microcontrollers with the physical world, reading continuous voltage signals is a foundational skill. While the Arduino ecosystem often uses the American spelling 'analog' in its C++ functions (like analogRead()), the underlying hardware and global engineering community frequently refer to them as analogue pins. Configuring these pins correctly is the difference between noisy, unreliable data and laboratory-grade sensor accuracy.
This comprehensive configuration guide explores the Analog-to-Digital Converter (ADC) architecture, voltage reference selection, source impedance rules, and advanced software oversampling techniques to maximize the performance of your Arduino's analogue pins.
Understanding the ADC Architecture
Analogue pins do not read voltage directly; they measure it relative to a reference voltage and convert it into a discrete digital number. This process is handled by the ADC. The resolution of the ADC determines how many discrete steps are available to represent the voltage range.
10-Bit vs. 12-Bit vs. 14-Bit Resolution
Historically, the classic Arduino Uno R3 (based on the ATmega328P) popularized the 10-bit ADC. This provides 1,024 discrete steps (0 to 1023). If your reference voltage is 5V, each step represents approximately 4.88 mV. While sufficient for basic potentiometers or simple light sensors, 10-bit resolution often falls short for precision thermistors or load cells.
Modern boards have significantly upgraded this architecture:
- Arduino Uno R4 Minima/WiFi (Renesas RA4M1): Features a 12-bit ADC (4,096 steps), offering roughly 0.8 mV resolution at 3.3V, vastly improving precision for under $20.
- Arduino Nano 33 BLE (nRF52840): Offers a configurable 12-bit to 14-bit ADC, though 14-bit mode requires specific hardware filtering to mitigate noise.
- ESP32 (Often used alongside Arduino IDE): Features a 12-bit ADC, but it is notorious for non-linearity at the extreme high and low voltage rails. It requires software calibration lookup tables for precise analogue pin configuration.
Configuring Voltage References (VREF)
The most common configuration error among makers is ignoring the voltage reference. By default, the ADC compares the input voltage against the board's operating voltage (usually 5V or 3.3V). However, USB power from a PC can fluctuate between 4.75V and 5.25V, directly injecting noise into your analogue readings.
To lock in your accuracy, you must configure the analogReference() function in your setup() block. According to the official Arduino analogReference documentation, standard boards support several modes:
1. DEFAULT Mode
Uses the main power rail (5V on Uno R3, 3.3V on Uno R4). Use case: Rapid prototyping where absolute precision is not critical, or when using ratiometric sensors (like a potentiometer powered by the same 5V rail).
2. INTERNAL Mode
Bypasses the main power rail and uses an internal bandgap reference. On the ATmega328P, this is a highly stable 1.1V. On the ATmega4809 (Nano Every), it can be configured to 1.5V or 2.5V. Use case: Reading low-voltage sensors like thermocouples or internal battery monitoring circuits. Because the ceiling is 1.1V, any input above 1.1V will simply read as 1023 (or 4095) and risks damaging the internal reference if current is not limited.
3. EXTERNAL Mode (AREF Pin)
Allows you to supply your own ultra-precise reference voltage to the AREF pin. Use case: High-precision data acquisition using an external voltage reference IC (like the Texas Instruments REF5030, which provides a dead-stable 3.0V reference with minimal thermal drift).
CRITICAL HARDWARE WARNING: Never apply a voltage to the AREF pin while the software is configured to DEFAULT or INTERNAL. This creates a short circuit between your external power source and the microcontroller's internal reference generator, potentially destroying the ATmega chip instantly. Always call analogReference(EXTERNAL) before applying voltage to the AREF pin.
The 10kΩ Impedance Rule: Avoiding Inaccurate Reads
A frequent troubleshooting scenario involves analogue readings that 'drift' or fail to settle when switching between multiplexed pins (e.g., reading A0, then A1). This is an impedance mismatch issue.
Inside the microcontroller, the ADC uses a Sample-and-Hold (S/H) circuit featuring a tiny internal capacitor (typically around 14 pF on the ATmega328P, as detailed in the Microchip ATmega328P datasheet). When you call analogRead(), a multiplexer connects the analogue pin to this capacitor, giving it roughly 1.5 ADC clock cycles to charge to the input voltage level.
If your sensor circuit has a high output impedance (greater than 10kΩ), the capacitor cannot charge fully in time. The result is 'crosstalk'—the reading from A1 is contaminated by the previous voltage present on A0.
Solutions for High-Impedance Sources
- Hardware Buffer: Place a rail-to-rail operational amplifier (like the MCP6001) between your high-impedance sensor and the analogue pin. The op-amp presents near-infinite impedance to the sensor and near-zero impedance to the Arduino.
- RC Low-Pass Filter: Add a 100Ω series resistor and a 100nF ceramic capacitor to ground right at the analogue pin. This creates an external charge reservoir and filters high-frequency noise.
- Software Discard: If you must read high-impedance pins directly, read the pin twice in rapid succession and discard the first reading.
int dummy = analogRead(A0); int actual = analogRead(A0);
Modern Board Comparison Matrix
Choosing the right board dictates your analogue configuration strategy. Below is a comparison of popular Arduino ecosystem boards available in 2026, focusing on ADC capabilities and pricing.
| Board Model | MCU Core | ADC Resolution | Analogue Pins | VREF Options | Approx. Price (USD) |
|---|---|---|---|---|---|
| Arduino Uno R3 | ATmega328P | 10-bit (1024) | 6 (A0-A5) | Default (5V), Internal (1.1V), Ext | $27.00 |
| Arduino Uno R4 Minima | Renesas RA4M1 | 12-bit (4096) | 6 (A0-A5) | Default (3.3V), Internal (1.45V/2.0V), Ext | $20.00 |
| Arduino Nano Every | ATmega4809 | 10-bit (1024) | 8 (A0-A7) | Default (5V), Internal (0.55V-4.3V), Ext | $12.50 |
| Arduino Mega 2560 | ATmega2560 | 10-bit (1024) | 16 (A0-A15) | Default (5V), Internal (1.1V), Ext | $45.00 |
Advanced Configuration: Software Oversampling
If your project demands 12-bit precision but you are constrained to a classic 10-bit Uno R3, you can achieve higher resolution mathematically through oversampling. According to Nyquist and Shannon sampling theorems, oversampling by a factor of $4^n$ yields $n$ additional bits of resolution.
To gain 2 extra bits (jumping from 10-bit to 12-bit), you must take $4^2 = 16$ samples, sum them, and right-shift the binary result by 2 bits.
// Function to read a 10-bit ADC and return a 12-bit result
unsigned int oversampleRead12Bit(byte pin) {
  unsigned long sum = 0;
  // Take 16 samples
  for (int i = 0; i < 16; i++) {
    sum += analogRead(pin);
    delayMicroseconds(100); // Allow S/H cap to settle between reads
  }
  // Right shift by 2 to scale back down, yielding 12-bit resolution (0-4095)
  return sum >> 2;
}
Note: Oversampling reduces your maximum sampling rate and only works effectively if there is at least 1 LSB (Least Significant Bit) of natural Gaussian noise in your circuit to dither the signal. If your signal is perfectly noise-free, oversampling will not yield extra resolution.
Troubleshooting Common Analogue Read Errors
Even with perfect code, environmental factors can ruin analogue data. Use this diagnostic checklist for erratic readings:
- Floating Pins: An unconnected analogue pin acts as an antenna, picking up 50Hz/60Hz mains hum from nearby AC wiring. Always tie unused analogue pins to GND via a 10kΩ resistor, or configure them as digital outputs.
- Ground Loops: If your sensor is powered by a separate supply (e.g., a 12V buck converter powering a pressure transducer), the sensor's GND must be tied directly to the Arduino's GND. Without a common ground reference, the ADC cannot measure the voltage differential.
- USB Noise Injection: Switching regulators inside PC USB ports introduce high-frequency ripple. If you see a persistent ±5 fluctuation in your
analogRead()values, power the Arduino via the barrel jack with a clean linear power supply, or use the INTERNAL VREF.
Summary
Configuring analogue pins on an Arduino extends far beyond simply calling analogRead(). By understanding the underlying ADC architecture, strictly managing source impedance, selecting the appropriate voltage reference, and applying software oversampling when necessary, you can extract highly precise, actionable data from the physical world. For further reading on microcontroller pin multiplexing and analog IO limits, consult the Arduino Analog Pins Learning Guide.