
The Shift to Off-Grid IoT: Why Solar?
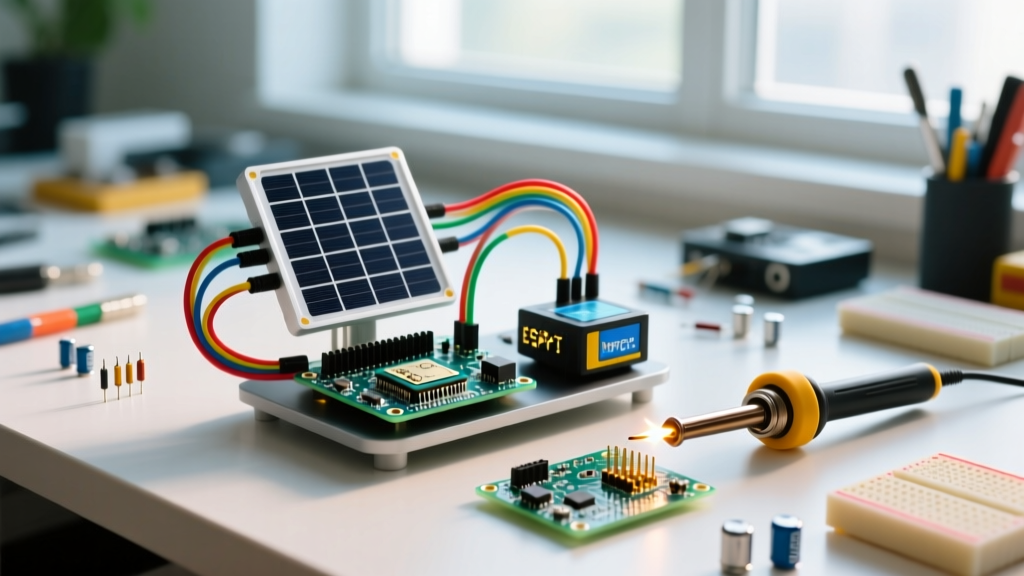
As the maker community pushes deeper into remote environmental monitoring, decentralized mesh networks, and off-grid agriculture, the demand for a reliable solar powered Arduino setup has never been higher. In 2026, we are no longer just blinking LEDs on breadboards; we are deploying nodes in harsh environments where swapping batteries is impossible. However, simply wiring a 6V solar panel to a charge controller and hoping for the best is a recipe for node failure. True off-grid reliability requires a deep understanding of microcontroller sleep states, power management integrated circuits (PMICs), and battery chemistry.
This community resource roundup synthesizes the most successful open-source hardware configurations, field-tested charge controllers, and troubleshooting frameworks used by advanced makers and IoT engineers today.
Microcontroller Sleep Currents: The Make-or-Break Metric
The biggest mistake beginners make when building a solar powered Arduino project is selecting a microcontroller based on processing power rather than its deep sleep current. When a node sleeps for 23 hours a day, the baseline quiescent current dictates your battery sizing and panel requirements.
| Microcontroller | Architecture | Deep Sleep Current | Wireless | Solar Viability |
|---|---|---|---|---|
| ATmega328P (Pro Mini) | 8-bit AVR | ~6 µA (Power-down) | None (Needs external) | Excellent (Legacy) |
| ESP32-S3 | 32-bit Xtensa | ~10 µA (Deep Sleep) | WiFi / BLE | Excellent |
| nRF52840 | 32-bit ARM Cortex-M4 | ~1.5 µA (System OFF) | BLE / Zigbee / Thread | Superior |
| Raspberry Pi Pico W | 32-bit ARM Cortex-M0+ | ~1 mA (Dormant mode leaks) | WiFi / BLE | Poor (Requires external load switch) |
As documented in the official Espressif Sleep Modes API, the ESP32-S3 remains a community favorite due to its balance of low deep-sleep current and high-throughput WiFi capabilities. However, to achieve the advertised 10 µA, you must explicitly power down the RTC peripheral domain and isolate GPIO pins to prevent leakage currents.
Community-Tested Charge Controllers & Power Management
The bridge between your solar panel and your battery is the charge controller. In 2026, the community has largely standardized around three tiers of power management, depending on budget and panel size.
1. The Budget Standard: CN3791 PWM Modules
Available for $3 to $5 on global marketplaces, the CN3791 is a Pulse Width Modulation (PWM) solar charge controller. It is rugged, simple, and works well with 5W+ panels. However, PWM controllers pull the panel voltage down to match the battery voltage, wasting up to 20% of potential energy. It is acceptable for high-sun environments but inefficient for indoor or heavily shaded deployments.
2. The Maker Darling: Adafruit BQ24295 Breakout
Priced around $14.95, the Adafruit Universal Solar Charger utilizes the Texas Instruments BQ24295. While technically a switching charger with I2C configurability rather than a pure MPPT, it allows makers to dynamically adjust the input current limit via the Arduino I2C bus. This enables a software-based 'pseudo-MPPT' sweep, maximizing harvest from small 1W to 3W panels.
3. Ultra-Low Light Harvesting: TI bq25570
For micro-solar applications (e.g., indoor amorphous solar cells generating less than 50mW), the community relies on the TI bq25570 datasheet specifications. This IC features a true Maximum Power Point Tracking (MPPT) boost charger with an ultra-low cold-start voltage of just 330mV. Breakout boards for this IC cost around $15-$20, but they are mandatory for energy-harvesting projects that rely on tiny indoor solar panels.
Battery Chemistry: LiPo vs. LiFePO4 in the Wild
Selecting the right battery chemistry is critical for environmental resilience. While standard Lithium Polymer (LiPo) pouch cells are cheap and lightweight, they suffer from severe limitations in outdoor deployments.
Community Warning: Never deploy standard LiPo cells in environments where temperatures drop below 0°C (32°F). Charging a LiPo cell below freezing causes lithium plating on the anode, which permanently degrades capacity and creates internal short-circuit risks. If your solar powered Arduino will experience winter, you must use LiFePO4 or implement a hardware thermistor lockout to disable charging in the cold.
For year-round outdoor deployments, the community heavily favors 18650 LiFePO4 cells (nominal 3.2V, ~1800mAh). They operate safely from -20°C to 60°C, boast a 10-year cycle life, and their 3.2V nominal voltage maps beautifully to the 3.3V logic level of modern microcontrollers without requiring an inefficient buck converter.
Sizing Your Solar Powered Arduino Array
Proper sizing ensures your node survives the 'worst-case scenario' (e.g., three consecutive cloudy days in winter). The golden rule of off-grid IoT sizing is that your panel must generate your daily energy budget plus a 30% overhead in a single day of peak sun.
Sizing Matrix: ESP32-S3 LoRa Node Example
- Wake Cycle: Wakes for 5 seconds every 15 minutes to read a BME280 sensor and transmit via LoRa.
- Sleep Current: 15 µA (including Quiescent current of the LDO and BMS).
- Active Current: 80 mA average for 5 seconds.
- Daily Consumption: ~45 mAh per day.
- Required Battery (3 Days Autonomy): 135 mAh (Minimum). A standard 2000mAh 18650 provides over 14 days of autonomy in total darkness.
- Required Panel: A 0.5W 6V panel generating ~80mA in peak sun will fully recharge the daily 45mAh deficit in less than 45 minutes of direct sunlight.
2026 Community Project Spotlight
The open-source ecosystem is thriving with solar-powered architectures. Two standout community projects define the current landscape:
- Meshtastic Solar Nodes: The Meshtastic community has standardized on the Seeed Studio XIAO ESP32-S3 paired with the Wio-E5 LoRa module. Makers are 3D printing UV-resistant PETG enclosures with integrated 6V ETFE-coated solar panels, creating decentralized, off-grid mesh communication networks that run indefinitely.
- Open-Source Agri-Sensors: Precision agriculture projects are utilizing the ATmega328P with a TPL5010 hardware watchdog timer. The TPL5010 completely cuts power to the MCU between wake cycles, achieving a true 0 µA system sleep, powered entirely by a 1W solar panel and a supercapacitor bank.
Critical Failure Modes & Troubleshooting
Even with perfect sizing, solar powered Arduinos frequently fail in the field due to transient electrical issues. Here is how the community solves the most common edge cases.
The TX Burst Brownout
The Problem: When an ESP32 transmits via WiFi or a LoRa module sends a packet, the current draw spikes to 350mA+ for milliseconds. If the solar panel is shaded and the battery's internal resistance is slightly high, the voltage rail sags below the microcontroller's Brown-Out Detection (BOD) threshold (typically 2.7V). The MCU instantly resets, creating an infinite boot-loop that drains the battery to zero.
The Fix: 1. Add a 470µF to 1000µF low-ESR Tantalum or Ceramic capacitor directly across the 3.3V and GND rails, as close to the radio module as possible. This acts as a local energy reservoir to supply the TX spike. 2. If using an ATmega328P, disable the BOD entirely via the AVR fuse bits (using a programmer like the USBasp) or select the 'No BOD' option in the MiniCore board manager package. This prevents the reset and saves ~20µA in sleep mode.
Panel Shading and Reverse Leakage
The Problem: At night, or when leaves cover the panel, the solar cells can act as a load, slowly draining the battery back through the panel.
The Fix: Ensure your charge controller features a blocking Schottky diode or a MOSFET-based reverse current protection circuit. If using raw CN3791 modules, verify the presence of the SS34 Schottky diode on the board. For custom PCBs, a P-channel MOSFET reverse polarity/leakage protector adds less than 10mΩ of resistance and completely eliminates nighttime drain.
Final Thoughts for the Off-Grid Maker
Building a robust solar powered Arduino node in 2026 is less about the code you write and more about the physics you manage. By selecting the right low-power microcontroller, utilizing MPPT or advanced switching charge controllers, respecting battery chemistry limits, and engineering around TX-burst brownouts, your projects will survive in the wild for years. Tap into the community repositories, test your sleep currents with a uCurrent Gold or high-resolution multimeter, and embrace the engineering challenges of off-grid IoT.