
The Quick Answer: Can You Use a 9V Battery with Arduino?
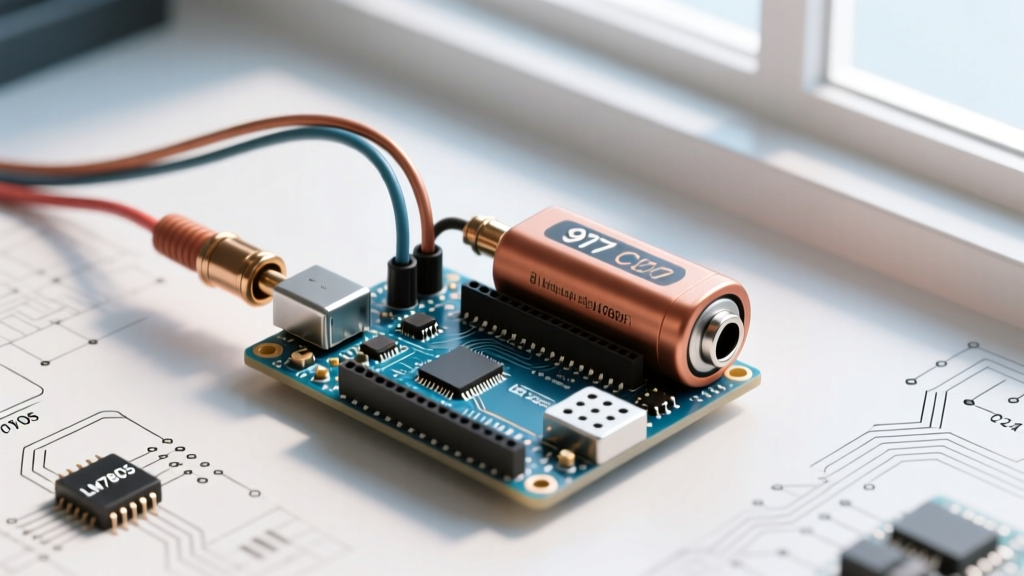
Yes, you can connect a standard 9V PP3 battery to an Arduino Uno, Nano, or Mega. The board's onboard voltage regulator is designed to accept input voltages between 7V and 12V. However, while a 9 volt battery to Arduino connection is electrically valid, it is highly inefficient for high-current projects. This quick reference guide breaks down the exact thermal limits, battery chemistry realities, and wiring best practices you need to know before powering your next microcontroller project.
Quick Reference: 9V Battery Chemistry Comparison
Not all 9V batteries are created equal. The internal chemistry dictates your project's runtime, voltage sag under load, and overall cost. Here is how the three main types stack up for microcontroller use in 2026:
| Battery Type | Popular Model | Typical Capacity | Avg. Price (USD) | Best Use Case |
|---|---|---|---|---|
| Alkaline | Energizer 522 | ~550 mAh | $3.50 | Low-power sensors (sleep mode) |
| Lithium | Ultralife U9VL-J | ~1200 mAh | $9.00 | Continuous data logging, outdoor nodes |
| NiMH (Rechargeable) | Tenergy 9V 250mAh | ~250 mAh | $6.00 | Quick prototyping, bench testing |
Note: Lithium 9V batteries maintain a flatter discharge curve (staying near 9V until fully depleted), whereas Alkaline and NiMH voltages drop steadily as current is drawn.
The Voltage Regulator Bottleneck: The Math
The most common point of failure when routing a 9 volt battery to Arduino boards is the onboard Low Dropout (LDO) voltage regulator. Most genuine Arduino boards use the NCP1117ST50T3G (or a similar 5V LDO in a SOT-223 package) to step the input voltage down to a stable 5V for the ATmega328P microcontroller.
Calculating Thermal Dissipation
The LDO dissipates excess voltage as heat. The formula for power dissipation is:
Pd = (Vin - Vout) × I
- Vin: 9V (from battery)
- Vout: 5V (regulated output)
- Voltage Drop: 4V
If your Arduino and attached sensors draw 100mA (0.1A), the LDO dissipates 0.4 Watts of heat. The SOT-223 package has a junction-to-ambient thermal resistance of roughly 50°C/W. This results in a 20°C temperature rise above room temperature. The regulator will feel warm, but it is perfectly safe.
However, if you connect a motor shield or multiple servos drawing 500mA (0.5A) from the 5V pin, the LDO must dissipate 2.0 Watts. This causes a 100°C temperature rise. Combined with a 25°C ambient room temperature, the silicon junction reaches 125°C—dangerously close to the 150°C thermal shutdown threshold. According to the official Arduino Powering Guide, drawing high current through the 5V pin while using a high-voltage input is the leading cause of permanent board damage.
Wiring Methods: Barrel Jack vs. Vin Pin
When connecting your 9V battery, you have two primary physical routing options. Both pass through the same LDO, but they have different physical failure modes.
1. The DC Barrel Jack
This is the safest method for beginners. A standard 9V snap connector with a 2.1mm center-positive barrel plug routes power through a protection diode (typically a 1N4007 or similar) before hitting the LDO. This diode prevents reverse polarity damage if you accidentally wire the battery snap backward. The trade-off is a ~0.6V drop across the diode, meaning your 9V battery effectively feeds the LDO with 8.4V.
2. The Vin (Voltage In) Pin
Wiring directly to the Vin and GND header pins bypasses the protection diode. This is slightly more efficient because you don't lose 0.6V to the diode drop, giving the LDO a bit more headroom. However, you must manually verify polarity before connecting. Reversing the red and black wires on the Vin pin will instantly destroy the microcontroller and the USB interface IC.
Expert Tip: Always place a 100µF electrolytic decoupling capacitor across the Vin and GND pins when using long wire leads from a 9V battery. This suppresses high-frequency transient noise and mitigates minor voltage sags during microcontroller clock switching.
Troubleshooting: Why Your Arduino Keeps Resetting
A frequent issue when using a 9 volt battery to Arduino setups is spontaneous resetting, especially when actuators engage. This is rarely a software bug; it is almost always voltage sag caused by the battery's internal resistance.
The Servo Stall Scenario
Consider a standard SG90 micro servo. While it draws ~200mA while moving, its stall current (when the servo is physically blocked or starting under heavy load) can spike to 700mA.
A standard alkaline 9V battery has an internal resistance of about 1.5 ohms when fresh, which rises as it depletes. Using Ohm's Law (V = I × R), a 700mA spike across a 2-ohm depleted battery causes a 1.4V voltage sag. Your 9V battery instantly drops to 7.6V at the terminals. If the battery is half-dead and internal resistance hits 4 ohms, the sag is 2.8V, dropping the input to 6.2V.
Because the NCP1117 LDO requires a minimum dropout voltage of ~1.1V to maintain regulation, a 6.2V input causes the 5V rail to collapse to roughly 4.5V. The ATmega328P's Brown-Out Detection (BOD) is factory-set to trigger at 4.3V, immediately resetting the board to prevent memory corruption. SparkFun's Battery Technologies Tutorial highlights that internal resistance is the primary limiting factor for high-drain PP3 applications.
How to Test Your 9V Battery Under Load
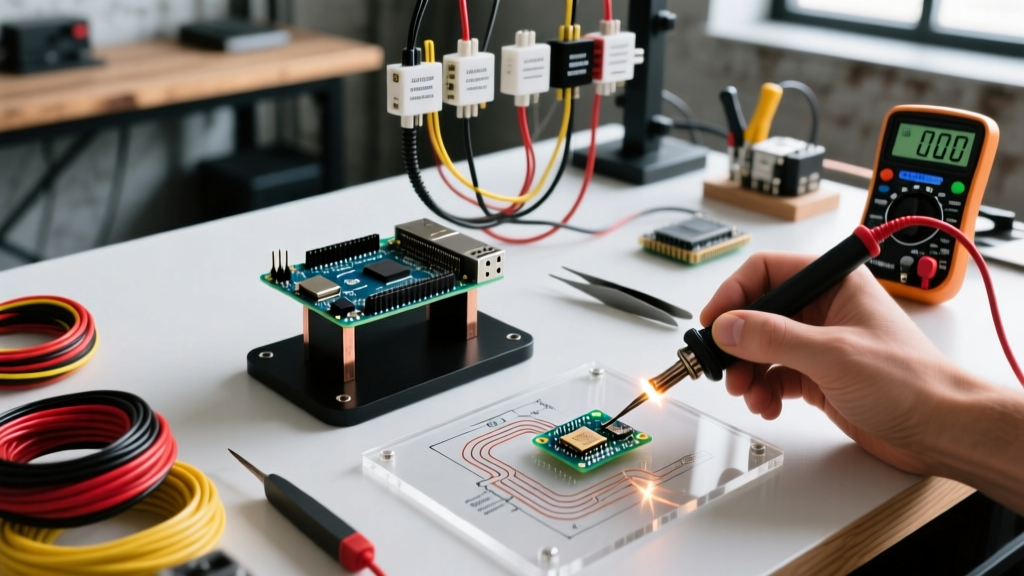
Never trust a multimeter's open-circuit voltage reading for a 9V battery. A dead alkaline battery can still read 8.8V with no load attached. To accurately test if your battery is viable for an Arduino project:
- Set your multimeter to DC Voltage.
- Connect the multimeter probes to the battery terminals.
- While monitoring the screen, connect a known load (like a 100-ohm power resistor or a small 12V DC motor) across the battery for 3 seconds.
- If the voltage drops below 7.5V under this moderate load, the battery's internal resistance is too high for reliable microcontroller use, and it should be recycled.
Superior Alternatives for Portable Projects
While a 9V battery is convenient for a quick weekend prototype, modern maker projects demand better energy density. If you are designing a permanent portable installation, consider these alternatives:
- 18650 Li-Ion Cells (3.7V): Use a 2S (7.4V) 18650 battery holder wired to the barrel jack. A 5000mAh 2S pack costs around $18 and provides roughly 10x the usable runtime of an alkaline 9V battery.
- USB Power Banks: For projects drawing under 500mA, a standard 5V USB power bank connected to the Arduino's Micro-USB port bypasses the inefficient onboard LDO entirely, utilizing the power bank's highly efficient internal buck/boost converters.
- LiPo with Buck Converter: A 7.4V 2S LiPo battery paired with an external switching buck converter (like the LM2596 module, costing ~$2) set to 5V will deliver high current to the 5V pin with virtually zero heat generation compared to the linear LDO.
By understanding the thermal and chemical limitations of the PP3 form factor, you can make informed decisions about when a 9 volt battery to Arduino connection is appropriate, and when it is time to upgrade your power architecture.