
The Evolution of Arduino Storage: Why Upgrade Your SD Karte?
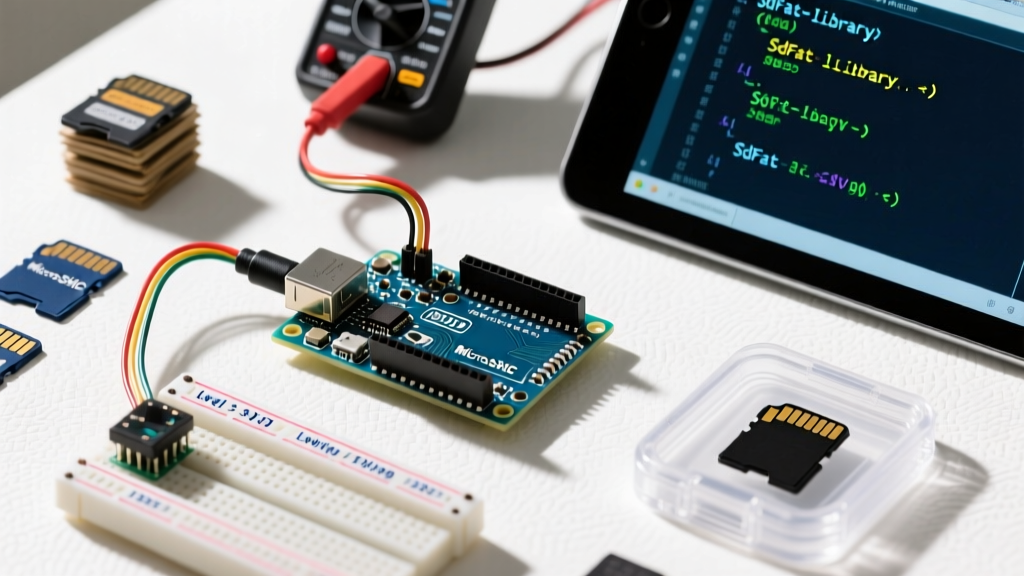
For years, the standard approach to data logging in the maker community involved a simple 2GB MicroSD card formatted as FAT16. Whether you refer to this hardware as an SD shield, a MicroSD breakout, or use the popular European search term Arduino SD Karte, the fundamental architecture has historically relied on the legacy SD.h library and low-capacity storage. However, as we navigate through 2026, sourcing standard 2GB FAT16 MicroSD cards has become nearly impossible. The market has entirely shifted toward 32GB MicroSDHC and 64GB+ MicroSDXC cards, which utilize FAT32 and exFAT file systems.
If you are still using legacy hardware and software stacks, your high-capacity cards will either fail to initialize or artificially limit you to 2GB of storage. This migration guide provides a comprehensive, step-by-step framework for upgrading your Arduino SD Karte ecosystem. We will cover hardware replacements, logic-level shifting imperatives, and the critical software transition to modern file system libraries.
Hardware Migration: Ditching the Legacy Catalex Module
The most ubiquitous budget module found in starter kits is the generic Catalex MicroSD adapter. While functional for basic 2GB cards, it harbors a critical design flaw that makes it unsuitable for modern, high-speed SDHC/SDXC cards. The Catalex module uses an AMS1117-3.3 LDO voltage regulator to step down the 5V VCC to 3.3V for the card's power pins. However, it does not perform logic level shifting on the SPI data lines (MOSI, SCK, CS).
Critical Failure Mode: The ATmega328P (Arduino Uno/Nano) outputs 5V logic on its SPI pins. SD cards are strictly 3.3V tolerant. Feeding 5V logic directly into the SD card's NAND controller will slowly degrade the silicon over time, leading to intermittent write failures, corrupted file allocation tables, and eventual permanent card death.
To reliably interface with modern high-capacity cards, you must migrate to a breakout board that features active logic level shifting. Below is a comparison of the top-tier, production-ready Arduino SD Karte breakout boards available in 2026.
| Manufacturer / Model | Level Shifting IC | Max SPI Speed | Approx. Price (2026) | Best Use Case |
|---|---|---|---|---|
| Adafruit 254 MicroSD Breakout | BSS138 MOSFETs | 12 MHz | $7.50 | General purpose, 5V Arduinos |
| Pololu 2594 MicroSD Breakout | TXB0108 Bi-directional | 24 MHz | $4.95 | High-speed logging, tight spaces |
| SparkFun DEV-13743 | PCA9306 / MOSFET | 12 MHz | $9.95 | Breadboard prototyping |
For most makers migrating an existing Uno or Mega project, the Adafruit MicroSD Breakout Board is the gold standard. Its BSS138 MOSFET-based level shifters safely translate 5V logic down to 3.3V without the signal degradation seen in cheap resistor-divider networks.
Software Migration: Transitioning from SD.h to SdFat
The built-in Arduino SD.h library is essentially a wrapper around a heavily modified, outdated fork of Bill Greiman's SdFat library from over a decade ago. It lacks support for the exFAT file system (required for SDXC cards 64GB and larger) and struggles with the complex initialization sequences required by modern SDHC controllers.
To unlock the full capacity of your upgraded hardware, you must migrate to the modern SdFat v2.x library. This library fully supports FAT16, FAT32, and exFAT, and is optimized for the SD Association's latest bus standards.
Step 1: Library Installation and Configuration
- Open the Arduino IDE Library Manager and search for SdFat by Bill Greiman. Install the latest v2.x release.
- Navigate to the library folder and open
SdFatConfig.h. - Locate the
SD_FAT_TYPEmacro. Change it from0to3. This enables theSdFsclass, which automatically handles FAT16, FAT32, and exFAT formatting seamlessly. - Set
ENABLE_DEDICATED_SPIto1to allow the library to optimize SPI bus transactions, vastly improving write speeds for data logging.
Step 2: Updating Your Sketch Code
Replace your legacy initialization code with the modern SdFat syntax. The new initialization requires defining an SPI configuration object, which allows you to specify the chip select pin and the initial SPI clock speed.
#include 'SPI.h'
#include 'SdFat.h'

// Use SdFs for seamless FAT16/FAT32/exFAT support
SdFs sd;

// Define Chip Select pin and SPI speed
#define SD_CS_PIN 10
#define SPI_SPEED SD_SCK_MHZ(8) // Start at 8MHz for stability

void setup() {
  Serial.begin(115200);
  while (!Serial) { yield(); }

  Serial.println('Initializing Arduino SD Karte module...');

  // Modern initialization with dedicated SPI config
  if (!sd.begin(SD_CONFIG)) {
    sd.initErrorHalt(&Serial);
  }

  Serial.print('Card Type: ');
  sd.card()->printSDType(&Serial);
  Serial.println('\nCard successfully mounted!');
}

void loop() {
  // Data logging logic here
}
Wiring & Level Shifting: The 3.3V Imperative
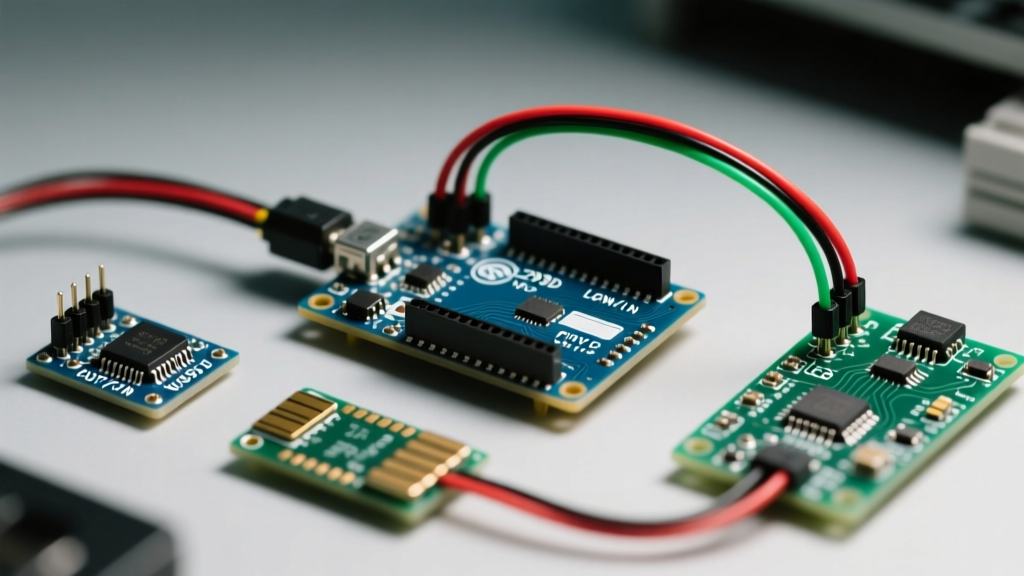
When upgrading your physical Arduino SD Karte wiring, pay strict attention to the SPI bus architecture. The SPI bus is shared among all peripherals (e.g., Ethernet shields, TFT displays, NRF24L01 radios). If your SD card module does not properly release the MISO (Master In Slave Out) line when its Chip Select (CS) pin is HIGH, it will corrupt data packets destined for other SPI devices.
- VCC: Connect to 5V (if using Adafruit/Pololu breakouts with onboard regulators) or 3.3V (if using raw 3.3V modules on an Arduino Due/ESP32).
- GND: Connect to common ground. Ensure the ground wire is thick enough to handle transient write currents (up to 200mA during block writes).
- MOSI, SCK, CS: Route through the breakout board's logic level shifter inputs.
- MISO: This is the critical pin. It outputs 3.3V from the SD card. If your Arduino is a 5V board, the 3.3V MISO signal is usually sufficient to trigger the ATmega328P's HIGH threshold (which is ~3V), but for noise immunity, routing it back through the level shifter's low-side output is recommended.
Troubleshooting Common Initialization Failures
Migrating to high-capacity cards often surfaces edge-case hardware bugs. If your sd.begin() function returns false or throws an initialization error, run through this expert-level diagnostic checklist.
Edge Case 1: The MISO Tri-State Bug
If you have multiple SPI devices, the SD card's MISO pin must go into a high-impedance (tri-state) mode when CS is HIGH. Many counterfeit or ultra-cheap modules lack the necessary buffer IC (like a 74LVC125) to enforce this. Fix: Add a 10kΩ pull-up resistor between the MISO line and the 3.3V rail. This helps stabilize the line when the SD card releases it.
Edge Case 2: SPI Clock Speed Mismatch
The SD specification mandates that the initial identification sequence (CMD0, CMD8, ACMD41) must occur at or below 400 kHz. The SdFat library handles this automatically by defaulting to a slow clock during the begin() phase. However, once initialized, it ramps up to the speed defined in SD_SCK_MHZ(X). If your wiring is long (over 15cm) or lacks proper grounding, an 8MHz or 12MHz data transfer clock will result in CRC errors. Fix: Drop your transfer speed to SD_SCK_MHZ(4) and use twisted-pair wiring for the SPI bus.
Edge Case 3: exFAT Formatting Incompatibility
Windows and macOS often format 64GB SDXC cards using proprietary cluster sizes that the Arduino's SdFat library cannot parse. Fix: Never use your operating system's native format tool. Download the official SD Memory Card Formatter from the SD Association. This tool strictly adheres to the SD specification, ensuring the boot sector and FAT tables are perfectly aligned for microcontroller parsing.
Conclusion
Upgrading your Arduino SD Karte setup from legacy 2GB FAT16 modules to modern MicroSDHC/SDXC hardware is no longer optional for serious data logging projects. By abandoning flawed resistor-based modules in favor of MOSFET level-shifted breakouts, and by migrating your software stack to the modern SdFat v2.x library, you future-proof your projects against storage limitations and hardware degradation. Implement these hardware and software changes today to ensure your 2026 data logging applications remain robust, fast, and reliable.