
The Anatomy of an Arduino to Arduino I2C Lockup
Establishing reliable Arduino to Arduino I2C communication is a rite of passage for embedded systems engineers, but it is notoriously fragile when pushed beyond breadboard prototypes. The Inter-Integrated Circuit (I2C) protocol relies on an open-drain architecture, meaning neither the master nor the slave Arduino actively drives the SDA (data) or SCL (clock) lines high. Instead, they rely on external pull-up resistors to return the bus to a logic HIGH state.
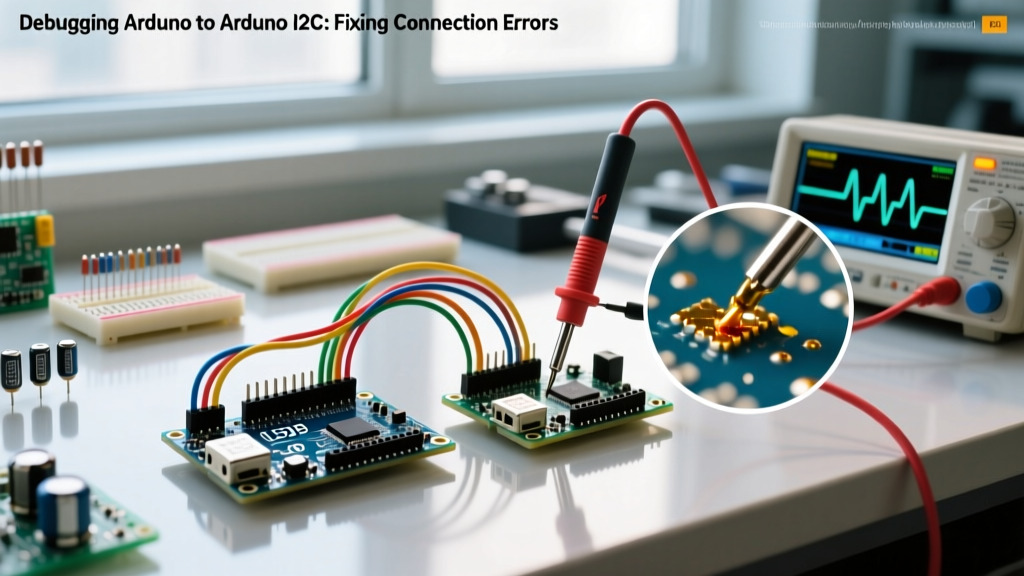
When an I2C bus specification violation occurs—such as excessive capacitance, missing pull-ups, or a slave device holding the SDA line low during a read operation—the bus locks up. The master Arduino's Wire library enters an infinite waiting loop, effectively bricking your sketch until a hard reset is triggered. In this comprehensive debugging guide, we dissect the exact hardware and software failure modes of Arduino-to-Arduino I2C networks and provide actionable, field-tested solutions.
Diagnostic Matrix: Symptom vs. Root Cause
Before diving into code, map your observed behavior to this diagnostic matrix. I2C failures are rarely random; they almost always stem from predictable electrical or timing violations.
| Observed Symptom | Probable Root Cause | Primary Domain | Immediate Action |
|---|---|---|---|
Wire.endTransmission() returns 2 (NACK address) |
Slave Arduino is unpowered, wrong address, or SDA/SCL swapped. | Hardware / Config | Verify 5V/3.3V rails; run i2c_scanner; check pin mapping. |
Master Arduino hangs indefinitely on Wire.requestFrom() |
Slave missed clock pulse; bus capacitance too high; clock stretching failure1> | Hardware / Timing | Reduce I2C clock speed; add stronger pull-ups; implement software timeouts. |
| Intermittent data corruption or random NACKs (Error 1) | EMI noise on long cables; inadequate pull-up resistance for bus speed. | Hardware | Switch to twisted-pair cabling; lower pull-up resistance to 2.2kΩ. |
| Slave receives truncated data (e.g., 32 bytes instead of 64) | Master exceeded the default 32-byte Wire library TX buffer limit. |
Software | Chunk data into ≤32-byte packets; modify Wire.h buffer size. |
| Slave Arduino (3.3V) gets hot or GPIO pins fail | Directly connected 5V Master (Uno) to 3.3V Slave (Nano 33 IoT) without level shifting. | Hardware | Install a bi-directional logic level converter (e.g., BSS138 based). |
Hardware-Level Debugging & Electrical Fixes
1. The Pull-Up Resistor Calculation
The internal pull-up resistors on ATmega328P (Arduino Uno) and SAMD21 (Arduino Zero/Nano 33 IoT) microcontrollers are typically 20kΩ to 50kΩ. These are far too weak for reliable I2C communication, especially at 400kHz (Fast Mode). Relying on INPUT_PULLUP will result in slow rise times, causing the slave to misinterpret clock edges.
According to the SparkFun I2C Guide and NXP specifications, you must use external pull-ups. Use the following baseline values based on your bus capacitance and speed:
- 100kHz (Standard Mode): 4.7kΩ resistors on both SDA and SCL to VCC.
- 400kHz (Fast Mode): 2.2kΩ resistors to overcome higher bus capacitance.
- Long Cable Runs (>30cm): 1kΩ resistors, but ensure your MCU GPIOs can sink the resulting current (e.g., 5V / 1kΩ = 5mA, which is safely within the ATmega328P's 20mA per pin limit).
2. Logic Level Mismatches: The Silent Killer
A classic mistake in 2026 multi-board projects is mixing 5V and 3.3V Arduinos. If you connect a 5V Arduino Uno R4 Minima directly to a 3.3V Arduino Nano 33 IoT, the 5V logic HIGH on the SDA/SCL lines will backfeed into the Nano's SAMD21 GPIO pins, eventually degrading or destroying the silicon.
The Fix: Use a dedicated bi-directional logic level shifter. The SparkFun Logic Level Converter (BOB-12009, typically ~$2.95) uses BSS138 MOSFETs to safely translate I2C signals. Connect the 5V Arduino to the HV side, the 3.3V Arduino to the LV side, and provide separate VCC references to both sides of the shifter.
Software & Wire Library Troubleshooting
1. Curing the Infinite Hang with Timeouts
The most devastating software issue in Arduino to Arduino I2C is the master hanging on Wire.endTransmission() or Wire.requestFrom(). If the slave resets mid-transaction or the bus experiences a glitch, the SDA line may be held low. Older versions of the AVR core would wait forever.
Modern Arduino cores support the setWireTimeout() function. Implement this in your master's setup() to prevent catastrophic lockups:
#include <Wire.h>

void setup() {
  Wire.begin();
  // Set timeout to 3000 microseconds (3ms)
  // The 'true' parameter resets the bus automatically upon timeout
  Wire.setWireTimeout(3000, true);
}

void loop() {
  Wire.beginTransmission(0x08);
  Wire.write(0x01);
  uint8_t error = Wire.endTransmission();

  if (Wire.getWireTimeoutFlag()) {
    Serial.println("I2C Bus Timeout! Clearing flag...");
    Wire.clearWireTimeoutFlag();
    // Handle recovery logic here
  } else if (error != 0) {
    Serial.print("I2C Error Code: ");
    Serial.println(error);
  }
  delay(500);
}
2. Bypassing the 32-Byte Buffer Limit
The standard Arduino Wire Library allocates a static 32-byte buffer for both TX and RX operations. If your master attempts to send 64 bytes of sensor telemetry in a single Wire.write() loop, the buffer overflows, and the remaining 32 bytes are silently dropped.
Solution A (Software Chunking): Break your payload into 32-byte chunks, sending a new Wire.beginTransmission() block for each chunk, utilizing a header byte to tell the slave how to reassemble the data.
Solution B (Core Modification): If you have ample SRAM (e.g., using an Arduino Mega 2560 or Uno R4), locate the Wire.h file in your local Arduino15 packages directory and change #define BUFFER_LENGTH 32 to #define BUFFER_LENGTH 64 or 128. Note: You must do this on both the Master and Slave Arduino installations.
Advanced Edge Cases: EMI and Bus Extension
When routing Arduino to Arduino I2C connections across a chassis or between enclosures, the 400pF bus capacitance limit is quickly violated by standard ribbon cables, and/3>
Do not attempt to run raw I2C over 3-foot jumper wires. Instead, utilize an I2C bus extender IC like the NXP P82B715 or the PCA9600. These chips convert the local I2C signals into a differential-like current-mode transmission, allowing you to run SDA/SCL over twisted-pair Cat5e cable for distances up to 20 meters (65 feet) while completely isolating the Arduinos from ground loops and EMI.
Pro Debugging Tip: If your Arduinos are randomly dropping packets, do not guess—measure. Connect a logic analyzer (like the Saleae Logic Pro 8 or a $15 generic 24MHz clone) to the SDA and SCL lines. Look for 'runt' pulses or slow rise times. If the rise time from 0V to VCC takes longer than 300ns in Fast Mode, your pull-up resistors are too weak for the parasitic capacitance of your wiring.
Frequently Asked Questions (FAQ)
Can I use the Arduino Uno's internal pull-ups for I2C?
Technically yes, by setting the pins to INPUT_PULLUP, but practically no. The internal resistors are ~30kΩ, resulting in rise times that violate the I2C spec at 400kHz. Always use external 4.7kΩ or 2.2kΩ resistors for reliable Arduino to Arduino I2C communication.
Why does my I2C slave Arduino miss the first byte of data?
This usually happens if the master sends data immediately after calling Wire.beginTransmission() without allowing the slave's onReceive() interrupt service routine (ISR) to initialize. Ensure your slave's I2C address is correctly defined and avoid performing heavy operations (like Serial.print()) inside the slave's onReceive ISR, as this blocks the I2C hardware state machine.