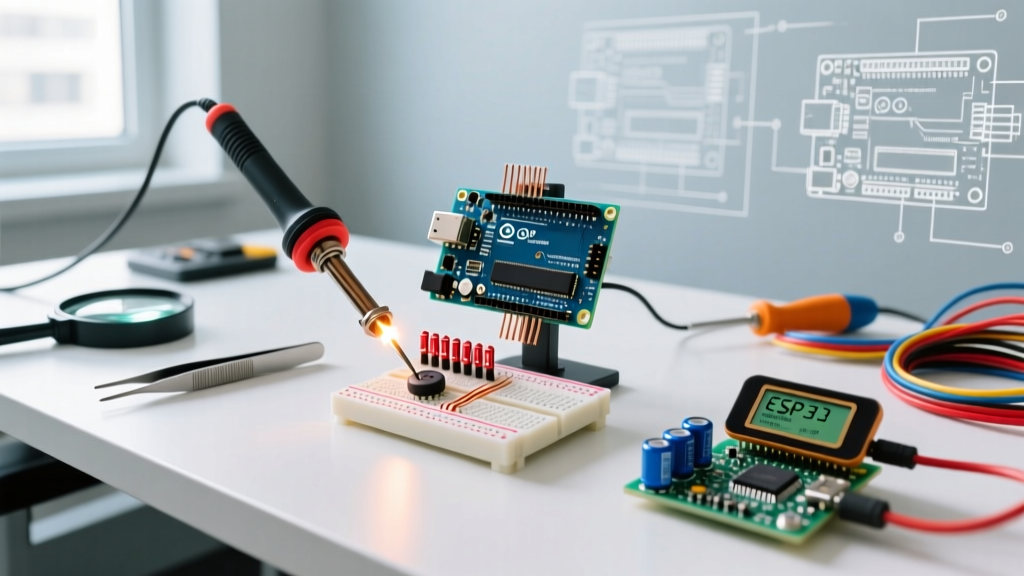

The Anatomy of a Failing Arduino Button Circuit
Writing reliable Arduino button code is a deceptively complex rite of passage for embedded systems engineers. While a basic digitalRead() might work on a pristine workbench, real-world environments introduce electromagnetic interference (EMI), mechanical contact bounce, and timing conflicts that cause phantom triggers and missed inputs. In 2026, with the widespread adoption of high-speed microcontrollers like the Arduino Uno R4 Minima and the ESP32-S3, naive button polling code is more likely to cause system-wide latency than ever before.
This error-fix guide dissects the top hardware and software failures associated with pushbutton inputs. We will move beyond basic tutorials and explore CMOS logic impedance, non-blocking state machines, and microcontroller-specific strapping pin conflicts.
Top 4 Arduino Button Code Errors (And How to Fix Them)
Error 1: The 'Floating Pin' Phantom Presses
The Symptom: The serial monitor registers random button presses when the button is untouched, or the input state fluctuates wildly when you wave your hand near the wiring.
The Root Cause: Microcontroller GPIO pins configured as INPUT possess extremely high impedance (often >100 MΩ). In this state, the pin acts as an antenna, picking up 50Hz/60Hz mains hum and ambient RF noise. The internal CMOS logic gates interpret these minor voltage fluctuations as valid HIGH/LOW transitions.
The Fix: Never leave a button pin floating. You must use a pull-up or pull-down resistor to bias the pin to a known voltage when the switch is open. While adding an external 10kΩ resistor works, modern best practice dictates using the microcontroller's internal pull-up resistors via pinMode(pin, INPUT_PULLUP). According to the official Arduino pinMode() reference, this engages an internal resistor (typically 20kΩ to 50kΩ on AVR boards, and ~45kΩ on ESP32), safely pulling the pin to VCC and eliminating the need for external breadboard components.
Error 2: Switch Bounce and the Multi-Trigger Bug
The Symptom: A single physical press increments a counter by 3, 5, or even 12.
The Root Cause: Mechanical tactile switches (like the industry-standard Omron B3F series, which retail for about $0.18 each in 2026) rely on physical metal contacts. When the contact closes, the metal flexes and literally bounces off the anvil multiple times over a period of 1 to 50 milliseconds before settling. A 16MHz AVR microcontroller can execute thousands of instructions during this bounce window, reading each micro-make as a distinct button press.
The Fix: You must implement debouncing. As detailed in Jack Ganssle's definitive guide to debouncing, software debouncing using a non-blocking timer is the most resource-efficient method for standard UI buttons. Hardware debouncing (using a 0.1µF MLCC capacitor across the switch terminals) is reserved for high-speed rotary encoders where software latency is unacceptable.
Error 3: Blocking the Main Loop with delay()
The Symptom: The button works, but your LEDs flicker, your motor control stutters, or your display refresh rate drops to a crawl.
The Root Cause: Using delay(50) to wait out the bounce period halts the CPU entirely. In a multitasking environment (e.g., reading sensors, driving WS2812 LEDs, and maintaining WiFi connections), a 50ms block is catastrophic.
The Fix: Replace delay() with a millis()-based state machine. This allows the CPU to continuously poll the pin and perform other tasks, only registering the button state once the signal has remained stable for the debounce window.
Error 4: Interrupt Pin Conflicts and Race Conditions
The Symptom: The system crashes or behaves erratically only when the button is pressed rapidly.
The Root Cause: Using attachInterrupt() for a simple button is usually an anti-pattern. Mechanical bounce triggers the interrupt service routine (ISR) multiple times. Furthermore, if your ISR modifies global variables without the volatile keyword, or if the ISR takes too long to execute, it will starve the main loop and corrupt serial communication buffers.
The Fix: Poll buttons in the main loop() using millis(). Reserve hardware interrupts strictly for high-frequency signals like quadrature encoders or external wake-up triggers from sleep modes.
Hardware vs. Software Debouncing: A Comparison Matrix
Choosing the right debouncing strategy depends on your component budget, CPU overhead, and signal criticality. Below is a comparison of standard techniques used in modern embedded design:
| Method | Component Cost (2026) | CPU Overhead | Latency / Response | Best Use Case |
|---|---|---|---|---|
| Software (millis polling) | $0.00 | Low (Non-blocking) | 10ms - 50ms | Standard UI, menus, single presses |
| Hardware (RC Filter + Schmitt) | ~$0.12 | Zero | < 1ms | Rotary encoders, high-speed counters |
| Hardware (Capacitor only) | ~$0.02 | Zero | Variable (Slow rise) | Legacy resets, non-critical wake pins |
| Dedicated IC (e.g., MAX6816) | ~$2.50 | Zero | Nanoseconds | Industrial safety interlocks |
The Ultimate Non-Blocking Arduino Button Code Template
Below is a production-ready, edge-triggered software debounce template. This code detects the exact moment the button transitions from HIGH to LOW (the press), ignoring the bounce and ignoring the time the button is held down. It uses INPUT_PULLUP, meaning the button should be wired between the GPIO pin and Ground.
const int buttonPin = 2;

int lastDebouncedState = HIGH;
int lastRawState = HIGH;
unsigned long lastDebounceTime = 0;
const unsigned long debounceDelay = 30; // 30ms is safe for most Omron/Alps switches

void setup() {
  pinMode(buttonPin, INPUT_PULLUP);
  Serial.begin(115200);
  Serial.println("System Ready. Waiting for clean button press...");
}

void loop() {
  int rawState = digitalRead(buttonPin);

  // If the raw state changed, reset the debounce timer
  if (rawState != lastRawState) {
    lastDebounceTime = millis();
  }

  // Check if the debounce delay has passed
  if ((millis() - lastDebounceTime) > debounceDelay) {
    // If the debounced state actually changed, act on it
    if (rawState != lastDebouncedState) {
      lastDebouncedState = rawState;

      // Trigger only on the falling edge (Press)
      if (lastDebouncedState == LOW) {
        Serial.println("Action Triggered: Clean Press Detected");
      }
    }
  }

  // Save the raw state for the next loop iteration
  lastRawState = rawState;

  // Your other non-blocking code goes here (e.g., FastLED, sensor reads)
}
Advanced Troubleshooting: Edge Cases in Modern Microcontrollers
When migrating legacy Arduino button code to modern architectures, engineers frequently encounter hardware-specific edge cases that masquerade as software bugs.
The ESP32 Strapping Pin Trap
If you are using an ESP32 or ESP32-S3, you cannot arbitrarily assign button pins. GPIOs 0, 2, 3, 5, 12, and 15 are 'strapping pins' used during the boot sequence to determine flash voltage and boot mode. According to the Espressif ESP32 Datasheet, if you wire a button with an external pull-down resistor to GPIO 12, or if a user holds down a button on GPIO 0 during power-on, the microcontroller will enter the wrong boot mode and fail to execute your code. Fix: Always consult the strapping pin matrix and prefer GPIOs like 4, 16, 17, 18, or 19 for user inputs.
Arduino Uno R4 Minima Pull-Up Variances
The classic Arduino Uno (ATmega328P) features internal pull-ups of roughly 20kΩ to 50kΩ. The newer Arduino Uno R4 Minima, powered by the Renesas RA4M1 ARM Cortex-M4, has different internal pull-up characteristics (typically ~20kΩ to 100kΩ depending on the specific port group). If you are designing a PCB that relies on the internal pull-up to form an RC low-pass filter with a parallel capacitor, the variance in resistance will alter your filter's cutoff frequency, potentially causing the software debounce window to be too short. Always verify the specific port group impedance in the Renesas RA4M1 hardware manual when designing passive hardware debouncing circuits.
Oxidation and the 'Long Bounce' Phenomenon
Cheap, unbranded tactile switches sourced from bulk marketplaces often use tin-plated contacts instead of gold-plated ones. In humid environments, these contacts oxidize, leading to higher contact resistance and prolonged mechanical bounce times (sometimes exceeding 80ms). If your standard 20ms debounce window fails to catch these, increase the debounceDelay to 50ms, or switch to sealed, gold-plated switches like the C&K PTS645 series.
Summary Checklist for Bulletproof Button Inputs
- Wiring: Wire the switch between GPIO and GND. Use
INPUT_PULLUPin code. - Debounce Time: Set software debounce to 30ms-50ms for tactile switches, 5ms for high-quality mechanical keyboard switches.
- Execution: Never use
delay(). Usemillis()state-tracking. - Edge Detection: Track the previous debounced state to trigger actions only on the transition, preventing continuous firing while held.
- Hardware Check: Avoid ESP32 strapping pins for button inputs to prevent boot failures.
By treating mechanical switches as noisy analog sensors rather than perfect digital logic gates, you eliminate the most common points of failure in DIY electronics and ensure your Arduino button code operates flawlessly in the field.