
The Anatomy of NZR One-Wire Communication
When engineers and makers integrate addressable LEDs into embedded systems, the Arduino NeoPixel library (officially Adafruit_NeoPixel) is the undisputed starting point. However, treating these LEDs as simple digital outputs is a fundamental mistake. The underlying WS2812B, WS2812C, and SK6812 chips do not use standard protocols like I2C, SPI, or UART. Instead, they rely on a proprietary, high-speed, one-wire NZR (Non-Zero Return) encoding scheme.
To successfully configure communication, you must understand that data is transmitted via precise pulse-width modulation at an 800kHz frequency. The library abstracts this by bit-banging the GPIO pin or utilizing hardware peripherals like DMA (Direct Memory Access) on advanced microcontrollers. As of 2026, with the market heavily favoring the smaller WS2812B-2020 and SK6812 MINI-E packages, signal integrity and timing margins are tighter than ever due to reduced parasitic capacitance on miniature PCBs.
Expert Insight: The most common point of failure in NeoPixel communication isn't the code; it is signal degradation caused by ignoring the physical layer requirements of the 800kHz data stream. A sloppy data line will result in the dreaded 'first pixel green' anomaly or randomized mid-strip flickering.
Bit-Level Timing Constraints
The protocol dictates that a logical '0' and a logical '1' are defined by the duration of the HIGH and LOW voltage states. According to the reverse-engineered protocol analysis by cpldcpu's WS2812 documentation, the timing tolerances are incredibly strict, allowing a variance of only ±150 nanoseconds.
| Parameter | Description | Duration (µs) | Tolerance |
|---|---|---|---|
| T0H | Logic 0: HIGH time | 0.4 µs | ±150 ns |
| T0L | Logic 0: LOW time | 0.85 µs | ±150 ns |
| T1H | Logic 1: HIGH time | 0.8 µs | ±150 ns |
| T1L | Logic 1: LOW time | 0.45 µs | ±150 ns |
| Treset | Reset Code (LOW) | > 280 µs | N/A |
Note on the Reset Timing: Older documentation from 2015 often cites a 50µs reset time. However, modern WS2812B-V5 and WS2812B-2020 chips require a minimum reset pulse of 280µs to properly latch the data. The modern Arduino NeoPixel library handles this automatically, but if you are writing custom bare-metal SPI/DMA drivers, you must account for this 2026 standard.
Hardware Wiring for Signal Integrity
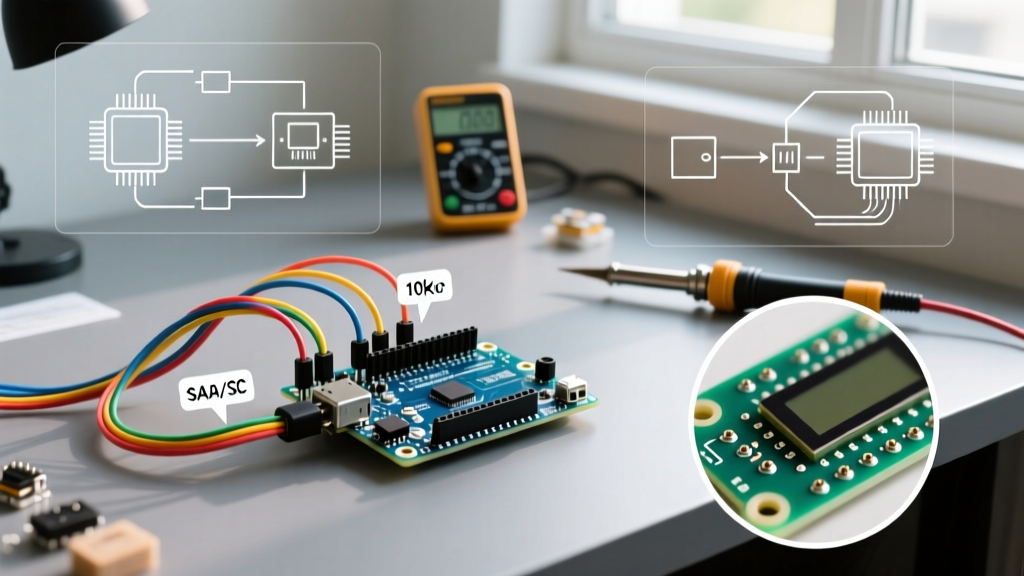
Communication setup begins on the breadboard or PCB. The data line (DIN) is highly susceptible to electromagnetic interference (EMI) and voltage reflections. To ensure the microcontroller's logic signals are interpreted correctly by the LED's internal control IC, follow these strict hardware rules:
- Logic Level Shifting: WS2812B chips require a minimum logic HIGH of 0.7 × VDD. If VDD is 5V, the data line must reach at least 3.5V. Microcontrollers like the ESP32, RP2040, and SAMD21 output 3.3V logic, which is out of spec and causes communication dropouts. Use a 74AHCT125 level shifter powered by 5V to translate the 3.3V GPIO signal to a clean 5V square wave.
- Data Line Resistor: Place a 330Ω to 470Ω resistor as close to the DIN pin of the first LED as possible. This terminates the transmission line, preventing high-frequency ringing and reflections that corrupt the 800kHz signal edges.
- Power Decoupling: Addressable LEDs draw massive transient current when shifting from dark to full white. This causes localized brownouts that reset the internal communication latch. Solder a 1000µF 6.3V (or 10V) electrolytic capacitor across the VCC and GND rails at the start of the strip.
For comprehensive physical layer guidelines, refer to the Adafruit NeoPixel Überguide, which remains the gold standard for hardware best practices.
Configuring the Arduino NeoPixel Library
Once the physical layer is secured, initializing the communication via the library requires defining the pixel count, GPIO pin, and color encoding order. Different manufacturers wire their internal RGB dies differently, so passing the correct flag is vital for accurate color communication.
#include <Adafruit_NeoPixel.h>

#define PIN_DATA    6
#define NUM_PIXELS  144

// Initialize the communication object
Adafruit_NeoPixel strip(NUM_PIXELS, PIN_DATA, NEO_GRB + NEO_KHZ800);

void setup() {
  strip.begin();   // Allocates SRAM and configures GPIO
  strip.show();    // Flushes buffer, sends reset pulse (all LEDs off)
  strip.setBrightness(50); // Limits current draw to prevent brownouts
}
The SRAM Communication Bottleneck
A critical, often overlooked aspect of the library's communication setup is memory allocation. The library creates a framebuffer in SRAM. Each RGB pixel requires 3 bytes; RGBW (SK6812) requires 4 bytes.
If you attempt to drive a 5-meter strip of 60 LEDs/m (300 pixels) on an ATmega328P (Arduino Uno), the library will attempt to allocate 900 bytes. While this technically fits in the 2KB SRAM limit, it leaves insufficient memory for the stack, UART buffers, and local variables, resulting in silent memory corruption and random reboots. For runs exceeding 150 pixels, migrate to an ESP32-S3 or Raspberry Pi Pico (RP2040), which offer 320KB+ of SRAM.
Microcontroller Architecture: Bit-Banging vs. DMA
The method the Arduino NeoPixel library uses to generate the 800kHz signal depends entirely on the microcontroller architecture. This directly impacts how your code handles multitasking and interrupt-driven communication (like reading UART sensors or controlling servos).
| Architecture | Communication Method | Interrupt Behavior | Max Recommended Pixels |
|---|---|---|---|
| AVR (Uno/Nano) | CPU Bit-Banging | Interrupts DISABLED during show() | ~150 (SRAM limited) |
| ESP32 / ESP32-S3 | RMT Peripheral / I2S DMA | Interrupts remain ACTIVE (Non-blocking) | 1000+ (Hardware buffered) |
| RP2040 (Pico) | PIO (Programmable I/O) | Interrupts remain ACTIVE (Non-blocking) | 1000+ (Hardware buffered) |
| SAMD21/SAMD51 | DMA / Timer Interrupts | Interrupts partially masked | ~500 |
On an Arduino Uno, calling strip.show() disables all global interrupts for approximately 30 microseconds per pixel. If you are receiving serial data via UART at 115200 baud during a show() call on a long strip, you will drop bytes. On the ESP32 or RP2040, the library offloads the NZR bit-stream generation to dedicated hardware peripherals (RMT or PIO), freeing the main CPU cores to handle Wi-Fi stacks, sensor polling, and serial communication without dropping a single bit.
Troubleshooting Signal Degradation & Edge Cases
Even with perfect code, physical communication failures manifest in specific, recognizable patterns. Use this diagnostic matrix to resolve edge cases:
1. The 'First Pixel Green' Anomaly
Symptom: The first LED in the chain glows green (or a random color) upon power-up, while the rest remain off. The rest of the strip responds correctly to code.
Root Cause: The DIN line is floating before the microcontroller's GPIO initializes to OUTPUT LOW. The first LED's internal latch picks up ambient EMI and locks in a random state.
Fix: Ensure your hardware has a 10kΩ pull-down resistor on the data line, or ensure the very first command in setup() (even before strip.begin()) is pinMode(PIN_DATA, OUTPUT); digitalWrite(PIN_DATA, LOW);.
2. Mid-Strip Flickering and Color Swapping
Symptom: Pixels beyond index 50 flicker violently or display incorrect colors, while the first 50 pixels are stable.
Root Cause: Voltage drop across the thin copper FPC (Flexible Printed Circuit) of the LED strip. As voltage drops below 4.5V at the distal end, the internal logic IC misinterprets the 5V data signal's timing thresholds.
Fix: Implement power injection. Cut the strip and inject 5V power (and a common ground) every 2 to 3 meters. According to Pololu's Addressable LED Guide, a standard 5050 LED strip drawing 60mA per pixel at full white will drop below safe communication thresholds after roughly 1.5 meters without secondary power injection.
3. Entire Strip Displays 'Stuck' Data
Symptom: The LEDs freeze on the last pattern and do not update when new code is pushed.
Root Cause: The 280µs reset pulse is being truncated, often due to a watchdog timer reset or an interrupt service routine (ISR) hijacking the CPU right as strip.show() completes.
Fix: If using an AVR, ensure no heavy ISRs (like timer-based motor control) are starving the main loop. If using an ESP32, ensure you are not triggering a core panic via stack overflow in a FreeRTOS task handling the LED updates.
Summary
Mastering the Arduino NeoPixel library requires looking past the simple setPixelColor() API and understanding the 800kHz NZR communication layer. By respecting the strict timing requirements, utilizing proper 74AHCT125 level shifting, managing SRAM buffers, and leveraging DMA-capable microcontrollers like the ESP32 for complex projects, you can build robust, flicker-free lighting arrays that operate flawlessly in demanding environments.