
Introduction to the Arduino MKR WiFi 1010
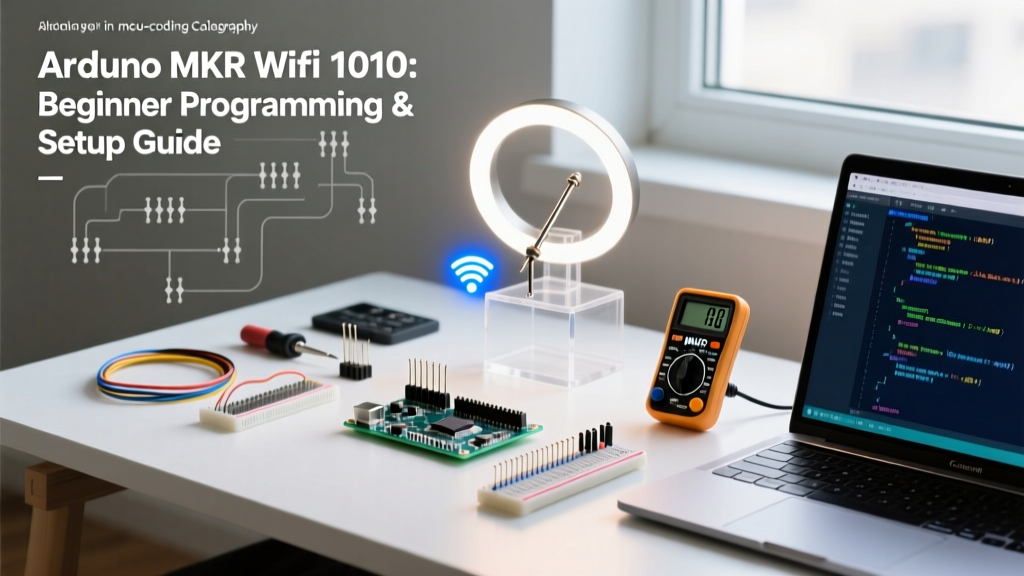
The transition from classic 8-bit boards to 32-bit IoT-ready microcontrollers is a major milestone for any maker. The Arduino MKR WiFi 1010 is specifically engineered to bridge the gap between beginner-friendly programming and professional-grade IoT deployment. Priced at approximately $48.00 in 2026, it packs a Microchip SAMD21 Cortex-M0+ processor, a u-blox NINA-W102 WiFi/Bluetooth module, and a dedicated ATECC608A cryptographic secure element into a remarkably compact footprint.
However, the MKR series operates under different hardware rules than the ubiquitous Arduino Uno. This guide will walk you through the essential programming setup, safe wiring practices, and your first WiFi connection script, ensuring you avoid the most common pitfalls that destroy boards on day one.
⚠️ CRITICAL HARDWARE WARNING: The MKR WiFi 1010 operates strictly at 3.3V logic. Applying 5V to any digital I/O pin will instantly and permanently destroy the SAMD21 microcontroller. Furthermore, unlike the Uno, the VIN pin on the MKR series accepts a maximum of 5V. Do not feed it 7-12V, or you will fry the onboard voltage regulator.Hardware Architecture & Specs Comparison
Understanding the silicon under the hood is vital for optimizing your code. The MKR WiFi 1010 is essentially three distinct chips working in tandem: the main MCU, the network coprocessor, and the crypto chip.
| Feature | Arduino Uno R4 WiFi | Arduino MKR WiFi 1010 |
|---|---|---|
| Main Microcontroller | Renesas RA4M1 (Arm Cortex-M4) | Microchip SAMD21 (Cortex-M0+) |
| Clock Speed | 48 MHz | 48 MHz |
| Operating Voltage | 5V (Tolerant I/O) | 3.3V (Strict) |
| Connectivity Module | ESP32-S3 | u-blox NINA-W102 (ESP32-based) |
| Secure Element | None | ATECC608A Crypto Chip |
| Battery Connector | None | JST-PH 2.0mm (3.7V LiPo) |
For a deeper dive into the module specifications, refer to the u-blox NINA-W10 series documentation, which details the RF performance and Bluetooth LE capabilities integrated into the board.
Setting Up the Arduino IDE (2026 Workflow)
To program the SAMD21 chip, you need the correct core installed in Arduino IDE 2.3 or newer.
- Open the IDE and navigate to Tools > Board > Boards Manager.
- Search for
Arduino SAMD (32-bits ARM Cortex-M0+) Boardsand install the latest version. - Connect your MKR WiFi 1010 via a data-capable Micro-USB cable (charge-only cables are a frequent source of "board not found" errors).
- Select Tools > Board > Arduino SAMD (32-bits ARM Cortex-M0+) > Arduino MKR WiFi 1010.
The Hidden Step: Updating the NINA Firmware
The most common reason beginners fail to connect to WiFi or establish secure TLS handshakes is outdated firmware on the NINA-W102 coprocessor. The SAMD21 acts as a pass-through to update the ESP32-based network module.
- Go to File > Examples > WiFiNINA > Tools > CheckFirmwareVersion.
- Upload the sketch and open the Serial Monitor at 9600 baud.
- If the firmware is outdated, navigate to File > Examples > WiFiNINA > Tools > FirmwareUpdater.
- Upload the updater sketch, then open the IDE's built-in WiFi101 / WiFiNINA Firmware Updater tool (found under Tools > WiFi101 / WiFiNINA Firmware Updater) to flash the latest binary.
Your First Program: Secure WiFi Connection
Below is a robust, production-ready skeleton for connecting to a WPA2 network. Unlike basic tutorials, this includes timeout handling and firmware verification to prevent silent failures in IoT deployments.
#include <SPI.h>
#include <WiFiNINA.h>
#include <arduino_secrets.h>

// Use the Secret Tab in Arduino IDE to define these
char ssid[] = SECRET_SSID;
char pass[] = SECRET_PASS;
int status = WL_IDLE_STATUS;

void setup() {
  Serial.begin(9600);
  while (!Serial) { delay(10); } // Wait for serial port (Native USB)

  // Verify the NINA module is present
  if (WiFi.status() == WL_NO_MODULE) {
    Serial.println("Communication with WiFi module failed!");
    while (true); // Halt execution
  }

  // Check firmware version
  String fv = WiFi.firmwareVersion();
  String latestFv = "1.5.0"; // Verify against current 2026 release
  if (fv < latestFv) {
    Serial.println("WARNING: Please upgrade the WiFiNINA firmware.");
  }

  // Attempt connection with timeout
  Serial.print("Attempting to connect to SSID: ");
  Serial.println(ssid);

  unsigned long startTime = millis();
  while (status != WL_CONNECTED) {
    status = WiFi.begin(ssid, pass);
    if (millis() - startTime > 15000) {
      Serial.println("Connection Timeout. Resetting...");
      NVIC_SystemReset(); // Hardware reset via Cortex-M0+ register
    }
    delay(2000);
  }

  Serial.print("Connected! IP Address: ");
  Serial.println(WiFi.localIP());
}

void loop() {
  // Maintain connection and monitor RSSI
  if (WiFi.status() != WL_CONNECTED) {
    Serial.println("Connection lost. Reconnecting...");
    WiFi.end();
    status = WiFi.begin(ssid, pass);
  }
  delay(10000);
}
Expert Tip: Notice the use of NVIC_SystemReset(). The SAMD21 is an ARM Cortex device. Using standard software resets can sometimes leave the USB stack in a hung state during rapid WiFi failures. Calling the ARM Nested Vectored Interrupt Controller (NVIC) reset register ensures a clean hardware reboot.
Wiring Edge Cases & Power Management
When moving from code to physical prototyping, the MKR WiFi 1010 demands strict adherence to its power envelope.
The 3.3V Logic Level Problem
Most beginner sensor kits (like the ubiquitous HC-SR04 ultrasonic sensor or standard 16x2 I2C LCDs) operate at 5V. Connecting their data pins directly to the MKR's 3.3V GPIOs will backfeed voltage into the SAMD21, causing thermal shutdown or silicon death. You must use a bidirectional logic level shifter, such as the TXS0108E or BSS138 MOSFET-based shifters, to safely bridge 5V sensors to the MKR. For a comprehensive guide on voltage translation, review SparkFun's Logic Levels tutorial.
Powering the Board Safely
- USB Power: The safest method. The board draws up to 500mA from a standard USB port, which is sufficient to power the SAMD21, the NINA module during WiFi transmission spikes, and a few basic 3.3V sensors.
- VIN Pin: Strictly limited to 4.5V - 5.5V. Do not use a 9V battery or a 12V wall adapter here.
- Battery Connector: The onboard JST-PH 2.0mm connector is wired directly to the MCP73831 LiPo charging IC. It expects a standard 3.7V LiPo battery. The board features an automatic power-multiplexing circuit that seamlessly switches between USB and battery power without interrupting the MCU.
Leveraging the ATECC608A for Arduino IoT Cloud
One of the most powerful features of the MKR WiFi 1010 is the onboard Microchip ATECC608A cryptographic coprocessor. In standard IoT setups, WiFi passwords and TLS certificates are stored in plain text within the microcontroller's flash memory, making them vulnerable to extraction via SPIFFS dumps.
When you connect the MKR WiFi 1010 to the Arduino IoT Cloud, the ATECC608A generates and stores the private key internally. The key never leaves the secure element. During the TLS handshake with AWS or Arduino servers, the cryptographic math is performed inside the secure chip, ensuring that even if your device is physically stolen, your cloud credentials cannot be cloned.
Frequently Asked Questions (FAQ)
Why does my MKR WiFi 1010 show up as an "Unknown Device" in Windows?
The SAMD21 uses a native USB stack, meaning the USB controller is built into the MCU itself, rather than relying on a secondary bridge chip like the ATmega16U2 on the Uno. If the board crashes or enters a bad state, it may fail to enumerate. The Fix: Double-tap the reset button quickly. This forces the SAMD21 into its ROM bootloader mode, which will appear as a new COM port, allowing you to re-upload a known-good sketch.
Can I use the MKR WiFi 1010 to host a local web server?
Yes, the WiFiNINA library supports creating a TCP server. However, the NINA-W102 module has limited RAM allocated for socket buffers. It is highly recommended to use the board as a client (MQTT/HTTP POST) pushing data to a cloud broker rather than hosting heavy HTML pages locally, which can cause the ESP32 coprocessor to run out of memory and drop connections.
How do I put the board into deep sleep for battery operation?
To maximize the lifespan of a 3.7V LiPo battery, you must utilize the SAMD21's Standby sleep mode and power down the NINA module. Use the ArduinoLowPower library to put the MCU to sleep, and call WiFi.end() followed by WiFi.lowPowerMode() to shut off the RF module. A properly optimized MKR WiFi 1010 waking up once per hour to send an MQTT payload can run for months on a 2000mAh LiPo cell.