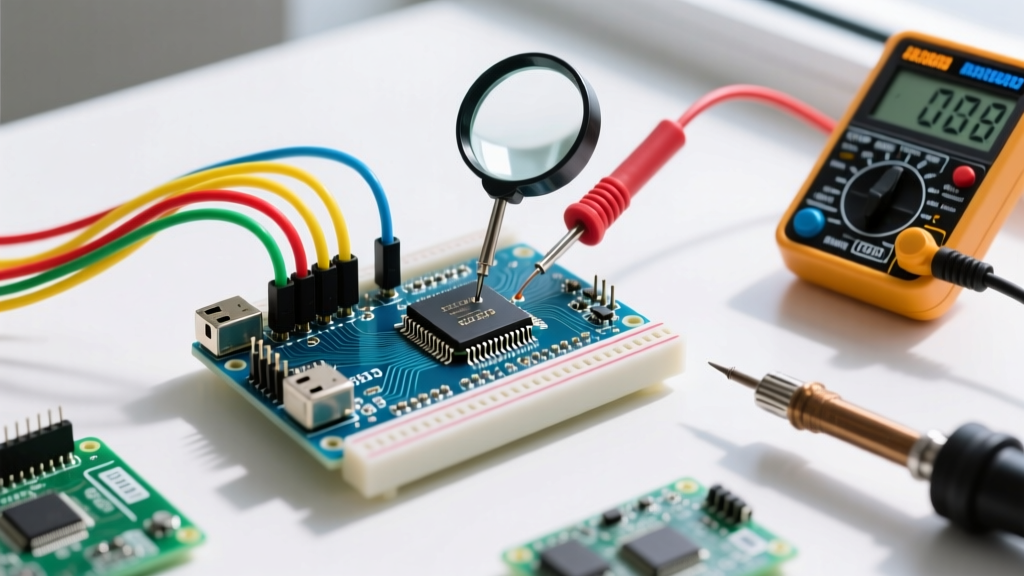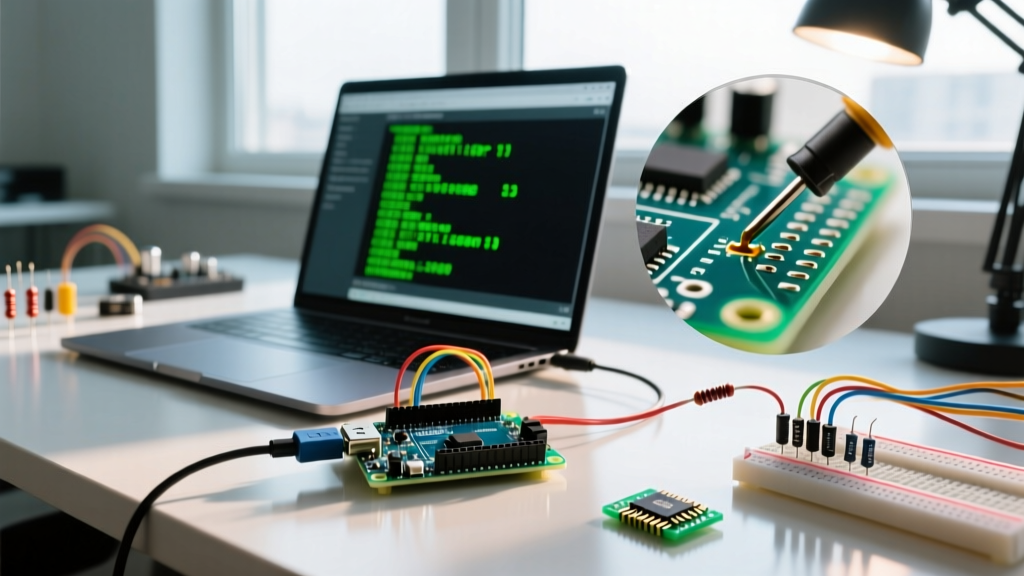

The Core of MCU Debugging and Telemetry
When developing embedded systems, visibility into your microcontroller's internal state is non-negotiable. The serial monitor in Arduino remains the most critical tool in a developer's arsenal for real-time debugging, sensor telemetry, and bidirectional communication. While modern IDEs have introduced sophisticated hardware debuggers (JTAG/SWD), UART-based serial communication remains the universal baseline for 99% of prototyping and production diagnostic workflows.
In this comprehensive setup guide, we will move beyond basic Serial.println("Hello World") tutorials. We will explore the architectural nuances of the Arduino IDE 2.3.x serial interface, optimize baud rates for specific clock speeds, handle buffer overflows, and implement robust parsing techniques for bidirectional control.
Hardware and Software Prerequisites (2026 Landscape)
Before diving into configuration, ensure your development environment reflects current standards. The transition from the legacy 1.8.x IDE to the modern 2.x branch has fundamentally changed how serial ports are managed.
- IDE Version: Arduino IDE 2.3.x or newer. The modern IDE features a dockable, multi-tabbed serial monitor that supports simultaneous connections to multiple boards.
- Target Hardware: This guide applies universally, but specific buffer management techniques will reference the Arduino Uno R4 Minima (Renesas RA4M1 core, 32-bit ARM Cortex-M4) and the Arduino Nano ESP32 (Dual-core Xtensa LX6). Standard AVR boards (Uno R3) are also covered regarding legacy limitations.
- Drivers: If using third-party clones based on the CH340 or CP2102 USB-to-UART bridges, ensure you have the latest signed WHQL drivers installed to prevent port-locking issues on Windows 11.
Step-by-Step Serial Monitor Configuration
Initializing the serial interface requires matching the firmware configuration with the IDE's graphical interface. A mismatch here is the number one cause of 'garbage text' output.
1. Firmware Initialization
In your setup() function, initialize the hardware UART. While 9600 baud was the historical standard, modern 32-bit MCUs and high-speed data logging demand faster rates.
void setup() {
  // Initialize at 115200 for standard debugging
  Serial.begin(115200);

  // Wait for serial port to connect (crucial for native USB boards like Leonardo/ESP32)
  while (!Serial) {
    delay(10);
  }
  Serial.println("System Initialized.");
}
2. IDE Interface Setup
Open the serial monitor using the shortcut Ctrl+Shift+M (Windows/Linux) or Cmd+Shift+M (macOS). In the top right corner of the monitor panel, ensure the baud rate dropdown exactly matches your Serial.begin() parameter.
millis() into your debug strings.
Baud Rate Matrix: Choosing the Right Speed
Selecting a baud rate is not arbitrary. On 16 MHz AVR microcontrollers, the hardware UART calculates bit timing using a prescaler. Certain baud rates introduce fractional errors that can cause bit-flipping over long wire runs. Below is a technical breakdown of standard rates and their error margins on a 16 MHz clock.
| Baud Rate | Error Margin (16MHz) | Ideal Use Case |
|---|---|---|
| 9600 | 0.2% | Legacy sensors, long RS-485 wire runs |
| 57600 | 1.4% | GPS Modules (NMEA 0183 standard) |
| 115200 | 2.1% | Standard IDE debugging, short USB cables |
| 250000 | 0.0% | High-speed SD card data logging, OSC telemetry |
| 500000 | 0.0% | 3D Printer firmware (Marlin/Klipper) |
For deeper insights into UART timing and prescaler mathematics, refer to the SparkFun Serial Communication Tutorial, which provides excellent oscilloscope captures of bit-level timing.
Line Endings and Bidirectional Data Parsing
The serial monitor in Arduino features a dropdown menu next to the input text box for 'Line Ending' configuration. This dictates what invisible characters are appended when you press 'Enter'. Misunderstanding this is the root cause of most failed MCU command parsing.
- No line ending: Sends exactly what you typed. (e.g.,
START) - Newline (NL): Appends
\n(ASCII 10). (e.g.,START\n) - Carriage return (CR): Appends
\r(ASCII 13). (e.g.,START\r) - Both NL & CR: Appends
\r\n. Standard for HTTP and many legacy protocols.
Robust Parsing Implementation
Never use Serial.readString() in production firmware; it relies on a default 1000ms timeout that will block your main loop and cause system watchdog resets. Instead, use non-blocking character accumulation or readStringUntil() with a defined terminator.
String command;

void loop() {
  // Set IDE Line Ending to 'Newline'
  if (Serial.available() > 0) {
    command = Serial.readStringUntil('\n');
    command.trim(); // Removes stray \r or whitespace

    if (command == "LED_ON") {
      digitalWrite(LED_BUILTIN, HIGH);
      Serial.println("ACK: LED Activated");
    }
  }
}
Advanced Debugging: Formatted Logging and Buffer Management
As projects scale, concatenating strings with Serial.print() becomes memory-inefficient and cluttered. Modern Arduino cores (specifically ESP32, RP2040, and SAMD) support Serial.printf(), allowing C-style formatted logging.
float temperature = 24.567;
int rpm = 3420;
// Outputs: [SENSOR] Temp: 24.57 C | RPM: 3420
Serial.printf("[SENSOR] Temp: %.2f C | RPM: %d\n", temperature, rpm);
Note: Standard AVR boards (Uno R3) do not natively support Serial.printf() to save flash space. AVR developers must use snprintf() into a char array before printing.
Preventing Buffer Overflows
The hardware UART relies on a Ring Buffer in SRAM. On an ATmega328P, this RX buffer is strictly 64 bytes. If your MCU is busy executing a blocking delay or heavy computation and fails to call Serial.read(), incoming bytes will be silently dropped once the 64-byte limit is reached.
For 32-bit boards like the Nano ESP32, you can dynamically resize this buffer in your setup routine to handle burst data from external modules:
void setup() {
  Serial.begin(115200);
  Serial.setRxBufferSize(512); // Expand ESP32 RX buffer to 512 bytes
}
Troubleshooting Common Edge Cases
Even experienced engineers encounter serial communication anomalies. Here is how to diagnose the most frequent hardware and software conflicts.
1. The Auto-Reset DTR Glitch
Symptom: Every time you open the serial monitor, the Arduino reboots, losing your current state variables.
Cause: The IDE toggles the DTR (Data Terminal Ready) control line to intentionally trigger the auto-reset circuit (a 0.1µF capacitor tied to the RESET pin) for seamless uploading.
Fix: In Arduino IDE 2.x, click the three-dot menu in the Serial Monitor tab and uncheck 'Auto-reset'. Alternatively, for AVR boards, place a 10µF electrolytic capacitor between the RESET and GND pins to physically block the DTR pulse.
2. Garbage Characters on Native USB Boards
Symptom: Output looks like random symbols (e.g., ÿÿÿ).
Cause: Boards with native USB (Leonardo, Micro, ESP32-S3) do not have a dedicated hardware UART tied to the USB port. The USB CDC (Communication Device Class) is initialized in software. If the MCU sends data before the host PC has fully enumerated the USB port and opened the COM port, the data is corrupted or lost.
Fix: Always use the while(!Serial); blocking loop immediately after Serial.begin() on native USB architectures.
3. Port Locked / Access Denied
Symptom: 'Port busy' or 'Access Denied' error when opening the monitor.
Cause: Another process is holding the COM port handle. This is frequently caused by background slicing software (like Cura or PrusaSlicer) polling ports for 3D printers, or a previous instance of the IDE failing to release the port upon crash.
Fix: Close all 3D printing software. On Windows, use Device Manager to disable and re-enable the COM port. On Linux/macOS, use lsof | grep /dev/ttyUSB0 to find and kill the zombie process.
Frequently Asked Questions
Can I use the Serial Monitor and Serial Plotter simultaneously?
In Arduino IDE 2.x, you cannot view both the text monitor and the graphical plotter on the exact same COM port at the exact same millisecond, as the IDE claims exclusive access to the serial stream. However, you can rapidly toggle between the tabs. For true simultaneous viewing, output your data in CSV format and use third-party telemetry software like SerialPlot or Telemetry Viewer.
Why does my ESP32 print boot ROM garbage on startup?
The ESP32 ROM bootloader prints hardware diagnostic data at 115200 baud immediately upon power-on, before your user code executes. If your serial monitor is set to 9600 baud, this boot log will appear as garbage text. Always keep your monitor at 115200 for ESP32 development. For more details on ESP32 boot logs, consult the Arduino IDE Documentation.
Is there a way to log serial data to a file automatically?
Yes. While the standard IDE requires manual copy-pasting, you can use the Official Arduino Serial Reference to explore CLI tools. Using the Arduino CLI or Python's pyserial library, you can pipe the serial output directly into a timestamped .csv file for post-processing in MATLAB or Excel.
Final Expert Insight: Treat the serial monitor not just as a debugging window, but as a formal API. By structuring your serial outputs in JSON or strict CSV formats from day one, you future-proof your project for seamless integration with Node-RED, Python dashboards, and cloud IoT gateways.