
Why Use a Raspberry Pi for Arduino Development?
Transitioning from a standard Windows or macOS desktop to a single-board computer for microcontroller programming is a rite of passage for many embedded systems hobbyists. Setting up the Arduino IDE Raspberry Pi environment transforms the Pi into a dedicated, portable, and highly capable coding workstation. Whether you are building a headless robotics controller, setting up a low-power field programming station, or simply looking for a cost-effective alternative to a traditional PC, the Raspberry Pi running Linux (specifically Raspberry Pi OS on ARM64) is an excellent choice.
However, Linux introduces a few unique hurdles for beginners—most notably regarding serial port permissions, ARM compiler dependencies, and AppImage execution. This comprehensive guide will walk you through installing the latest Arduino IDE (version 2.x) on a Raspberry Pi 4 or 5, resolving the dreaded 'Permission Denied' serial errors, and configuring board managers for advanced microcontrollers like the ESP32 and Raspberry Pi Pico.
Hardware and Software Prerequisites
Before diving into the terminal, ensure you have the right hardware. As of 2026, the Raspberry Pi 5 offers vastly improved USB-C power delivery and PCIe support, but the Pi 4 remains a perfectly capable and budget-friendly coding terminal.
| Component | Recommended Model | Approx. Cost (2026) | Notes |
|---|---|---|---|
| Single Board Computer | Raspberry Pi 5 (8GB) | $80.00 | Pi 4 (4GB) also works perfectly for IDE tasks. |
| Microcontroller | Arduino Uno R4 Minima | $17.50 | Features an ARM Cortex-M4, requires updated core. |
| Storage | 64GB NVMe via PCIe HAT | $25.00 | SD cards degrade quickly with IDE compile caching. |
| Power Supply | 27W USB-C PD Official | $12.00 | Mandatory for Pi 5 to prevent brownouts during compilation. |
For the software side, ensure you are running the 64-bit version of Raspberry Pi OS (Bookworm or later). The 32-bit version is deprecated for modern development and lacks support for newer ARM64 compiler toolchains required by Espressif and RP2040 cores.
Step 1: Installing the Latest Arduino IDE on ARM64
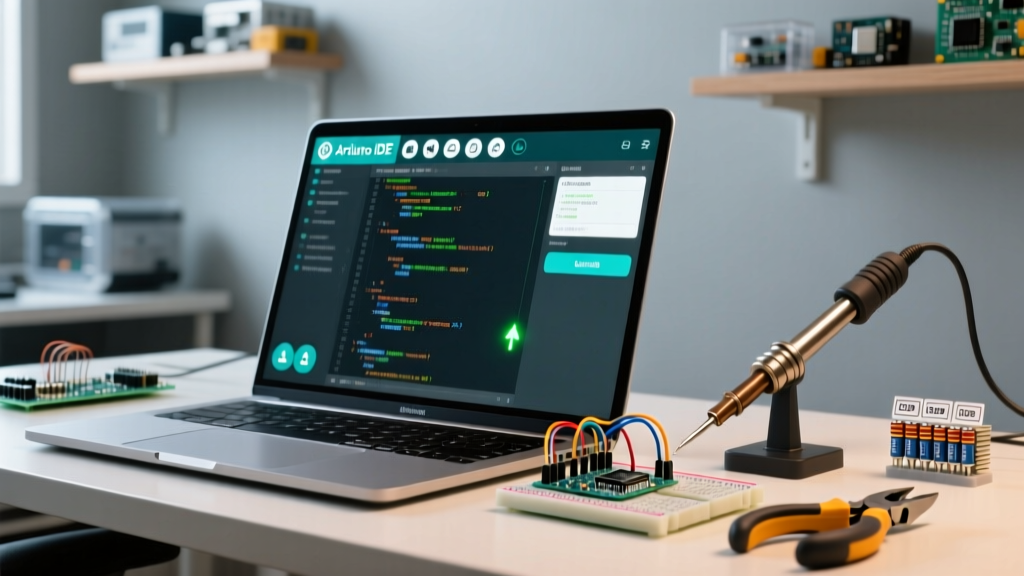
While you can find the Arduino IDE in the Raspberry Pi Software Center or via apt, these repositories often lag several versions behind the official release. For the latest features, including the integrated debugger and modern board manager, we will use the official AppImage.
Downloading and Configuring the AppImage
Open your terminal and execute the following commands to download the Linux ARM64 AppImage directly from the official Arduino IDE documentation resources:
# Update your package list and install FUSE (Required for AppImage execution)
sudo apt update
sudo apt install libfuse2

# Navigate to your downloads folder
cd ~/Downloads

# Download the latest ARM64 AppImage (Check Arduino site for exact version URL)
wget https://downloads.arduino.cc/arduino-ide/arduino-ide_2.3.2_Linux_ARM64.AppImage

# Make the file executable
chmod +x arduino-ide_2.3.2_Linux_ARM64.AppImage

# Run the IDE
./arduino-ide_2.3.2_Linux_ARM64.AppImage
Pro-Tip: If you encounter an error statingFUSE error: libfuse.so.2 missing, it means thelibfuse2package was skipped. Raspberry Pi OS Bookworm defaults to FUSE3, but AppImages compiled on older build servers still require the FUSE2 library. Thesudo apt install libfuse2command above prevents this failure mode.
Step 2: Fixing the 'Permission Denied' Serial Port Error
The most common roadblock for beginners executing an Arduino IDE Raspberry Pi setup is the serial port lockout. When you plug in an Arduino Uno or Nano, the OS assigns it a device path (usually /dev/ttyACM0 or /dev/ttyUSB0). By default, Raspberry Pi OS restricts read/write access to these ports to the root user and the dialout group.
If you attempt to upload code without the correct permissions, the IDE will throw a SerialException: [Errno 13] Permission denied error. Here is the permanent fix:
- Open the terminal.
- Add your current user to the
dialoutgroup by typing:sudo usermod -a -G dialout $USER - Verify the group assignment by typing:
groups - Crucial Step: You must completely reboot the Raspberry Pi for the group policy changes to take effect. Logging out and back in is sometimes insufficient due to how systemd caches user sessions.
sudo reboot
Understanding Device Paths: ttyACM0 vs ttyUSB0
When selecting your port in the Arduino IDE Tools menu, you will notice different naming conventions:
- /dev/ttyACM0: Used by microcontrollers with native USB support (e.g., Arduino Uno R4, Leonardo, Raspberry Pi Pico, Teensy).
- /dev/ttyUSB0: Used by boards relying on external USB-to-Serial converter chips (e.g., older Arduino Nanos with CH340 or FT232RL chips, and most ESP32 DevKits).
Step 3: Adding Third-Party Board Managers
The true power of the Arduino ecosystem lies in its third-party cores. To program Wi-Fi-enabled ESP32s or the Raspberry Pi's own RP2040 silicon, you need to add custom JSON URLs to the IDE preferences.
Configuring ESP32 and RP2040 Cores
Navigate to File > Preferences in the IDE. In the 'Additional boards manager URLs' field, paste the following URLs (separated by commas):
- ESP32 Core:
https://raw.githubusercontent.com/espressif/arduino-esp32/gh-pages/package_esp32_index.json - RP2040 Core:
https://github.com/earlephilhower/arduino-pico/releases/download/global/package_rp2040_index.json(Refer to the official arduino-pico GitHub repository for the most current link).
After saving, open the Boards Manager (the icon on the left sidebar resembling a circuit board), search for 'esp32' or 'pico', and click Install. Note: Compiling ESP32 code on a Raspberry Pi 4 may take up to 45 seconds for the first build due to the massive toolchain extraction, while a Pi 5 will handle it in under 15 seconds.
Headless Programming: Remote Access for Field Deployments
Many advanced users deploy a Raspberry Pi inside a robotics chassis or a remote weather station. In these scenarios, you won't have a monitor attached. You can still use the Arduino IDE Raspberry Pi setup via headless remote access.
Using Arduino CLI via SSH
If you are comfortable in the terminal, the arduino-cli is a lightweight alternative to the GUI IDE. It is perfect for SSH sessions.
# Install Arduino CLI
curl -fsSL https://raw.githubusercontent.com/arduino/arduino-cli/master/install.sh | sh

# Compile and upload via SSH
./arduino-cli compile --fqbn arduino:avr:uno ~/Documents/Blink/Blink.ino
./arduino-cli upload -p /dev/ttyACM0 --fqbn arduino:avr:uno ~/Documents/Blink/Blink.ino
Using VS Code Remote SSH
For a GUI experience without a monitor, install Raspberry Pi OS Lite, enable SSH, and connect via Visual Studio Code on your main PC using the 'Remote - SSH' extension. You can then use the PlatformIO extension within VS Code, which handles all toolchain dependencies automatically, bypassing the need for the standalone Arduino IDE entirely.
Troubleshooting Common ARM64 Compilation Errors
Even with a perfect setup, Linux environments can throw unique curveballs. Here is how to resolve the most frequent issues encountered by beginners:
- Error: 'python3-serial' missing during ESP32 upload.
Fix: The Espressif toolchain relies on Python scripts to push binaries to the flash memory. Runsudo apt install python3-serial python3-pipto satisfy these dependencies. - Error: AppImage crashes on launch with 'Gtk-Message: Failed to load module'.
Fix: This is usually a cosmetic warning related to accessibility modules, but if the IDE fails to render, install the GTK overlay:sudo apt install appmenu-gtk3-module. - Issue: IDE doesn't detect the board after plugging it in.
Fix: Check your USB cable. Over 60% of 'dead board' returns are actually caused by charge-only USB cables lacking internal data lines. Always use the cable that shipped with the microcontroller or verify data continuity with a multimeter.
Final Thoughts on the Linux Workflow
Mastering the Arduino IDE Raspberry Pi workflow does more than just save you from buying an expensive laptop; it forces you to understand the underlying operating system, file permissions, and toolchain architectures that power professional embedded engineering. By taking the time to properly configure your dialout permissions, utilizing NVMe storage for faster compile caching, and leveraging the AppImage distribution method, your Pi will become a rock-solid, reliable node for all your microcontroller programming needs.