
The Architecture of Arduino VS Code Integration
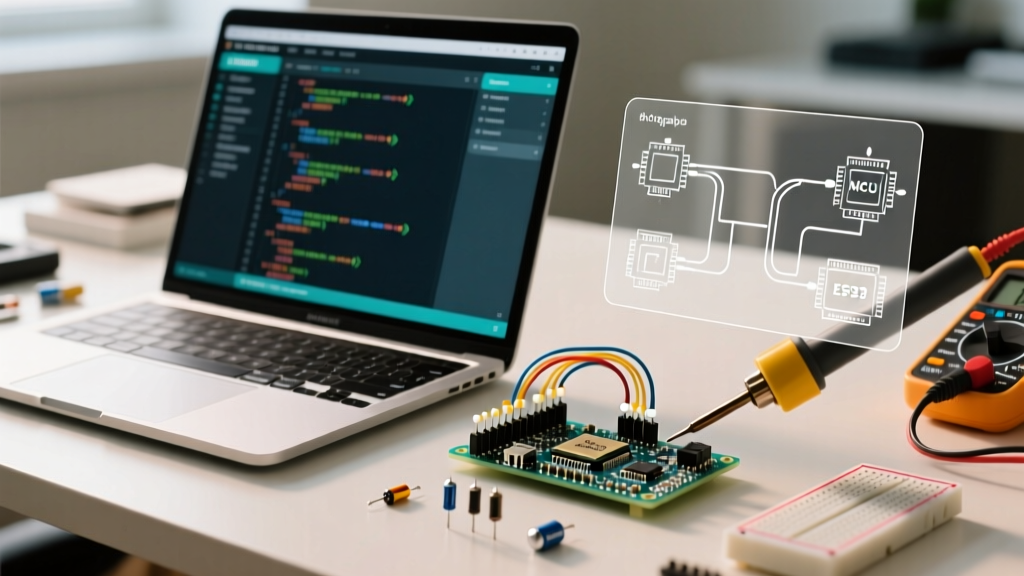
Transitioning from the traditional Arduino IDE to a professional environment like Visual Studio Code is a rite of passage for embedded engineers. While the Arduino IDE 2.x has improved significantly, it still abstracts away the critical underlying mechanisms of firmware deployment. When you configure an Arduino VS Code workspace—typically via the PlatformIO ecosystem or the official Arduino extension—you are no longer just clicking an "Upload" button. You are orchestrating a sequence of standardized communication and build protocols.
Understanding these protocols is not merely academic; it is the difference between spending five minutes fixing a bricked bootloader and spending five hours guessing why your serial port is locked. This guide deconstructs the build, upload, and debug protocols that bridge your VS Code editor to the silicon on your breadboard.
The Build Protocol: From C++ to Machine Code
Before any communication with the microcontroller can occur, your C++ code must be translated into a binary format the MCU understands. The Arduino framework relies on the gcc-avr (for 8-bit AVR chips) or gcc-arm-none-eabi (for 32-bit ARM/ESP32 chips) toolchains.
PlatformIO vs. The Official Arduino Extension
When setting up your Arduino VS Code environment, you have two primary paths, each handling the build protocol differently:
- The Official Arduino Extension: Acts as a GUI wrapper for the Arduino CLI. It reads a hidden
arduino.jsonfile to determine the board and port, then passes standard Arduino CLI commands to the background compiler. It is excellent for beginners but limits advanced linker script modifications. - PlatformIO: The industry standard for professional VS Code embedded development. PlatformIO uses a declarative
platformio.inifile. It isolates toolchains per project, ensuring that an update to your global AVR-GCC version doesn't suddenly break a legacy project's memory allocation.
In a PlatformIO workflow, the build protocol is governed by SCons (a software construction tool). When you trigger a build, SCons parses the platformio.ini file, resolves the board's specific linker scripts (.ld files), applies the correct MCU flags (e.g., -mmcu=atmega328p), and links the Arduino core libraries.
The Upload Protocol: Bootloader Handshakes
The most common point of failure in embedded development is the upload phase. The "Upload" button in VS Code does not magically push code into the chip; it initiates a highly specific serial or USB protocol handshake with the MCU's bootloader.
Expert Insight: The bootloader is a tiny piece of firmware residing in a protected section of the MCU's flash memory. Its sole job is to listen for a specific protocol handshake upon reset, and if detected, accept incoming binary payloads. If the handshake fails, it boots the user application.
Mapping MCUs to Upload Protocols
Different Arduino boards speak entirely different upload protocols. Configuring your platformio.ini with the wrong protocol will result in immediate timeout errors.
| Microcontroller Board | Bootloader | Upload Protocol | Physical Interface | PlatformIO Config (upload_protocol) |
|---|---|---|---|---|
| Arduino Uno R3 / Nano | Optiboot | STK500v1 | UART (via USB-Serial IC) | arduino |
| Arduino Leonardo / Micro | Caterina | AVR109 | Native USB CDC | avr109 |
| Arduino Mega 2560 | STK500v2 | STK500v2 | UART (via USB-Serial IC) | wiring |
| Arduino Uno R4 Minima | DFU / CMSIS-DAP | DFU / SWD | Native USB | dfu or cmsis-dap |
| Arduino Nano ESP32 | ROM Bootloader | UART / USB-JTAG | Native USB / esptool | esptool |
The DTR/RTS Handshake Mechanism
For boards using UART bootloaders (like the Uno R3), the VS Code terminal must trigger a hardware reset to enter the bootloader. This is achieved using the DTR (Data Terminal Ready) and RTS (Request to Send) RS-232 control lines. The USB-to-Serial chip (like the ATmega16U2 or CH340) pulses the DTR line, which is routed through a 100nF capacitor to the MCU's RESET pin. This brief low-pulse resets the chip, giving the bootloader exactly 500 milliseconds to listen for the STK500v1 synchronization bytes from AVRDUDE.
The Debug Protocol: Bypassing the Bootloader via SWD
While the Arduino IDE relies heavily on Serial.println() for debugging, a true Arduino VS Code setup unlocks hardware-level debugging via the Serial Wire Debug (SWD) protocol. SWD is an ARM-standardized, two-pin debug interface that allows you to set breakpoints, inspect registers, and step through C++ code in real-time without halting the MCU's peripheral clocks.
Hardware Requirements and Costs
To utilize SWD debugging in VS Code (via the Cortex-Debug extension), you need a debug probe that translates USB commands into SWD clock/data signals.
- Generic DAPLink v2.1 Probes: Costing between $12 and $18, these are excellent for basic SWD debugging on ARM-based Arduinos (like the Portenta H7 or Uno R4).
- Segger J-Link EDU Mini: Priced around $59.99, this is the gold standard for academic and hobbyist debugging. It supports SWD, JTAG, and offers flash breakpoints that do not consume the MCU's limited hardware breakpoint registers.
To configure SWD in PlatformIO, your platformio.ini must specify the debug tool:
[env:portenta_h7_m7]
platform = ststm32
board = portenta_h7_m7
framework = arduino
debug_tool = jlink
upload_protocol = jlink
Serial Communication and Telemetry Protocols
Once the firmware is deployed, your Arduino VS Code workspace transitions to the monitoring phase. The built-in VS Code Serial Monitor communicates via standard UART framing (Start bit, 8 data bits, No parity, 1 Stop bit). However, for high-speed telemetry, raw ASCII strings are inefficient and prone to framing errors.
Advanced engineers use binary framing protocols over the VS Code serial port:
- COBS (Consistent Overhead Byte Stuffing): Eliminates the need for escape characters by encoding data such that the zero-byte (
0x00) only appears as a packet delimiter. This is ideal for high-frequency sensor data. - SLIP (Serial Line Internet Protocol): Uses special END characters (
0xC0) to frame packets, widely used in ESP32 Arduino environments for Wi-Fi stack logging.
Troubleshooting Protocol Failures
When the underlying protocols break down, VS Code will throw cryptic errors. Here is how to diagnose the most common failure modes based on protocol mechanics.
Failure Mode 1: The STK500 Timeout
Error: avrdude: stk500_recv(): programmer is not responding
Root Cause: The DTR/RTS handshake failed to reset the MCU, or the bootloader is corrupted. If you are using a cheap Arduino Nano clone with a CH340 chip, the board may lack the 100nF capacitor on the DTR line, meaning VS Code cannot trigger the hardware reset.
Solution: Manually press the physical RESET button on the board exactly when the VS Code terminal outputs "Uploading...". For a permanent fix, solder a 100nF ceramic capacitor between the DTR pin of the USB-Serial IC and the RESET pin of the ATmega328P.
Failure Mode 2: Linux Port Locking
Error: Failed to open serial port /dev/ttyACM0
Root Cause: On Linux distributions, the ModemManager service aggressively probes newly connected serial devices to see if they are cellular modems. This locks the port, preventing the AVR109 or STK500 protocol from initializing.
Solution: Disable the service via terminal: sudo systemctl stop ModemManager and sudo systemctl disable ModemManager. Alternatively, create a custom udev rule to ignore Arduino vendor IDs.
Failure Mode 3: ESP32 Stub Loader Crash
Error: A fatal error occurred: Failed to connect to ESP32: Timed out waiting for packet header
Root Cause: The ESP32's ROM bootloader requires GPIO0 to be pulled LOW and GPIO2 to be pulled HIGH (or floating) to enter the UART upload protocol. Some custom PCBs route GPIO2 to an onboard LED, pulling it low and preventing the upload handshake.
Solution: Ensure GPIO2 is not pulled low during the upload phase. In VS Code, you can add upload_flags = --before=default_reset --after=hard_reset to your platformio.ini to force the esptool to use the RTS/DTR lines to automatically toggle the boot pins.
Conclusion
Mastering the Arduino VS Code ecosystem requires looking past the graphical interface and understanding the protocols at play. By recognizing how SCons manages the build toolchain, how STK500 and AVR109 handle bootloader handshakes, and how SWD enables true hardware debugging, you transform from a script-writer into a capable embedded systems engineer. Properly configuring your platformio.ini to match these physical and logical protocols ensures robust, repeatable, and professional firmware deployments.