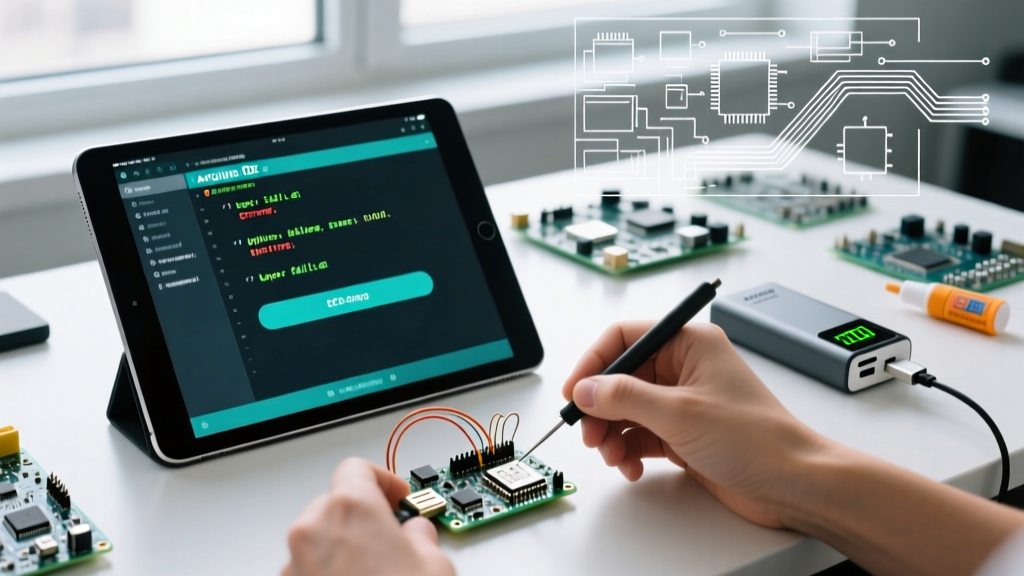

The Core Problem: Why the Native Arduino IDE Fails on iPadOS
If you have ever tried to search for an 'Arduino IDE iPad' app in the Apple App Store or attempted to sideload the desktop Electron-based Arduino IDE 2.x onto an M-series iPad, you have likely hit a wall. As of 2026, there is no native, official Arduino IDE application for iPadOS. The desktop IDE relies on local Java runtime environments, background serial daemons, and raw USB HID/Serial access—none of which Apple’s strict sandboxing architecture permits on mobile devices.
Consequently, makers attempting to use their iPad Pro or iPad Air as a portable coding station encounter a series of frustrating errors when using web-based alternatives or USB-C OTG adapters. Below is the definitive error-fix guide to bypassing Apple's walled garden, resolving hardware handshake failures, and successfully flashing microcontrollers directly from your iPad.
Error 1: 'Unsupported Accessory' via USB-C OTG
The Symptom: You plug your Arduino Uno R4 or Mega 2560 directly into your iPad’s USB-C port using a standard OTG adapter. The iPad displays a 'Cannot Use Accessory: This accessory requires too much power' notification, or the device simply fails to appear in any serial terminal app.
The Technical Cause: While the USB-C port on modern M2/M4 iPads can output up to 15W (5V/3A) to charge external devices, iPadOS strictly limits peripheral power draw for unauthenticated, non-MFi (Made for iPhone/iPad) devices to prevent unexpected battery drain. An Arduino Uno R3 with a few sensors attached can easily pull 150mA–300mA during compilation and reset spikes, triggering the iPad’s over-current protection circuit.
The Fix: Inject External Power via a Smart Hub
Do not rely on direct OTG cables. Instead, use a powered USB-C hub to handle the power negotiation.
- Recommended Hardware: Anker 341 USB-C Hub (7-in-1) or Satechi Type-C Aluminum Multi-Port Adapter (Approx. $25–$45 USD).
- Setup: Plug the hub into the iPad. Plug the hub’s USB-C PD (Power Delivery) pass-through port into a 30W+ wall charger. Finally, plug the Arduino into the hub’s USB-A port.
- Result: The hub’s internal power controller satisfies the iPad’s handshake requirements while supplying the necessary 500mA to the Arduino’s voltage regulator, eliminating the 'Unsupported Accessory' error.
Error 2: 'Web Serial API Not Supported' in Safari
The Symptom: You open the Arduino Web Editor in Safari on iPadOS, connect your powered Arduino, but the 'Select Board' dropdown remains empty. The browser console throws a TypeError: navigator.serial is undefined error.
The Technical Cause: Many outdated 2024-era tutorials claim you can use the Arduino Web Editor on an iPad via a USB cable. This is fundamentally false. The Web Editor relies on the Web Serial API to communicate with local COM ports. Apple’s WebKit engineering team has explicitly refused to implement the Web Serial API in Safari due to severe security concerns regarding malicious websites accessing raw serial ports to flash malicious firmware onto HID devices.
Expert Insight: Do not waste time trying to enable hidden Safari flags or downloading third-party 'Web Serial polyfill' extensions. The OS-level kernel restriction on iPadOS prevents browser tabs from polling the IOKit serial registry. You must abandon USB-serial browser flashing on iOS.
Error 3: Arduino Create Agent Installation Failure
The Symptom: The legacy Arduino Cloud interface prompts you to download the 'Arduino Create Agent' to bridge the browser to your USB port. The download either fails, or the .ipa/.exe file cannot be executed on iPadOS.
The Technical Cause: The Create Agent is a background daemon service (written in Go) that must run persistently at the OS level to intercept serial traffic. iPadOS does not allow users to install arbitrary background daemons or system extensions outside of the App Store sandbox.
The Fix: Pivot to OTA (Over-The-Air) Cloud Flashing
Since local USB bridging is blocked by Apple, you must utilize network-based flashing protocols. The Arduino IoT Cloud supports OTA compilation and deployment for WiFi-enabled boards.
- Supported Boards: ESP32 family, Arduino Nano RP2040 Connect, Arduino Portenta H7, and MKR WiFi 1010.
- Workflow: Write your C++ code in the Arduino Cloud Web Editor via Safari. Click 'Upload'. The code is compiled on Arduino’s AWS backend servers, and the resulting binary is pushed to your microcontroller via your local WiFi network using MQTT/TLS protocols.
- Advantage: Zero cables required. Bypasses all Apple USB restrictions.
Advanced Workaround: BLE DFU for Nano 33 BLE
If you must code offline and cannot use WiFi OTA, Bluetooth Low Energy (BLE) Device Firmware Update (DFU) is the only native iPadOS-compliant hardware bridge.
Required Gear & Software
- Board: Arduino Nano 33 BLE Sense Rev2 ($42 USD).
- App: nRF Connect for Mobile (Free on App Store) or a dedicated Swift-based BLE DFU app.
- Compiler: Use the
a-Shellapp (Free on App Store) which provides a local Unix-like terminal on iPadOS, complete with an ARM64clangcompiler and Python.
The BLE Flashing Procedure
- Compile your sketch into a
.binor.hexfile using a cloud CI/CD pipeline (like GitHub Actions triggered from your iPad). - Download the compiled binary to your iPad’s local 'Files' directory.
- Open nRF Connect, scan for the Nano 33 BLE’s DFU UUID (usually
00001530-1212-EFDE-1523-785FEABCD123). - Initiate the DFU process, select the local binary file, and push the firmware over the 2.4GHz BLE spectrum.
iPad Arduino Workaround Comparison Matrix
| Method | Hardware Required | Estimated Cost | Latency / Speed | iPadOS Compatibility |
|---|---|---|---|---|
| Arduino Cloud OTA | ESP32 / Nano RP2040 Connect | $10 - $22 | Fast (WiFi) | 100% (Safari) |
| Powered OTG + Serial App | Powered Hub + Serial Tools App | $30 (Hub) | Instant (Wired) | Read-Only / No Flashing |
| BLE DFU | Nano 33 BLE + nRF Connect | $42 | Slow (BLE bandwidth) | 100% (App Store) |
| UTM Virtual Machine | iPad M1+ + UTM App + Linux ISO | Free (Time intensive) | Extremely Slow (x86 Emulation) | Flawed (USB Passthrough bugs) |
Troubleshooting Safari Web Editor Compilation Timeouts
Even when using Arduino Cloud for OTA flashing, iPad users frequently report Safari crashing or throwing 'Compilation Timeout' errors when verifying large libraries (like TensorFlow Lite for Microcontrollers).
The Fix: iPadOS imposes strict memory limits on individual Safari tabs. When the Web Editor attempts to load the WebAssembly (Wasm) terminal emulator and syntax highlighter simultaneously, it triggers a JetSam memory termination. Actionable Step: Before opening the Arduino Web Editor, force-close all other background Safari tabs and disable 'Prevent Cross-Site Tracking' temporarily in Settings > Apps > Safari > Advanced. This reduces the background processing overhead of Safari’s privacy sandbox, freeing up approximately 150MB of RAM for the Web Editor’s Wasm compiler instance.
Summary: Embracing the iPad as a Thin Client
The dream of running the full, desktop-grade Arduino IDE locally on an iPad remains blocked by Apple's security architecture in 2026. However, by shifting your paradigm from local USB compilation to cloud-based OTA deployment and utilizing powered USB-C hubs for serial monitoring, the iPad transforms into an exceptionally capable, ultra-portable thin client for embedded systems engineering. Stop fighting the Web Serial API, leverage the ESP32's WiFi capabilities, and code from anywhere.