
The Reality of Bluetooth Serial Debugging in 2026
Integrating an Arduino with Bluetooth module hardware remains one of the most popular methods for adding wireless telemetry and remote control to DIY electronics projects. Whether you are building a Bluetooth-controlled rover or a wireless sensor node, modules like the HC-05 (Classic SPP) and HM-10 (BLE 4.0) are ubiquitous. However, the transition from a breadboard prototype to a functional wireless link is rarely seamless. Most makers encounter a specific set of communication bottlenecks: unresponsive AT command modes, garbage serial output, and OS-level pairing rejections.
This error-fix guide bypasses generic advice and dives deep into the electrical and programmatic failure modes of Bluetooth serial communication. We will cover exact voltage requirements, SoftwareSerial interrupt limitations, and power rail brownouts that silently reset your module mid-transmission.
Error 1: The 'AT Command Unresponsive' Dead End
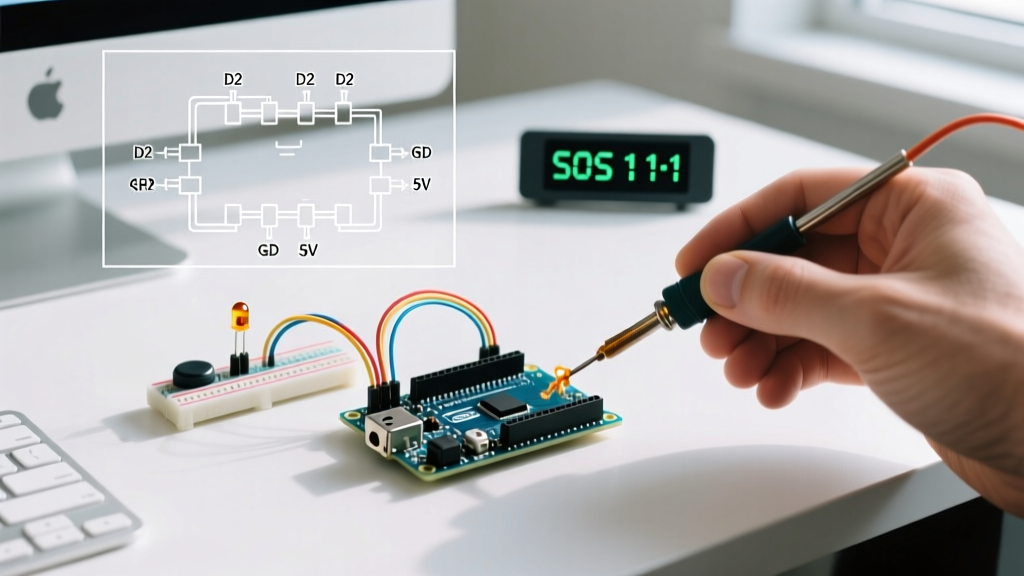
The most frequent roadblock when configuring an Arduino with Bluetooth module setups is failing to enter AT command mode on the HC-05. Users typically wire the module, upload a passthrough sketch, open the Serial Monitor, type AT, and receive nothing in return. This is almost always due to an incorrect boot sequence or missing logic HIGH on the EN (KEY) pin.
The HC-05 Boot Sequence Requirement
Unlike standard data mode, entering AT configuration mode on the HC-05 requires the EN pin (Pin 34 on the internal PCB) to be pulled HIGH (3.3V) before the module receives power on the VCC pin. If VCC is applied first, the module defaults to standard data mode at 9600 baud, ignoring all AT commands.
Expert Fix: Do not rely on an Arduino digital pin to pull the EN pin HIGH during the setup() function. The Arduino takes roughly 1.5 seconds to boot, by which time the HC-05 has already initialized in data mode. Instead, wire a physical momentary push-button between the EN pin and the 3.3V rail, or hardwire it to 3.3V via a 1kΩ resistor while configuring.
The 5V to 3.3V Logic Level Trap
The HC-05 operates at 3.3V logic. While its VCC pin can tolerate 5V (due to an onboard 3.3V LDO regulator), its RX pin is strictly 3.3V tolerant. Feeding a 5V TX signal from an Arduino Uno directly into the HC-05 RX pin will eventually degrade the module's internal silicon, leading to intermittent character drops or total failure.
- The Fix: Build a voltage divider for the Arduino TX to HC-05 RX line.
- Resistor R1: 1kΩ (between Arduino TX and HC-05 RX).
- Resistor R2: 2kΩ (between HC-05 RX and GND).
- Result: This steps the 5V logic down to a safe ~3.33V.
Error 2: Baud Rate Mismatches and Garbage Characters
If your Serial Monitor outputs unreadable symbols (e.g., ??¥¥??) or drops characters entirely, you are experiencing a baud rate mismatch or a SoftwareSerial buffer overflow. According to the Arduino SoftwareSerial Documentation, the library relies on pin-change interrupts, which become highly unreliable at higher speeds.
| Mode | Default Baud | SoftwareSerial Reliability | Required Action |
|---|---|---|---|
| Data Mode (Normal) | 9600 | Excellent (0% drop) | Use default for standard telemetry. |
| AT Command Mode | 38400 | Poor (Frequent drops on Uno) | Use Hardware Serial (pins 0/1) or Mega2560. |
| High-Speed Data | 115200 | Failed (Garbage output) | Switch to Hardware Serial or ESP32. |
Fixing the AT Mode Baud Rate
When the HC-05 enters AT mode, it defaults to 38400 baud. If your Serial Monitor is set to 9600, you will see garbage. Conversely, if you attempt to use SoftwareSerial at 38400 on an ATmega328P (Uno/Nano), the CPU overhead of handling software interrupts often results in missed bytes.
The Fix: Use an Arduino Mega (which has multiple hardware serial ports) for configuration, or upload an empty sketch to your Uno and use the built-in USB-to-Serial bridge (Pins 0 and 1) to communicate with the module directly via the Serial Monitor.
Error 3: iOS Pairing Rejection (The BLE vs Classic Trap)
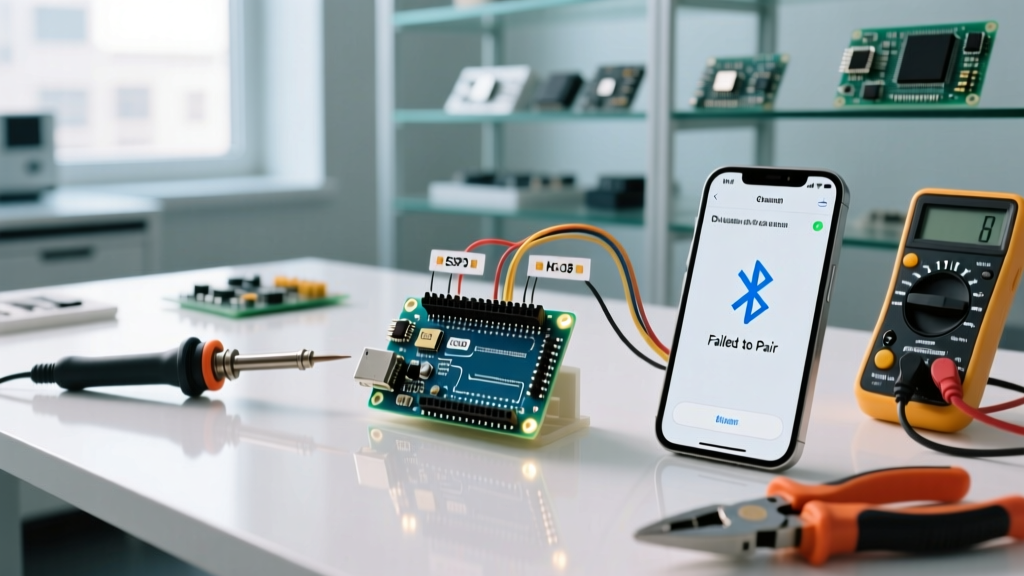
A massive source of confusion in 2026 remains the inability to pair an HC-05 module with an iPhone or iPad. Users assume their module is defective or their wiring is flawed. In reality, this is an OS-level restriction enforced by Apple.
The HC-05 utilizes Bluetooth Classic and communicates via the Serial Port Profile (SPP). Apple's iOS ecosystem strictly blocks third-party apps from accessing the SPP profile to maintain security and ecosystem control. Therefore, an HC-05 will never appear in the iOS Bluetooth settings menu, regardless of your code.
The HM-10 BLE Solution
To communicate with iOS devices, you must use a Bluetooth Low Energy (BLE) module, such as the HM-10, which is built on the Texas Instruments CC2541 BLE SoC. BLE bypasses the SPP restriction by using Generic Attribute Profile (GATT) services and characteristics. Cost Note: While HC-05 clones can be sourced for roughly $3.50 to $4.50 on global marketplaces, a genuine CC2541-based HM-10 module typically costs between $6.00 and $9.00. Ensure you are buying a module with a properly flashed firmware; many cheap clones ship with read-only AT firmware that prevents custom UUID configuration.
Error 4: Intermittent Drops Under Motor Load (Power Brownouts)
Your Arduino with Bluetooth module setup works perfectly on the desk, but the moment you integrate it into a robot chassis with DC motors, the Bluetooth connection drops, or the module enters an endless reboot loop. This is a classic power rail brownout.
During the initial inquiry and pairing phase, the HC-05 can draw current spikes up to 50mA. If you are powering the module directly from the Arduino's 5V pin, and the Arduino is simultaneously driving motor logic or servos, the cumulative current draw causes the voltage on the 5V rail to sag. If the voltage drops below the dropout threshold of the HC-05's internal LDO (roughly 3.6V input to maintain a 3.3V output), the module's microcontroller resets, dropping the serial link.
The Decoupling Capacitor Fix
- Add Bulk Capacitance: Solder a 100µF electrolytic capacitor directly across the VCC and GND pins of the Bluetooth module. This provides a localized energy reservoir to handle the 50mA pairing spikes without pulling from the Arduino's strained regulator.
- Isolate Power Rails: For motorized projects, never power the Bluetooth module from the same 5V BEC (Battery Eliminator Circuit) that powers the motor drivers. Use a dedicated 3.3V buck converter (like the AMS1117-3.3) powered directly from the main battery pack.
- Verify with a Multimeter: Probe the VCC pin on the module with a multimeter set to capture 'Min/Max' voltage while triggering a motor event. If the minimum voltage dips below 3.25V, your power delivery is inadequate.
Diagnostic Checklist for Serial Failures
Before rewriting your C++ sketch, run through this hardware-level diagnostic checklist to isolate the fault domain:
- TX/RX Cross-Check: Verify Arduino TX goes to Module RX (via voltage divider), and Arduino RX goes to Module TX (direct connection, as Arduino RX tolerates 3.3V input).
- State LED Behavior: A fast, continuous double-blink on the HC-05 LED indicates data mode (ready to pair). A slow, rhythmic 2-second blink indicates AT command mode. A solid ON state usually means it is actively connected to a central device.
- Ground Loop Verification: Ensure the GND of the Arduino, the Bluetooth module, and any external power supplies are tied together to a common ground node. Floating grounds will result in corrupted serial frames.
Frequently Asked Questions
Can I use the Arduino Uno's Pins 0 and 1 for Bluetooth?
Yes, but with a major caveat. Pins 0 (RX) and 1 (TX) are hardware serial lines shared with the onboard USB-to-Serial chip (ATmega16U2). If you connect a Bluetooth module to these pins, you must disconnect them every time you want to upload a new sketch via USB, or the upload will fail with a 'Programmer Not Responding' error. For rapid prototyping, SoftwareSerial on pins 10 and 11 is preferred, provided you keep the baud rate at 9600.
Why does my HM-10 BLE module show up as 'Unknown Device' on Android?
This occurs when the module's GATT device name has been corrupted or overwritten with null characters via a bad AT command string. Use the command AT+NAME=YourName (without spaces or special characters) to rewrite the broadcast name. Refer to the Bluetooth Core Specification for strict limits on GAP device name byte lengths (max 248 bytes, but practically limited to 20 characters on most HM-10 firmware).
How do I secure my Bluetooth serial connection from unauthorized access?
Classic modules like the HC-05 rely on a simple 4 or 6-digit PIN (default '1234') for pairing, which offers zero encryption over the air. For secure deployments in 2026, you must transition to BLE modules (like the HM-10 or ESP32 native BLE) and implement custom application-layer AES encryption within your Arduino payload data, as standard SPP pairing is trivial to intercept with basic RF sniffing tools.