
Why Migrate to STM32 for Arduino Projects?
When your project outgrows the 16 MHz ATmega328P on a standard Arduino Uno, the STM32 family offers a massive leap in processing power, memory, and peripheral density. By leveraging the STM32 Arduino IDE environment, you can harness 32-bit ARM Cortex-M architecture while retaining the familiar C++ Wiring framework. In 2026, the STM32F103C8T6 (widely known as the Blue Pill) and the STM32F401CCU6 (Black Pill) remain the undisputed champions of budget-friendly, high-performance DIY electronics, often costing between $2.50 and $4.50 per unit on global marketplaces.
This comprehensive code tutorial and walkthrough will guide you through environment setup, hardware wiring, and writing your first robust firmware, while highlighting critical edge cases that catch beginners off guard.
Hardware Prerequisites and Real-World Pricing
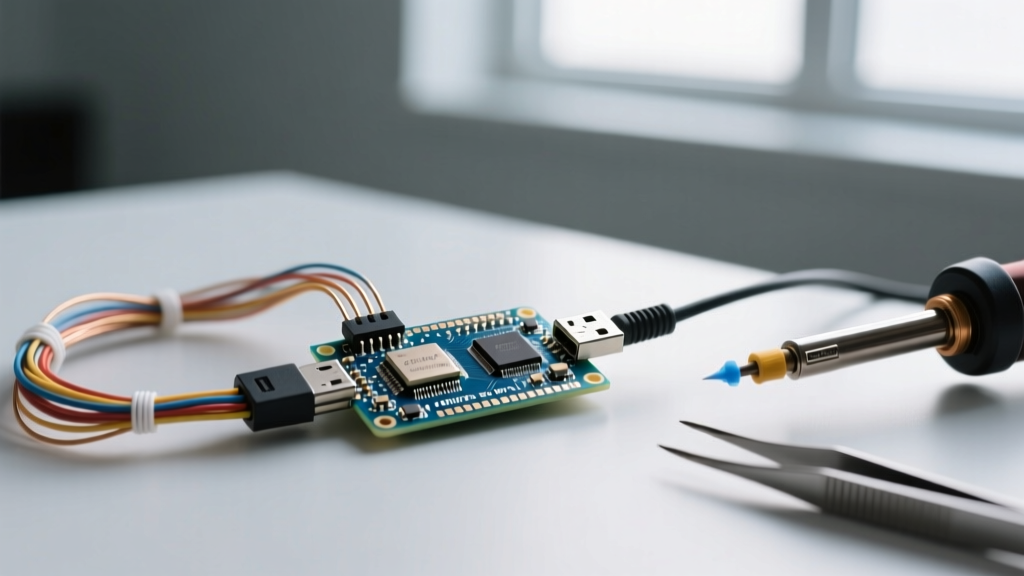
Before diving into the code, ensure you have the correct hardware. While USB-to-Serial flashing is possible, using an SWD (Serial Wire Debug) programmer is vastly superior for reliability and debugging.
- Microcontroller Board: STM32F103C8T6 'Blue Pill' (~$2.50) or STM32F401CCU6 'Black Pill' (~$4.20).
- Programmer: ST-Link V2 (Clone or Genuine). Clones are ubiquitous and cost around $3.00 to $5.00. Genuine ST-Link V3 units cost upwards of $35.00 but offer faster flash speeds.
- Wiring: 4x Female-to-Female Dupont jumper wires.
Phase 1: Installing the STM32 Arduino Core
The official Arduino IDE does not natively support STM32 out of the box. You must install the STM32 Cores maintained by STMicroelectronics. According to the official Arduino Cores documentation, third-party board managers are the standard pathway for ARM integration.
- Open Arduino IDE and navigate to File > Preferences.
- In the 'Additional boards manager URLs' field, paste the official STMicroelectronics JSON link:
https://github.com/stm32duino/BoardManagerFiles/raw/main/package_stmicroelectronics_index.json - Open the Boards Manager (Tools > Board > Boards Manager).
- Search for STM32 and install the package named 'STM32 Cores by STMicroelectronics' (Ensure you are on the latest 2.x release for optimal Cortex-M4 support).
Phase 2: ST-Link V2 Wiring Matrix
Flashing via SWD requires connecting four specific pins. Do not connect the 5V pin on the ST-Link to the 3.3V pin on the STM32 if your board already has USB power applied, as this can cause ground loops or regulator back-feeding. The STM32F103x8 datasheet strictly defines the SWDIO and SWCLK pins on Port A.
| ST-Link V2 Pin | STM32 'Blue Pill' Pin | Function / Notes |
|---|---|---|
| 3.3V | 3.3V | Optional if USB is plugged in. Powers the target logic. |
| GND | GND | Common ground. Mandatory for signal reference. |
| SWCLK | DCLK (PA14) | Serial Wire Clock line. |
| SWDIO | DIO (PA13) | Serial Wire Debug Input/Output line. |
Phase 3: Code Walkthrough - Blink and Serial Telemetry
Let us write a diagnostic sketch that blinks the onboard LED and outputs telemetry over Hardware Serial. This tests both GPIO control and USART peripheral initialization.
The Active-LOW LED Trap
Critical E-E-A-T Warning: Unlike standard Arduinos where
HIGHturns an LED on, the PC13 LED on the vast majority of STM32 Blue Pill boards is wired in an active-LOW configuration. The anode is tied to 3.3V via a resistor, and the cathode connects to PC13. Therefore, writingLOWsinks the current and turns the LED ON. Using the standardLED_BUILTINmacro sometimes fails on older core versions, so explicit pin mapping is recommended.
// STM32 Arduino IDE Diagnostic Walkthrough
// Target: STM32F103C8T6 (Blue Pill) via ST-Link V2

const int LED_PIN = PC13; // Explicitly define PC13 to avoid macro mapping errors
const unsigned long BAUD_RATE = 115200;

// Hardware Serial1 maps to USART1 (PA9=TX, PA10=RX)
// Use an FTDI USB-to-TTL adapter to view this on your PC
HardwareSerial SerialTelemetry(PA10, PA9);

unsigned long loopCounter = 0;
unsigned long previousMillis = 0;
const long interval = 1000;
bool ledState = HIGH; // Start OFF (Active-LOW logic)

void setup() {
  pinMode(LED_PIN, OUTPUT);
  digitalWrite(LED_PIN, ledState);

  SerialTelemetry.begin(BAUD_RATE);
  delay(500); // Allow UART peripheral to stabilize
  SerialTelemetry.println("STM32 Arduino IDE Boot Sequence Complete.");
  SerialTelemetry.println("System Clock: 72 MHz (HSE + PLL)");
}

void loop() {
  unsigned long currentMillis = millis();

  if (currentMillis - previousMillis >= interval) {
    previousMillis = currentMillis;

    // Toggle LED State (Active-LOW)
    ledState = !ledState;
    digitalWrite(LED_PIN, ledState);

    loopCounter++;

    // Output Telemetry
    SerialTelemetry.print("Heartbeat: ");
    SerialTelemetry.print(loopCounter);
    SerialTelemetry.print(" | Free RAM: ");
    SerialTelemetry.println(getFreeRam());
  }
}

// Helper function to estimate available SRAM
int getFreeRam() {
  extern int _end;
  extern char *__brkval;
  int free_memory;
  if((int)__brkval == 0)
    free_memory = ((int)&free_memory) - ((int)&_end);
  else
    free_memory = ((int)&free_memory) - ((int)__brkval);
  return free_memory;
}
Phase 4: IDE Tools Configuration for Flashing
Before hitting the 'Upload' button, you must configure the IDE Tools menu to match the ST-Link hardware and the STM32 architecture. Misconfigurations here are the #1 cause of 'No target found' errors.
- Board: Select 'Generic STM32F1 series'.
- Board part number: Select 'BluePill F103C8 (or C B if you have 128KB flash)'.
- Upload method: Select STLink. (Do not select 'Serial' unless using an FTDI adapter).
- U(S)ART support: Select 'Enabled (generic Serial)'. This ensures hardware serial buffers are allocated.
- USB support: 'None' (unless you are specifically implementing a USB CDC Virtual COM port).
- Optimize: 'Smallest (-Os default)'. This is crucial for keeping the binary footprint small, leaving room for OTA updates or complex libraries.
Edge Cases: Troubleshooting Clone Silicon and Flash Errors
The DIY electronics market in 2026 is saturated with STM32 clones. While the official STM32duino GitHub repository provides excellent support, clone silicon introduces specific failure modes you must know how to bypass.
1. The 'Flash Verification Failed' Error
If your Blue Pill uses a CKS32F103 or GD32F103 clone chip (identifiable by the laser-etched logo on the IC), the ST-Link may successfully erase and write the flash, but fail the post-upload verification step. This happens because the clone's flash controller responds to read-back commands slightly slower than genuine ST silicon.
The Fix: In the Arduino IDE, go to Tools > Verify code after upload and set it to Disabled. Your code will run perfectly fine; the IDE just skips the strict read-back check that trips up the clone's timing.
2. Boot0 Jumper Misconfiguration
The Blue Pill features two jumpers near the reset button: BOOT0 and BOOT1. For the ST-Link to flash the main flash memory and for the chip to execute your code upon power-up, BOOT0 must be set to 0 (connected to GND). If BOOT0 is set to 1, the chip boots into the embedded system bootloader (ROM), and your Arduino sketch will appear to upload successfully but will never run.
3. 3.3V Logic Level Damage
Unlike the 5V-tolerant Arduino Uno, the GPIO pins on the STM32F103 are strictly 3.3V. Feeding a 5V I2C sensor or a 5V PWM signal directly into PA0-PA15 will permanently degrade the silicon's ESD protection diodes, leading to phantom readings or short circuits. Always use a bidirectional logic level converter (like the BSS138-based modules costing ~$1.50) when interfacing with legacy 5V peripherals.
Conclusion
Transitioning to the STM32 Arduino IDE workflow unlocks professional-grade microcontroller capabilities at a hobbyist price point. By understanding the nuances of SWD wiring, active-LOW GPIO logic, and clone-silicon workarounds, you can bypass the common pitfalls that frustrate beginners. Keep your ST-Link firmware updated, respect the 3.3V logic boundaries, and leverage the massive peripheral library of the STM32Core for your next embedded project.