
The Missing Link: Why Your Arduino Uno Needs a Driver
If you have ever plugged a brand-new Arduino Uno into your computer, opened the Arduino IDE, and found the Tools > Port menu greyed out, you have encountered the most common rite of passage in embedded electronics. The microcontroller at the heart of your Uno (the ATmega328P) does not natively understand USB protocols. It communicates via UART (Universal Asynchronous Receiver-Transmitter) serial. To bridge the gap between your computer's USB bus and the board's serial pins, the Uno relies on a secondary USB-to-Serial converter chip.
When your operating system lacks the correct driver for this specific bridge chip, the computer sees an unknown peripheral rather than a programmable COM port. In this comprehensive beginner guide, we will identify which chip your board uses, walk through the exact installation steps for Windows 11 and macOS Sonoma/Sequoia, and troubleshoot the hardware edge cases that mimic driver failures.
Identify Your Hardware: Genuine vs. Clone
Before downloading any software, you must physically inspect your board. The driver you need depends entirely on the USB-to-Serial chip soldered near the USB port. According to Arduino's official hardware documentation, genuine boards use a specific Microchip IC, while the vast majority of third-party clones use a more cost-effective alternative.
| Feature | Genuine Arduino Uno (R3 / R4) | Standard Third-Party Uno Clone |
|---|---|---|
| USB-to-Serial Chip | Microchip ATmega16U2 | WCH CH340G or CH341A |
| Driver Requirement | Native (Plug-and-Play on modern OS) | Manual Installation Required |
| Typical Price (2026) | $27.00 - $32.00 | $8.00 - $14.00 |
| Device Manager Name | Arduino Uno (COMx) | USB-SERIAL CH340 (COMx) |
Windows 11 Driver Installation Guide
Scenario A: Genuine Arduino Uno (ATmega16U2)
Modern Windows environments (Windows 10 and 11) include the ATmega16U2 drivers in their default Windows Update repositories. Simply plug the board into a USB 2.0 or 3.0 port. Within 10 to 15 seconds, Windows will silently fetch the driver. Open Device Manager (Win + X), expand Ports (COM & LPT), and look for 'Arduino Uno (COM3)' (your COM number will vary).
Scenario B: Clone Arduino Uno (CH340G)
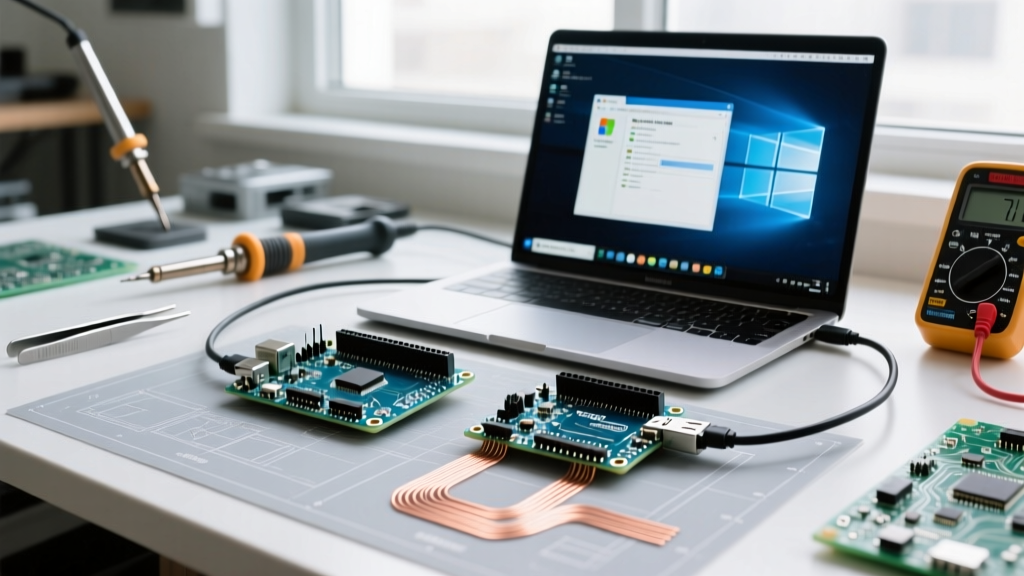
Windows does not ship with WCH CH340 drivers pre-installed. If you plug in a clone, Device Manager will list an 'Unknown USB Device' or 'USB2.0-Serial' under the Other Devices category with a yellow warning triangle (often accompanied by Error Code 43). Follow these steps to resolve it:
- Download the official CH340 driver package. We highly recommend following the vetted steps in SparkFun's CH340 Driver Guide, which hosts a clean, malware-free version of the WCH installer.
- Extract the downloaded
.zipfile and runCH341SER.EXEas an Administrator. - Click INSTALL in the pop-up window. You should see a 'Driver install success' message.
- Unplug the Arduino Uno, wait three seconds, and plug it back in.
- Return to Device Manager. Under Ports (COM & LPT), you should now see USB-SERIAL CH340 (COMx).
Pro-Tip for Windows Users: If the installer fails with a 'Pre-install Success' but the port still doesn't appear, your Windows 11 system might be enforcing Core Isolation / Memory Integrity blocks on older kernel drivers. Ensure you are using the latest V3.8+ CH340 driver from WCH, which is signed and compatible with Windows 11 security baselines.
macOS (Sonoma & Sequoia) Installation Guide
Apple Silicon Macs (M1/M2/M3/M4) and modern macOS versions have strict kernel extension (kext) and system extension policies. While genuine Arduinos are recognized natively via Apple's CDC-ACM drivers, CH340 clones require manual approval.
Step-by-Step Mac Setup for CH340 Clones
- Download the latest macOS CH340 driver package (V3.8 or newer) from the WCH official site or SparkFun's tutorial linked above.
- Run the
.pkginstaller and follow the prompts. It will likely state that a restart is required and that you must approve the system extension. - Open System Settings > Privacy & Security.
- Scroll down to the Security section. You will see a message stating: 'System software from developer "Nanjing Qinheng Microelectronics Co., Ltd." was blocked from loading.'
- Click the Allow button. You may need to enter your Mac password or use TouchID.
- Restart your Mac completely.
- After rebooting, plug in your Uno. Open the Arduino IDE, navigate to Tools > Port, and select
/dev/cu.wchusbserialXXXX.
Troubleshooting: When the Driver is Installed but the Port is Missing
You have installed the correct driver, but the COM port is still greyed out. Before you throw the board in the trash, run through this expert diagnostic checklist to isolate the failure mode.
1. The 'Charge-Only' Cable Trap
This accounts for nearly 60% of all 'missing port' support tickets. A standard USB 2.0 Type-A to Type-B cable contains four internal wires: VCC (5V), GND, D+ (Data), and D- (Data). Many cheap cables included with consumer electronics are charge-only, meaning they physically lack the D+ and D- wires.
The Test: Swap your cable with a known high-quality data-sync cable. If you have a multimeter, set it to continuity mode and probe the inner pins (Pins 2 and 3) of the USB-A connector to the corresponding pins on the Type-B connector. No continuity means it is a charge-only cable.
2. The Blown Polyfuse (Hardware Failure)
Look closely at your Arduino Uno board near the USB port. You will see a small green or black surface-mount component labeled '501' or '500mA'. This is a resettable PTC polyfuse designed to protect your computer's USB bus if your project draws too much current. If you connected a shield or motor driver that pulled more than 500mA, this fuse may have tripped or permanently degraded, cutting power to the USB-to-Serial chip.
The Fix: Unplug the board and remove all shields. Wait 10 minutes for the polyfuse to cool and reset. If it remains dead, the fuse must be desoldered and replaced, or the board must be powered via the DC barrel jack while using an external USB-to-TTL serial adapter for programming.
3. The Loopback Test (Verifying the Serial Chip)
To definitively prove whether the USB-to-Serial chip is alive and communicating with your PC, perform a Loopback Test:
- Unplug the Uno from power.
- Use a jumper wire to connect the RESET pin to the GND pin. (This disables the main ATmega328P so it doesn't interfere).
- Use a second jumper wire to connect the TX pin to the RX pin.
- Plug the Uno into your PC and open the Arduino IDE Serial Monitor (set to 9600 baud).
- Type 'Hello' and press Enter.
If the Serial Monitor echoes 'Hello' back to you, your USB driver is working perfectly, the cable is good, and the USB-to-Serial chip is healthy. If you get nothing, the bridge chip is dead or the USB data lines are severed.
Summary
Getting your Arduino Uno online is a matter of matching the correct driver to the physical bridge chip on your board. Genuine boards utilize the native ATmega16U2 drivers built into Windows and macOS, while budget-friendly clones require the manual installation of the WCH CH340 driver. By understanding the difference, verifying your USB cables, and utilizing the loopback test, you can bypass the most frustrating setup hurdles and get straight to writing code.