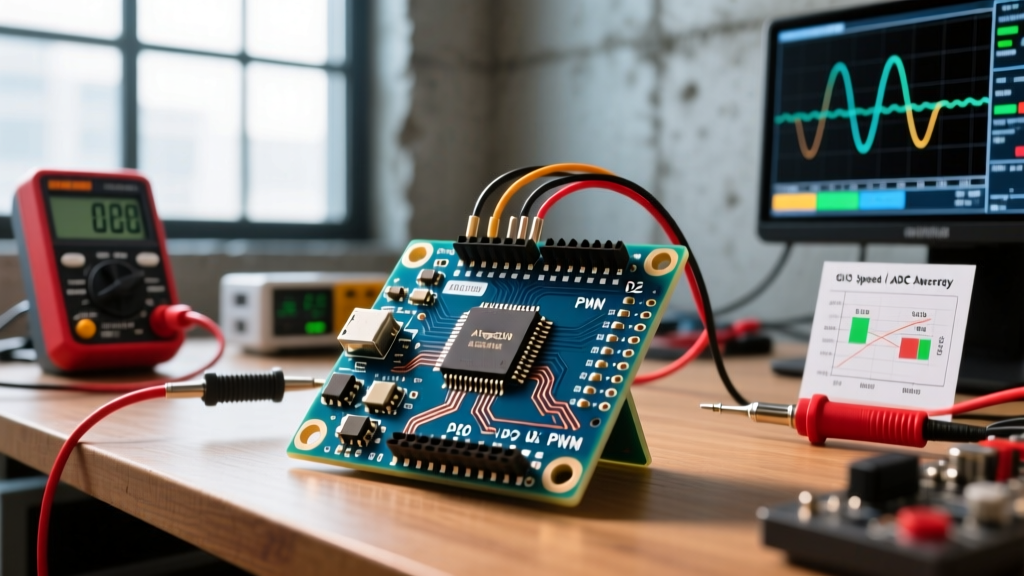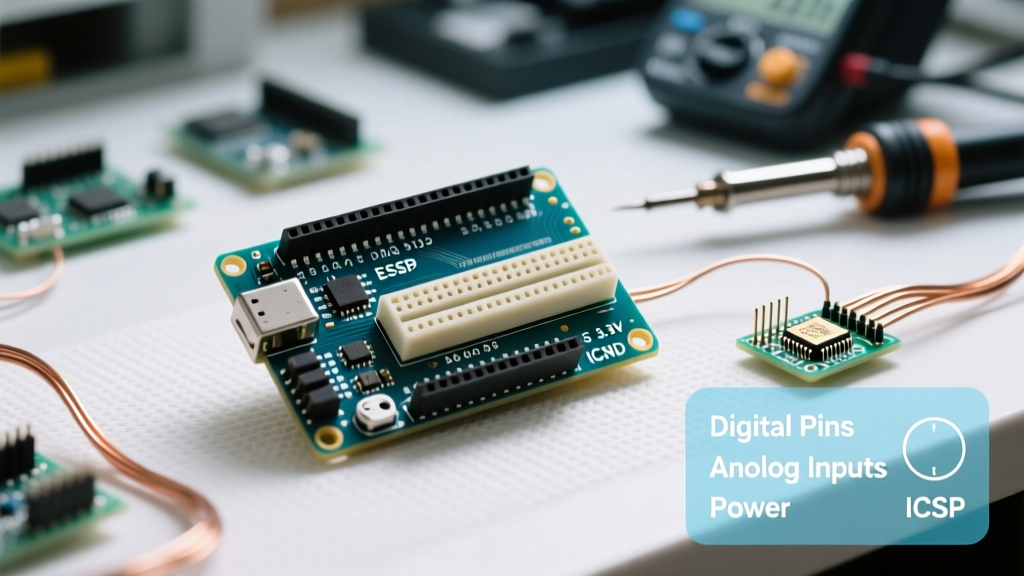

Understanding the Arduino Uno R3 Pin Diagram
Even in 2026, with the market flooded by advanced microcontrollers like the ESP32-S3 and the newer Arduino Uno R4 series, the classic Arduino Uno R3 remains the undisputed gold standard for electronics education. Its 5V logic levels, massive shield ecosystem, and forgiving architecture make it the perfect starting point. However, the bridge between blinking an LED and building a complex robotic arm lies in one fundamental skill: mastering the Arduino Uno R3 pin diagram.
Misunderstanding pin functions is the leading cause of fried microcontrollers among beginners. This guide goes beyond basic labeling, diving into the electrical characteristics, absolute maximum ratings, and practical wiring insights you need to design robust, failure-proof circuits.
The Dual-MCU Architecture
Before tracing the pins, you must understand that the Uno R3 actually houses two distinct microcontrollers. The brain of the operation is the ATmega328P-PU, an 8-bit AVR microcontroller running at 16 MHz. It handles your sketch, reads sensors, and drives outputs.
The second chip, located near the USB-B port, is the ATmega16U2. This chip acts solely as a USB-to-Serial converter, translating data between your computer and the main ATmega328P. When you look at the official Arduino Uno R3 documentation, you will notice the digital pins 0 and 1 are routed through this 16U2 chip, which is why using them for general I/O can interfere with USB serial communication.
Power Pins: Fueling Your Project Safely
The power header is where most catastrophic beginner mistakes occur. The Uno R3 provides several ways to power your project and external components, but each has strict current limits.
The 5V and 3.3V Pins
- 5V Pin: This outputs the regulated 5V used by the main microcontroller. You can use it to power sensors and modules. However, the onboard NCP1117 5V voltage regulator can only safely dissipate a limited amount of heat. If powering via the Vin pin or DC barrel jack, the available current on the 5V pin drops as input voltage increases. A safe continuous draw is 200mA to 300mA depending on ambient temperature.
- 3.3V Pin: Generated by an onboard regulator (often an LP2985 or similar, depending on the board clone/revision). This pin is strictly limited to 50mA. Exceeding this will overheat the regulator and potentially drop the voltage, causing erratic behavior in 3.3V sensors like the NRF24L01 or certain I2C displays.
Vin, IOREF, and GND
- Vin (Voltage In): Use this to supply power directly to the board's voltage regulator. The recommended input range is 7V to 12V. Supplying 5V directly to Vin will not work properly, as the regulator requires a dropout voltage to function.
- IOREF: A brilliant addition in the R3 revision. This pin outputs the operating voltage of the microcontroller (5V on the Uno). Shields can read this pin to automatically configure their logic level shifters, ensuring compatibility with both 5V and 3.3V boards.
- GND (Ground): There are three GND pins on the power header and two on the digital header. They are all tied to the same common ground plane. Always ensure your external power supplies share a common GND with the Uno.
Expert Warning: Never connect an external 5V power supply to the 5V pin and plug in the USB cable simultaneously without a diode or ideal diode circuit. While the Uno has an automatic power selection circuit (using an LMV358 op-amp comparator and a P-channel MOSFET), backfeeding high currents into the 5V rail can bypass protection and damage your computer's USB port.
Digital I/O Pins (0-13): The Workhorses
The Uno R3 features 14 digital I/O pins. Each can be configured as an INPUT, OUTPUT, or INPUT_PULLUP using the pinMode() function. According to the Microchip ATmega328P Datasheet, the absolute maximum current per I/O pin is 40mA, but the recommended continuous operating current is 20mA.
PWM (Pulse Width Modulation) Pins
Pins marked with a tilde (~, specifically 3, 5, 6, 9, 10, and 11) support hardware PWM. This allows you to simulate analog outputs for dimming LEDs or controlling servo motors.
Crucial Edge Case: Not all PWM pins are created equal. Pins 5 and 6 are driven by Timer0, which operates at a frequency of ~980 Hz. Pins 3, 9, 10, and 11 are driven by Timer1 and Timer2, operating at ~490 Hz. If you are designing an audio filter or a high-speed motor control loop, this frequency discrepancy will drastically alter your hardware filter cutoff calculations.
Communication Protocols
- UART (Pins 0, 1): RX (0) and TX (1). Connected to the ATmega16U2. Avoid using these for general I/O if you need the Serial Monitor for debugging.
- SPI (Pins 10, 11, 12, 13): SS (10), MOSI (11), MISO (12), SCK (13). Used for high-speed communication with SD cards and TFT displays. Pin 13 also features an onboard LED and a dedicated op-amp buffer on the R3, making it slightly less ideal for sensitive SPI chip-select routing compared to the raw ATmega pins.
- I2C (Pins A4, A5): SDA (A4) and SCL (A5). The R3 revision also duplicates these pins on a separate 2-pin header next to the AREF pin for shield compatibility.
Analog Input Pins (A0-A5)
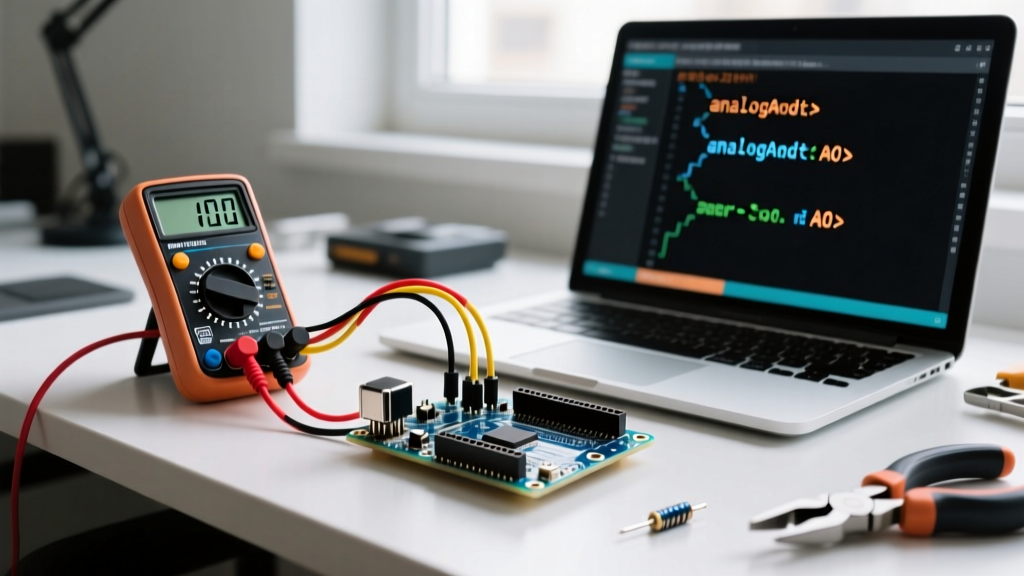
The Uno R3 features six analog inputs, mapped to ADC channels 0 through 5. These pins utilize a 10-bit Analog-to-Digital Converter, mapping the 0-5V range to integer values between 0 and 1023. This provides a resolution of approximately 4.88mV per step.
While primarily used for reading potentiometers, thermistors, and analog sensors, pins A0-A5 can also be configured as standard digital I/O pins (pins 14-19) using digitalWrite() and digitalRead(). However, they do not support PWM output or hardware interrupts.
Comprehensive Arduino Uno R3 Pinout Matrix
Use this quick-reference table when designing your wiring harness or PCB shield.
| Pin Number | Primary Function | Alternative / Special Functions | PWM / Interrupt |
|---|---|---|---|
| 0 (RX) | Digital I/O | UART Receive (USB Serial) | - |
| 1 (TX) | Digital I/O | UART Transmit (USB Serial) | - |
| 2 | Digital I/O | External Interrupt 0 (INT0) | - |
| 3 | Digital I/O | External Interrupt 1 (INT1) | PWM (~490 Hz) |
| 4 | Digital I/O | - | - |
| 5 | Digital I/O | - | PWM (~980 Hz) |
| 6 | Digital I/O | - | PWM (~980 Hz) |
| 7 | Digital I/O | - | - |
| 8 | Digital I/O | - | - |
| 9 | Digital I/O | - | PWM (~490 Hz) |
| 10 (SS) | Digital I/O | SPI Slave Select | PWM (~490 Hz) |
| 11 (MOSI) | Digital I/O | SPI Master Out Slave In | PWM (~490 Hz) |
| 12 (MISO) | Digital I/O | SPI Master In Slave Out | - |
| 13 (SCK) | Digital I/O | SPI Clock / Onboard LED | - |
| A0 - A3 | Analog Input | Digital I/O (14-17) | - |
| A4 (SDA) | Analog Input | I2C Data / Digital I/O (18) | - |
| A5 (SCL) | Analog Input | I2C Clock / Digital I/O (19) | - |
Critical Failure Modes and How to Avoid Them
As you transition from breadboards to permanent soldered projects, keep these real-world failure modes in mind:
1. The Inductive Kickback Trap
If you are using digital pins to drive relays, solenoids, or DC motors via a transistor, you must use a flyback diode (like a 1N4007) wired in reverse bias across the coil. When the magnetic field collapses, it generates a high-voltage spike that will instantly destroy the ATmega328P's output pin driver, and potentially the entire microcontroller.
2. Exceeding the Total VCC Limit
Beginners often calculate that since they can draw 20mA from 10 different pins, they are safe. However, the ATmega328P has an absolute maximum total current limit of 200mA for the entire VCC/GND package. If you power multiple high-draw LEDs directly from the I/O pins without external MOSFETs or transistor arrays (like the ULN2803), you will thermally overload the silicon die.
3. USB Polyfuse Tripping
The Uno R3 features a resettable polyfuse on the USB VBUS line, typically rated for 500mA. If you attempt to power a long strip of WS2812B NeoPixels directly from the Uno's 5V pin while connected to USB, the initial current surge will trip this fuse. The board will appear dead or constantly reset. The fix is simple: unplug the USB, wait 60 seconds for the fuse to cool and reset, and power the LEDs from a dedicated external 5V power supply, sharing only the GND with the Uno.
Final Thoughts on Platform Selection
While the Arduino Uno R3 remains a staple on workbenches worldwide, understanding its pin diagram is about more than just memorizing numbers. It is about understanding the electrical boundaries of your hardware. By respecting the 20mA per-pin limit, leveraging the correct PWM timers, and properly managing your power rails, you ensure your projects are not just functional on day one, but reliable for years to come.