
The ESP32-P4 Paradigm Shift in 2026
For years, the ESP32-S3 has been the undisputed king of high-performance maker projects. However, as edge AI, high-resolution HMIs (Human-Machine Interfaces), and complex vision systems become standard in 2026, the ESP32-P4 has emerged as Espressif's flagship powerhouse. But transitioning to this new silicon via the Arduino IDE requires a fundamental shift in how we approach project architecture. Unlike its predecessors, the ESP32-P4 Arduino ecosystem is not a simple drop-in replacement for your classic IoT sensor nodes. It is a specialized, high-throughput compute engine that demands a clear understanding of its unique peripheral set and architectural quirks.
In this comprehensive suitability analysis, we break down exactly when you should reach for the ESP32-P4, when you should avoid it, and how to navigate the current state of the arduino-esp32 core to get the most out of this dual-core RISC-V beast.
Architectural Deep Dive: RISC-V and Peripheral Richness
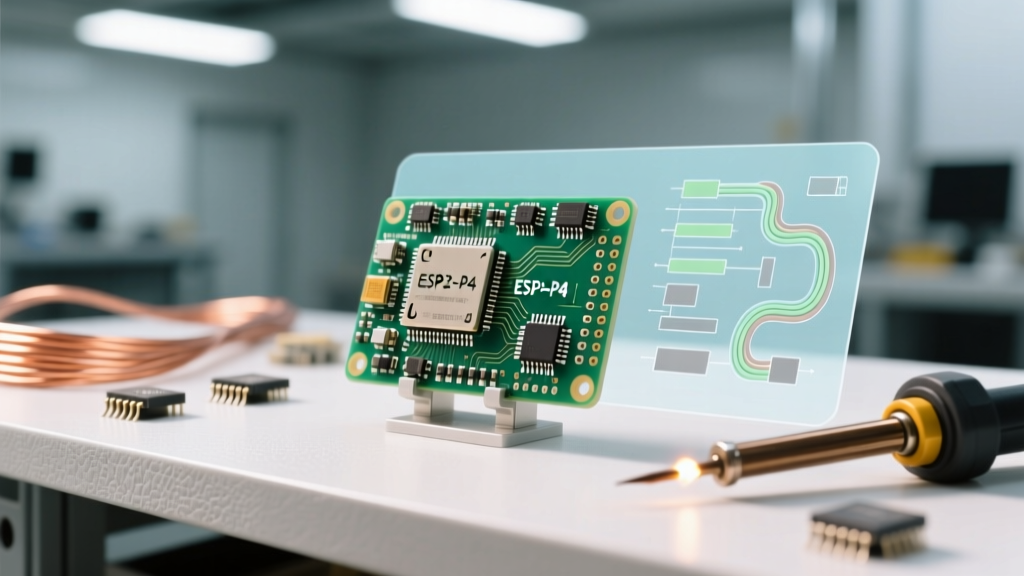
At the heart of the ESP32-P4 is a dual-core RISC-V processor clocked at an impressive 400 MHz. According to the official Espressif ESP32-P4 specifications, this chip is designed specifically for high-performance computing without the silicon tax of integrated RF radios.
- Compute: Dual-core RISC-V @ 400 MHz with AI instruction extensions (vector instructions for accelerated machine learning).
- Memory: 768 KB internal SRAM, with support for up to 32MB of external Octal SPI PSRAM.
- Display Interfaces: Native MIPI-DSI supporting resolutions up to 1080p at 60Hz, alongside RGB and SPI LCD interfaces.
- Camera Interfaces: MIPI-CSI capable of handling high-bandwidth sensors like the OV5640 or IMX477.
- Hardware Acceleration: Dedicated hardware encoders for JPEG and H.264, plus a 2D Pixel Processing Accelerator (PPA) for graphics rendering.
The Elephant in the Room: Wireless Connectivity
Critical Design Note: The ESP32-P4 does not have built-in Wi-Fi or Bluetooth. If your project requires wireless connectivity, you must pair it with a companion chip (like the ESP32-C6) via SPI or SDIO.
This is the single most common point of failure for makers migrating from the ESP32-S3. When you attempt to compile standard WiFi.h sketches on the P4, the compiler will throw errors because the RF MAC layer simply does not exist on this silicon. For 2026 projects, you must design your architecture to either operate entirely offline (e.g., local edge inference, standalone HMI) or implement a robust inter-chip communication protocol to bridge network requests through a secondary wireless MCU.
Arduino IDE Compatibility and Core Setup
As of early 2026, ESP32-P4 support in the Arduino IDE is mature but requires specific configuration. You will need to use the arduino-esp32 core version 3.1.x or higher.
Setup Checklist:
- Open Arduino IDE Boards Manager and update the
esp32package to the latest stable release. - Select ESP32P4 Dev Module from the boards dropdown.
- Under the Tools menu, ensure PSRAM is set to 'OPI PSRAM' if your dev board features an 8-line external memory chip.
- Set USB CDC On Boot to 'Enabled' for native serial debugging via the USB-C port.
While core GPIO, I2C, SPI, and UART functions are fully stable, some legacy third-party libraries that rely on direct register manipulation of the older Xtensa architecture will fail to compile. You must rely on the ESP-IDF hardware abstraction layer (HAL) wrappers provided by the Arduino core. For deep peripheral configuration, referencing the ESP-IDF ESP32-P4 documentation is highly recommended, as the Arduino core exposes these underlying ESP-IDF functions directly.
Project Suitability Matrix
Use the following matrix to determine if the ESP32-P4 is the correct microcontroller for your specific 2026 project requirements.
| Project Category | Suitability | Primary Technical Reason |
|---|---|---|
| High-Res HMI / Smart Displays | Excellent | MIPI-DSI and 2D PPA hardware acceleration eliminate frame-tearing and CPU bottlenecks. |
| Edge Vision & AI Inference | Excellent | MIPI-CSI interface and RISC-V vector instructions handle TensorFlow Lite Micro models efficiently. |
| Video Streaming / Recording | Good | Hardware H.264/JPEG encoders work well, but requires external Wi-Fi/Ethernet for network streaming. |
| Standard IoT Sensor Nodes | Poor | Overkill compute, higher power draw, and lack of native Wi-Fi/BT make it impractical. |
| Battery-Powered Wearables | Poor | Deep sleep currents and 400MHz active draw are too high compared to ESP32-C6 or ESP32-H2. |
Where the ESP32-P4 Excels: Deep Dive Use Cases
1. Local Edge AI and Machine Vision
If you are building a local license plate reader, a defect-detection system for a DIY CNC machine, or a smart doorbell that processes video locally without cloud reliance, the P4 is unmatched. The MIPI-CSI interface allows you to pull raw, uncompressed frames from high-end sensors at 60fps. By utilizing the chip's AI vector instructions, you can run quantized MobileNet models directly on the MCU. Pro Tip: Always pin your neural network tensor buffers to the internal 768KB SRAM rather than external PSRAM to avoid cache-miss latency during inference.
2. Complex Human-Machine Interfaces (HMI)
Projects requiring 5-inch to 7-inch capacitive touchscreens running at 1080p are perfectly suited for the P4. The hardware 2D Pixel Processing Accelerator (PPA) handles image scaling, rotation, and blending natively. This frees up the dual RISC-V cores to handle the underlying logic, state machines, and UI frameworks like LVGL (Light and Versatile Graphics Library) without dropping frames.
Hardware Realities: Dev Boards and 2026 Pricing
Unlike the $5 ESP32-C3 modules, the ESP32-P4 ecosystem carries a premium due to its complex pinout and high-speed signal requirements.
- ESP32-P4-Function-EV-Board: The official development kit. Priced around $75 to $85 in 2026. It includes a 7-inch MIPI-DSI touch display, an OV5640 MIPI-CSI camera, an onboard ESP32-C6 for Wi-Fi/BT, and Ethernet. This is the mandatory starting point for prototyping.
- Raw ESP32-P4 Modules: Surface-mount modules cost between $4.50 and $6.00 in low volumes. However, designing a custom PCB for the P4 requires strict impedance control and a minimum 4-layer stack-up to route the MIPI-DSI/CSI differential pairs correctly. Hand-soldering these modules is impossible due to the dense BGA/QFN footprints.
Common Failure Modes and Troubleshooting
When pushing the ESP32-P4 via the Arduino IDE, engineers frequently encounter specific edge cases. Here is how to solve them:
MIPI-CSI Camera Initialization Timeouts
The Problem: The Arduino sketch hangs or throws a timeout error when calling camera.begin() with high-resolution sensors.
The Fix: The P4 requires precise XCLK (master clock) configuration. Ensure your camera initialization struct explicitly sets xclk_freq_hz = 24000000. Frequencies above 24MHz often cause signal integrity issues on the EV board's ribbon cable.
I2C Bus Capacitance on the EV Board
The Problem: Adding external I2C sensors (like BME688 or MPU6050) to the Function-EV-Board results in corrupted data or bus lockups.
The Fix: The EV board already has multiple devices on the primary I2C bus, increasing parasitic capacitance. The default 4.7kΩ pull-up resistors are too weak for 400kHz Fast Mode. Either drop the I2C clock speed to 100kHz in the Arduino Wire library, or physically solder 2.2kΩ pull-up resistors to the SDA/SCL breakout pins.
PSRAM Cache Misses in Audio Processing
The Problem: I2S audio streaming stutters when reading large WAV files from an SD card into PSRAM.
The Fix: Audio DMA buffers must reside in internal SRAM. Use heap_caps_malloc(size, MALLOC_CAP_DMA | MALLOC_CAP_INTERNAL) instead of standard malloc() or PSRAM-backed allocations to ensure the I2S DMA controller has uninterrupted, zero-latency access to the audio stream.
Final Verdict for Makers and Engineers
The ESP32-P4 is not a universal replacement for your everyday microcontroller needs; it is a specialized compute module disguised as an MCU. If your 2026 project involves high-resolution displays, local machine vision, or heavy DSP (Digital Signal Processing), the ESP32-P4 Arduino ecosystem provides an incredibly powerful, cost-effective alternative to full-blown Linux SBCs like the Raspberry Pi. However, if you are simply reading temperature sensors or toggling relays over Wi-Fi, stick to the ESP32-C6 or ESP32-S3. Respect the P4's architectural boundaries, design for its high-speed peripherals, and it will deliver unparalleled performance for your most ambitious builds.